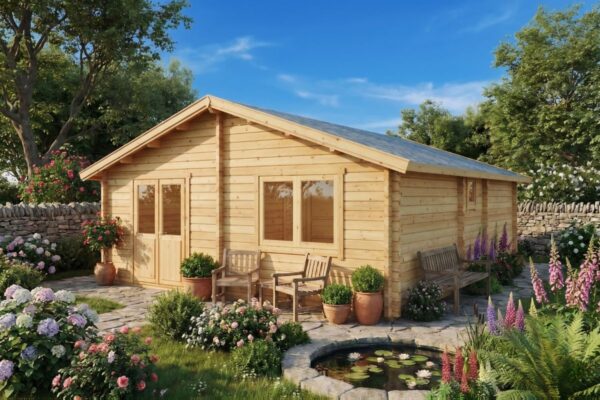
Building your own wooden cabin doesn’t have to drain your savings. With strategic planning, a sensible design, and the right materials, you can create a cozy, durable, and fully functional space without overspending. The key to keeping costs down lies in early decisions: simplifying your footprint, streamlining assembly, and choosing components that balance price with long-term performance.
This guide walks you through every stage of the process—from navigating building permits and reducing labor costs to selecting energy-efficient materials that keep operating expenses low for years to come.
Unexpected expenses often stem from skipping the prep work. Defining your actual space requirements and understanding local planning laws before breaking ground will protect you from costly delays, redesigns, or municipal fines.
In Spain, planning requirements vary depending on how your land is classified and local municipal ordinances. Before purchasing materials, visit your local town hall (ayuntamiento) to review the regulations for installing a wooden house on your property. You will need to confirm whether your parcel is designated as urban (urbano) or rustic (rústico), check maximum building height limits, and find out whether your project requires a full building permit (licencia de obra) or simply a prior notification (declaración responsable). If your plans include running water, drainage, or a septic tank, consult regional environmental authorities early in the process.
To keep your finances under control, organize your expenses into clear, distinct line items:
If you are building on a tight budget, consider phasing your project. Focus first on getting the exterior shell completely weathertight before investing in interior finishes. For more tips on early-stage planning, read our guide on frequent mistakes when building garden sheds, which covers site leveling and location traps to avoid.
Explore our range of prefabricated wooden buildings with free delivery included. We manufacture directly to offer maximum durability at the best market rates.
5-year warranty and slow-grown Nordic spruce timber.
Complex architecture drives up labor and material expenses fast. L-shaped, T-shaped, or multi-corner layouts create excess timber offcuts, require intricate flashing, and take far longer to assemble.
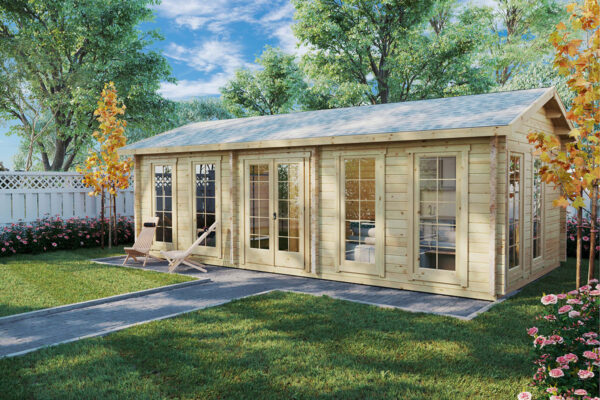
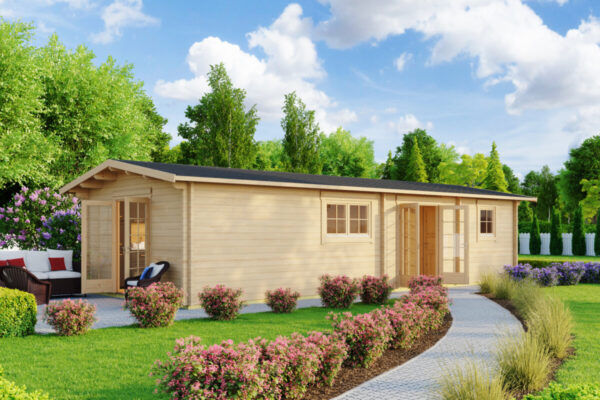
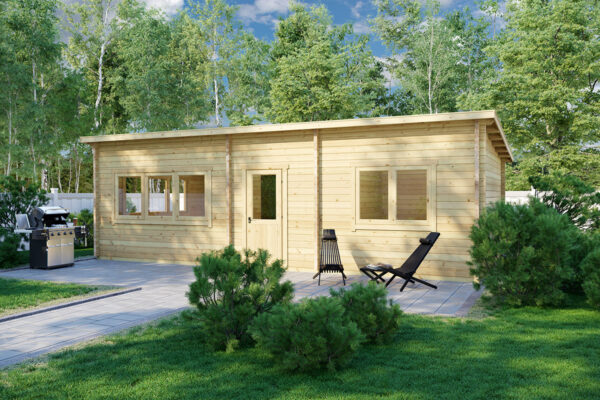
A clean rectangular footprint is the most cost-effective layout you can build. Designing around standard material dimensions (such as 60 cm or 1.2 m increments) dramatically cuts down on wasted sheet goods and structural timber. In stick-frame builds, spacing wall studs at 60 cm centers and aligning rafters directly above them eliminates redundant framing while optimizing structural load transfer. For the roof, a simple dual-pitch gable design offers the best blend of low material consumption, reliable runoff, and straightforward waterproofing.
There are two primary routes to building an affordable cabin:
For structural timber, slow-grown Nordic spruce provides the highest performance per euro spent. Sourced from cold northern regions, this timber develops tight annual growth rings, giving it exceptional dimensional stability and strong resistance to warping or splitting compared to fast-grown alternatives. To learn more, read our breakdown of which wood type is best for a timber house.
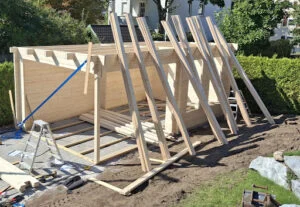
A sturdy cabin relies on sound sequencing. Sticking to the key steps to building a wooden cabin will keep your structure square, dry, and built to last.
Never skimp on your foundation. An unstable or uneven base causes walls to shift, doors to stick, and moisture to seep into structural timbers. Choose a foundation type suited to your soil type and cabin size:
With the base level and square, install your pressure-treated foundation beams and subfloor frame. When working with an interlocking log kit, lay the wall logs row by row, checking corners for plumb and square as you go. For timber-frame construction, assemble wall frames flat on the subfloor, verify they are square, tilt them upright, and anchor them securely to the sole plates.
Once the walls reach full height, install the roof purlins, rafters, or trusses, followed by the tongue-and-groove roof decking. Cover the roof boards immediately with a dependable waterproof underlayment—such as breathable roofing membrane, bitumen felt, or asphalt shingles—to keep the interior dry while you finish the build. Once the roof is watertight, fit your windows and exterior doors.
For a detailed breakdown of the assembly sequence, read our guide on the construction process of a prefabricated wooden house.
An affordable cabin must also be cheap to run. If you want to use the space year-round as a home office, studio, or guest room, proper thermal insulation is non-negotiable.
Effective air-sealing should always precede insulation. Cold drafts find their way through small gaps along wall-to-roof junctions, corners, and utility cutouts. Sealing these transitions with flexible acoustic mastic or specialized airtightness tape before fitting insulation prevents heat loss and stops warm, humid indoor air from condensing inside the wall cavities.
Target your budget where heat loss is greatest:
Glazing is often the weakest point in a cabin’s thermal envelope. To minimize heat loss, look for double-glazed units fitted with toughened safety glass. German-engineered tilt-and-turn hardware with perimeter rubber gaskets and multi-point locks ensures a tight weather seal, preventing drafts and reducing your heating demands throughout winter.
Maximize your outdoor space with sturdy, easy-to-assemble garden buildings. Our ready-to-assemble kits dramatically lower installation costs.
Over 20 years of expertise crafting long-lasting wooden structures.
Timber is an exceptionally resilient material, but it requires protection from moisture, insects, and UV radiation from day one. Proper early treatment will preserve your cabin for decades with minimal maintenance.
Apply an exterior-grade fungicidal and insecticidal primer as soon as the cabin shell is assembled. Follow this with two coats of high-grade, microporous exterior wood stain containing UV-blocking pigments. Unlike rigid varnishes that crack and peel over time, breathable stains penetrate the timber, allowing moisture vapor to escape as the wood expands and contracts. A quality finish generally only needs a quick refresh every 5 to 6 years. For more maintenance strategies, see our article on how to make your wooden house strong and durable.
When it comes to outfitting the interior on a modest budget:

Building an affordable cabin comes down to careful planning, not cutting corners on essentials. Skimping on the foundation, opting for sub-par timber, or rushing roof waterproofing will inevitably lead to expensive structural repairs down the road.
Opting for a precision-machined Nordic spruce kit eliminates fabrication errors, speeds up installation, and keeps subcontractor costs to a minimum. By sticking to a simple layout, insulating the thermal envelope thoroughly, and protecting the exterior timber early, you will end up with an inviting, durable retreat that holds its value for decades.
Concrete blocks, pier footings, or adjustable ground screws are generally the most affordable options on stable, level ground. They use far less material than a solid concrete slab and create a ventilated void underneath that protects your floor framing from rising damp.
Yes. Prefabricated cabin kits are specifically designed for self-assembly, featuring numbered, interlocking components and detailed assembly diagrams. Two people with basic DIY experience and everyday hand tools can typically erect the main structural shell within a few days.
Yes. Insulation controls heat transfer in both directions. While it keeps warmth inside during winter, it also blocks solar heat from radiating through the roof and walls in summer. Insulating the roof deck with rigid foam boards is essential for keeping the cabin comfortable on hot sunny days.