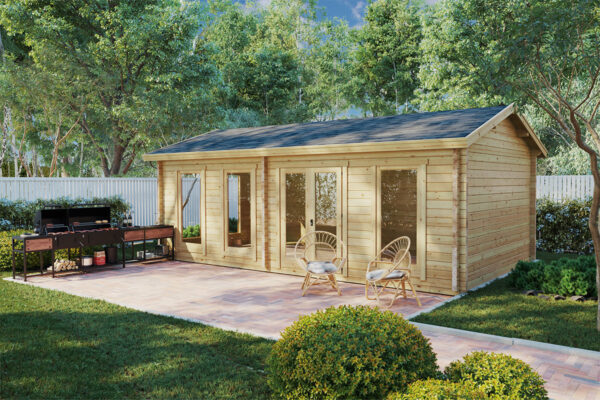
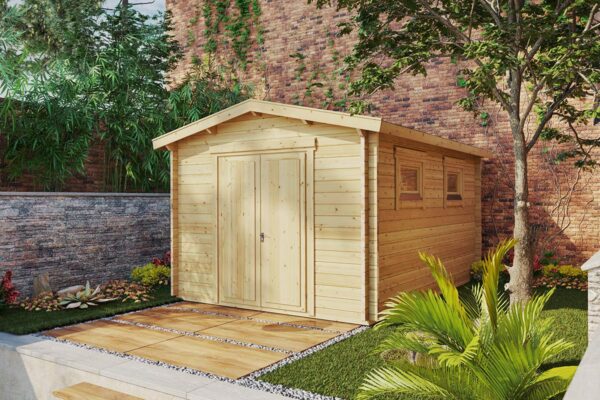
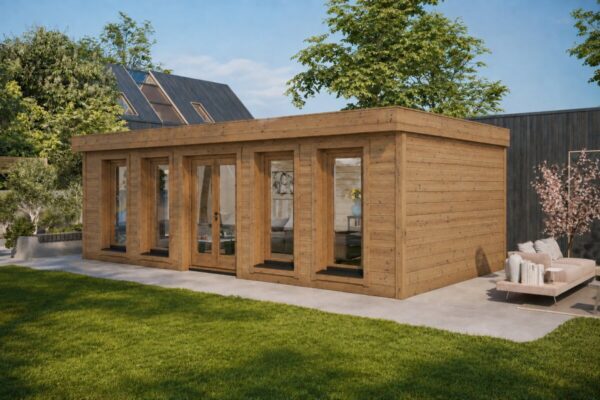
Building a custom garden shed doesn’t mean cutting timber planks by hand in your back garden. You provide the initial layout, we precision-manufacture a prefabricated timber kit to your exact specifications, and either you or our assembly team builds it on site. The key to a smooth project lies in the preparation: accurate measurements, early planning checks with your local council, and a perfectly level base ready before delivery day.
For a bespoke project, plan on an overall lead time of 8 to 12 weeks from deposit to delivery, followed by 1 to 7 days for assembly. Here is how the process works from start to finish:
Always measure the usable space on the ground rather than relying on rough estimates. Take note of total ground area, changes in elevation or slope, clearance around fences and overhanging branches, and the access route delivery crews will use to transport timber packs into the garden. Catching access bottlenecks or boundary constraints early spares you from redrafting plans mid-quote.
Next, consult your local planning authority (ayuntamiento) to verify permit requirements. Planning rules for outbuildings in Spain vary considerably depending on the municipality, the legal classification of the plot, and the building’s intended purpose:
Keep in mind that anchoring a structure permanently into the ground or connecting it to utility networks (water, sewerage, or mains electricity) legally classifies it as a building. In that scenario, it must comply with local urban planning codes and Spain’s Technical Building Code (CTE). Our kits do not include architectural sign-offs, planning applications, building licences, or groundworks—handling permits and site preparation remains the buyer’s responsibility.
When visiting your local planning department, bring a site plan showing the footprint, wall and ridge heights, boundary setbacks, and intended use. Some local authorities also ask for written neighbour consent if you intend to build along a boundary line. On rural zoning (suelo rústico), restrictions are significantly tighter. For detailed guidance, read our articles on regulations for installing a wooden house in Spain and wooden houses on rural land.
Pick a base design from our catalogue and customise it to fit your garden: nearly all of our standard timber buildings can be resized or reconfigured as bespoke builds. We can guide you toward the right footprint and wall profile for your project.
Over 20 years of manufacturing experience, backed by a 5-year warranty.
Every bespoke build starts on paper. A simple hand-drawn sketch is all we need to get started—no CAD drafting required. Be sure to note:
Selecting the right wall profile. A 44 mm solid timber wall is a reliable, economical choice for storage sheds, garden workshops, and seasonal hobby rooms. Stepping up to 70 mm is strongly recommended if you plan to use the space year-round as a garden office, gym, or studio; the thicker profile adds structural rigidity and provides an ideal substrate for insulation. For fully serviced garden annexes and wide-span structures, 88 mm glued laminated timber (glulam) delivers maximum thermal performance and dimensional stability.
Upgrading from 44 mm to 70 mm adds roughly €980 on a compact 9 m² model (such as the Nora D) and around €1,650 on a 15 m² model (like the Garden Studio XL). Choosing 88 mm glulam increases the cost by €3,440 and €5,780, respectively (as of November 2026).
If you want an all-season room, plan for insulation from day one. Our roof and floor insulation packages can be fitted to any building with 44 mm walls or thicker.
Once we receive your sketch and dimensions, our technical team compiles an itemised, transparent quotation covering:
This gives you an accurate, complete picture of project costs before making any financial commitment.
Review the quote and tailor your package with any desired extras. For a breakdown of what comes standard versus optional upgrades, see our guide on what is included in a standard garden shed kit.
Popular upgrades include:
Remember that base kits include the structural timber roof decking, but not the final waterproof covering. You will need to select an appropriate exterior roofing layer (such as bitumen felt or shingles) to protect the structure from the elements.
Once you are satisfied with the configuration, we confirm the order. Manufacturing begins as soon as the 25% deposit is received.
Note: Bespoke orders generally require an additional 2 to 3 weeks on top of standard lead times to account for technical drafting, structural checks, and client approvals.
Within 5 to 8 working days of confirming your order and deposit, our technical department will issue a full architectural drawing package, including:
Take time to review every measurement. We will revise the drawings until you are entirely satisfied with the layout. We strongly advise taking the plans into your garden with a tape measure to double-check boundary clearances, door swings, and window sightlines. Moving a window or door on paper costs nothing; doing so on site during assembly is far more complicated and costly.
With the technical drawings signed off, your building goes into production. Manufacturing and shipping typically take 5 to 7 weeks from final design approval. For reference, standard off-the-shelf kits take 3 to 4 weeks, made-to-order catalogue models take 5 to 8 weeks, and bespoke designs take 8 to 12 weeks.
Delivery logistics. We arrange direct freight to your property. Ensure that the approach road allows access for an articulated flatbed lorry and that there is a flat, unobstructed staging area where timber pallets can be safely unloaded. For full transport specifications, review our shipping and delivery information.
Use this manufacturing window to build your base. The foundation must be fully cured, flat, and level before the delivery lorry arrives.
When it comes to building the structure, you have two options:
A top tip from our build manual: always measure diagonally across the foundation frame before laying the first wall logs, and recheck the diagonals after installing the sixth row. When both diagonal measurements match the technical plans exactly, the structure is confirmed square.
If requested in advance, our team can pre-cut openings for electrical conduits or service runs. All final electrical, water, and waste connections must be executed and certified by a licensed local tradesperson.
If your main requirement is secure outdoor storage rather than habited living space, an engineered wooden garden shed is often the most cost-effective choice. You can match the footprint, roofline, and timber finish to your garden’s aesthetic.
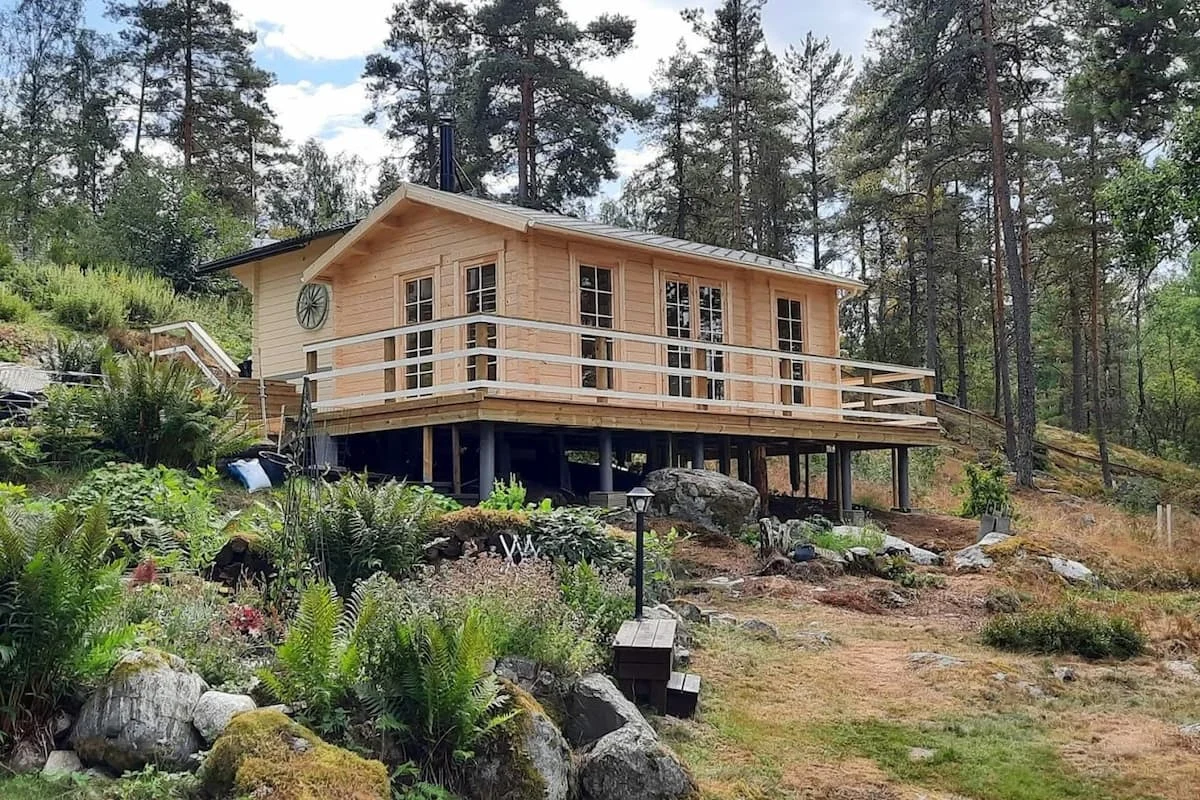
The foundation is the single component not supplied on the pallet, yet it dictates the longevity of your building. Our kits include pressure-treated foundation bearer beams, but they must rest on a stable, perfectly level substrate. Common foundation systems for medium and large log cabins include concrete slabs, adjustable pedestal systems, timber pile grids, and ground screws. Smaller utility sheds can often sit on an engineered timber frame or heavy-duty paving slabs set over a well-compacted sub-base.
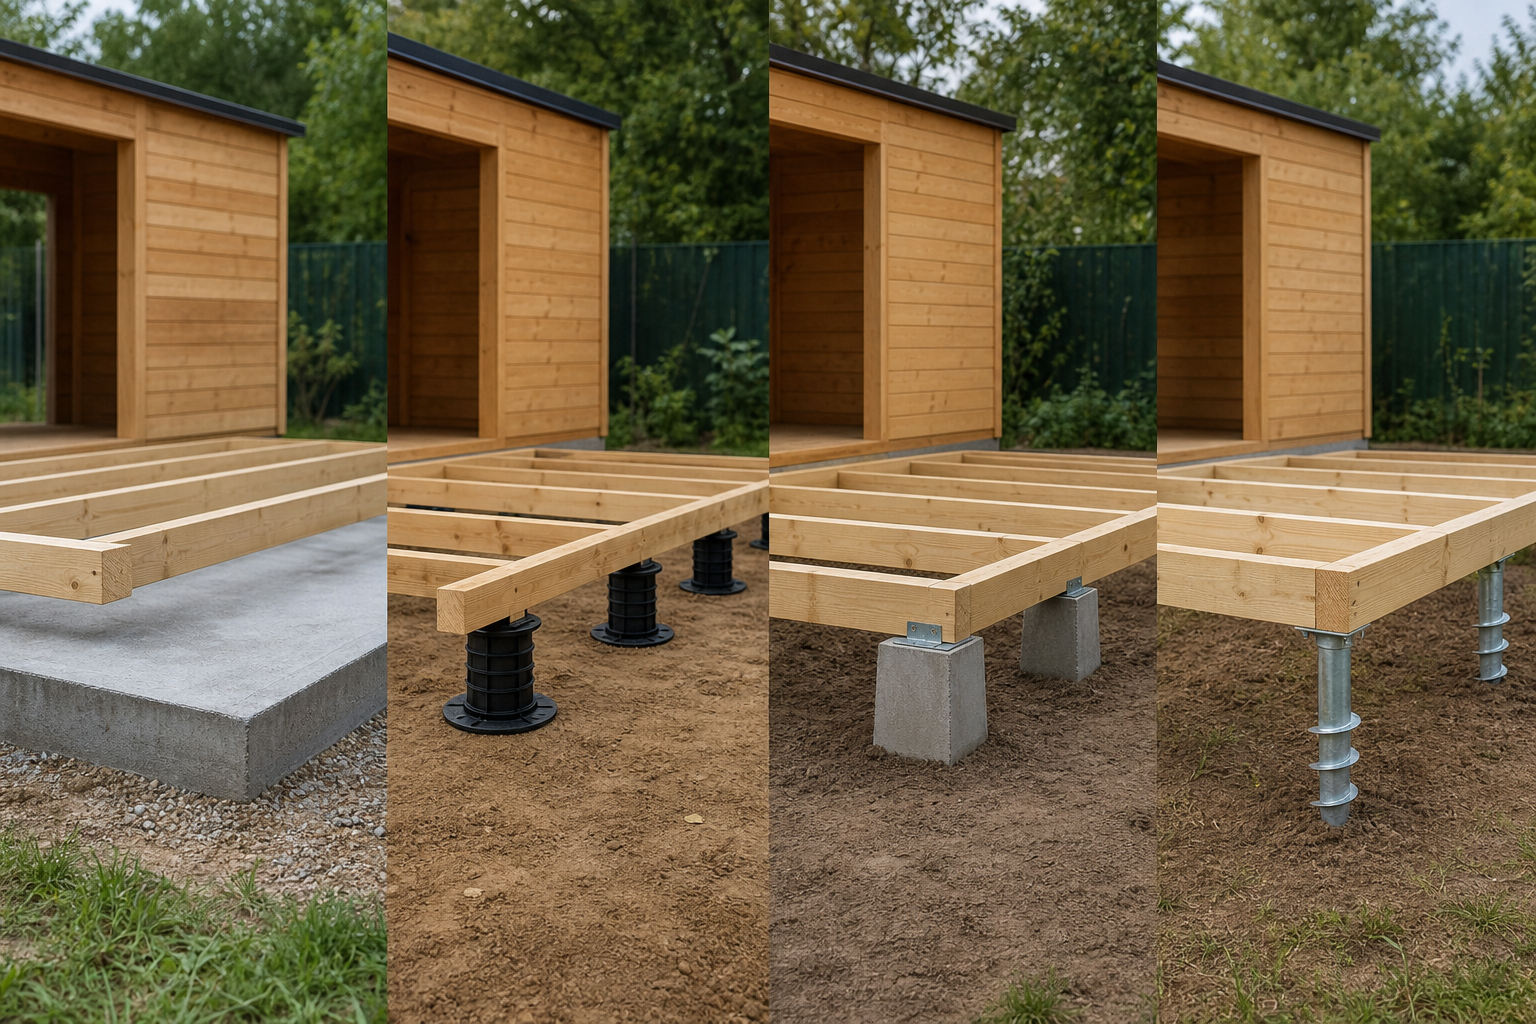
Base your foundation choice on ground slope:
To calculate your site’s slope, lay a 3-metre straight edge with a spirit level from the highest point of the ground, level it horizontally, and measure the distance between the bottom of the board and the ground at the lower end. A 9 cm drop indicates a 3% slope; a 15 cm drop represents a 5% slope.
Non-negotiable foundation rules:
Foundation sizing example. For a cabin with an external log dimension of 4.4 x 3.2 m (such as the Jacob E), excavate roughly 100 mm beyond the perimeter on all sides: 4.6 x 3.4 m (an area of 15.6 m²). For a standard specification of 75 mm compacted MOT Type 1 sub-base beneath a 75 mm reinforced concrete slab, you will need approximately 1.2 m³ of sub-base aggregate and 1.2 m³ of concrete. If pouring a heavier 100 mm slab, allow approximately 1.6 m³ of concrete.
For deeper technical advice, explore our in-depth guides on foundations for log cabins and choosing the right base for your garden shed.
To protect your timber cabin against rot, warping, and UV degradation over the long haul:
Why is this essential? An outbuilding exposed to the elements falls under Use Class 3 according to EN 335 (timber exposed to weather, without ground contact). Nordic spruce (Picea abies) carries a natural durability rating of Class 4 (slightly durable) against wood-decay fungi under EN 350. Applying a breathable exterior stain shields the wood from UV breakdown and moisture ingress. For product recommendations, check our guide to the best wood stains for garden cabins.
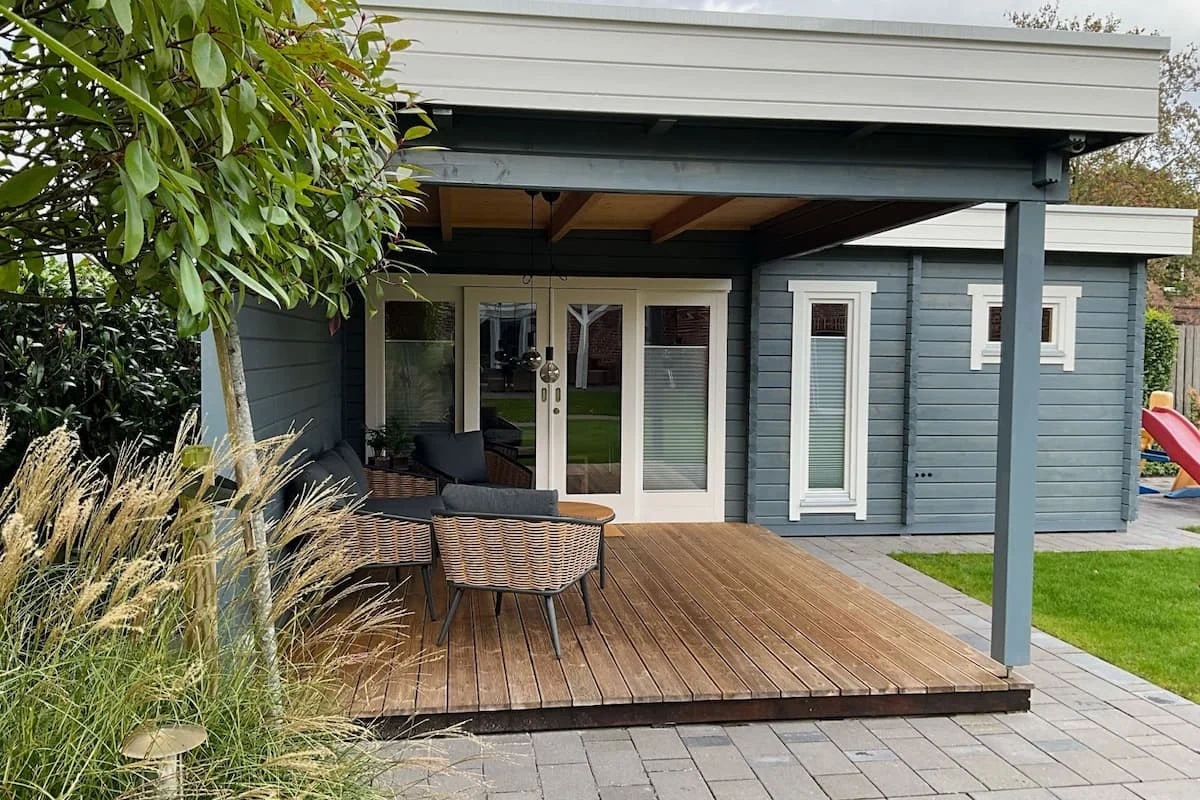
Routine maintenance protects your investment, highlights the natural beauty of slow-grown timber, and keeps your 5-year warranty fully valid.
Our premium thermally modified, fully insulated garden rooms arrive ready for comfortable year-round living, complete with integrated insulation, factory finishing, and on-site assembly. Request a quote to review standard features across the range.
Protected by a 5-year factory warranty with professional assembly across Spain.
| Project Stage | Expected Duration |
|---|---|
| Initial sketch → Formal quote | 3–7 days |
| Quote review → Deposit and confirmation | Typically 1–2 weeks |
| Technical drawing production (post-deposit) | 5–8 working days |
| Factory manufacturing | 5–9 weeks (typically 5–7 weeks) |
| Delivery | Varies by region |
| On-site assembly | 1–7 days (depending on size and crew) |
⏳ Standard lead time for bespoke builds: 8 to 12 weeks from deposit payment. Standard in-stock cabins ship in 3 to 8 weeks. Remember to factor in your assembly window and ensure your foundation is poured early enough to cure before delivery.
Every bespoke timber building begins as a sketch on paper, but turning it into a structure that lasts for decades comes down to three things: precise site measurements, verified planning clearance, and a flat, rock-solid foundation built to a ±5 mm tolerance. At Casetas de Jardín 24, we turn your ideas into precision-machined timber kits engineered for lasting durability.
📩 Send us your sketch and site photos today to request a free, no-obligation quote, and get your custom timber building underway.
No. We supply detailed foundation plans and dimensions, but the concrete slab, timber subframe, or ground screw array must be prepared by a local contractor prior to delivery. On selected models, we can supply and erect an engineered timber subframe as an optional extra.
We can pre-drill timber logs and frame service channels for wiring and pipework during assembly, but all final electrical, water, and drainage hookups must be handled and certified by licensed local tradespeople.
Yes. We can transport flat-pack kits to the nearest commercial port or regional freight depot. Clients then organise local offloading and final transport to the site.