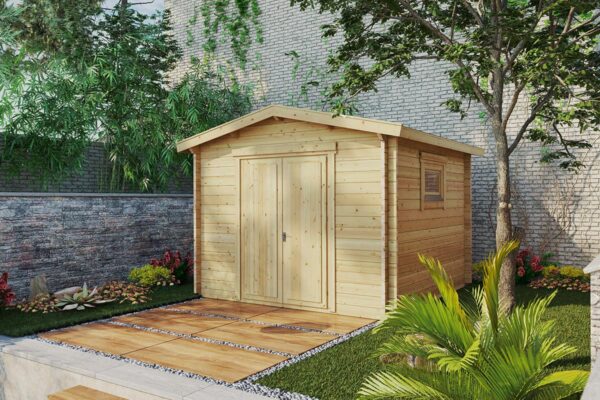
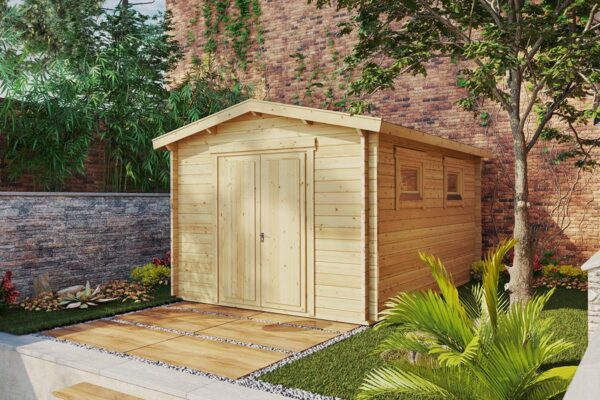
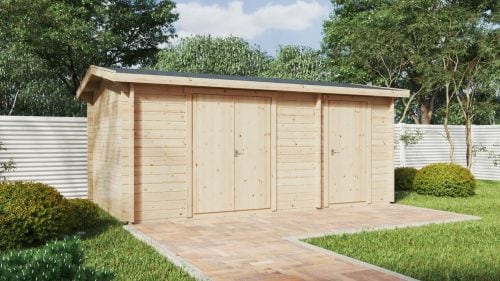
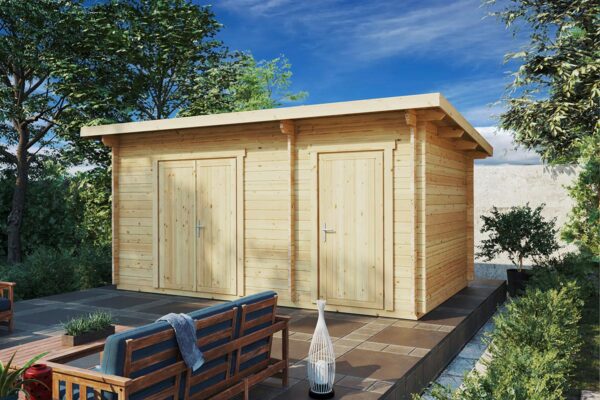
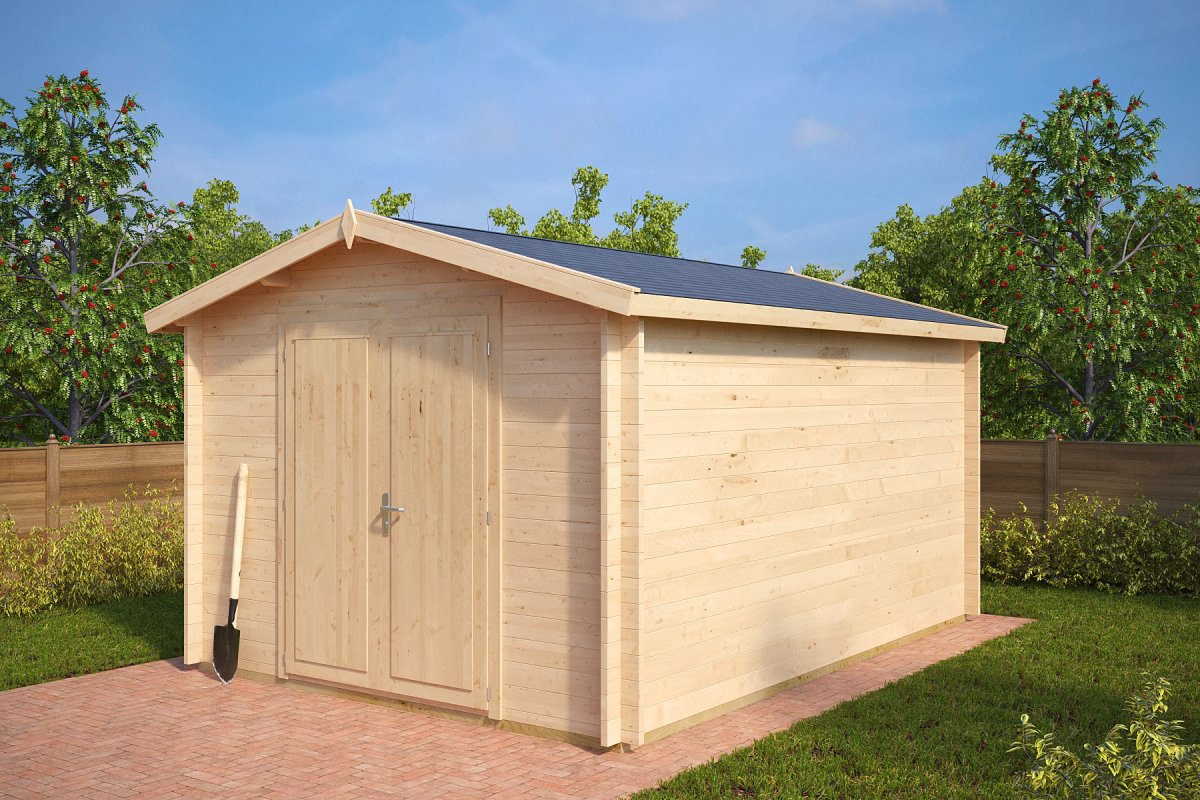
Whether you need to store garden tools, tuck away bicycles, keep firewood dry, or stash seasonal gear, a wooden shed is one of the most practical additions you can make to your garden. Before picking up a saw, however, take time to check local planning rules and lay a level, well-drained base—the structural integrity and lifespan of your shed depend entirely on getting these foundations right. Once the site is prepared, build your shed following these seven key steps:
Tools
Materials
You will also need crushed gravel and a geotextile weed membrane (or ready-mix concrete, depending on your foundation), alongside a heavy-duty damp-proof membrane (DPM) beneath the timber floor.
A precision-cut shed kit arrives with pre-machined timbers and all the assembly hardware included, featuring solid 44 mm Nordic spruce walls. Enjoy free delivery and a 5-year warranty.
Manufactured in-house: over 20 years of craftsmanship and a 5-star Trustpilot rating.
In Spain, planning requirements are determined locally rather than by a single national framework. Each municipal council (ayuntamiento) and regional authority decides whether an outbuilding requires a prior notification (comunicación previa), an affidavit or responsible declaration (declaración responsable), or a formal minor works permit (licencia de obras menores). In Murcia, for instance, a minor works notification is generally sufficient for small garden structures. Conversely, the Regional Government of Andalusia requires a municipal permit for land-use alterations unless a specific simplified regime applies.
Boundary setbacks (the required distance between the shed and neighbouring property lines) also vary by municipality. In Madrid, for example, local planning ordinances typically enforce a minimum boundary setback of 3 metres or one-third of the building height (H/3). Always contact your municipal planning department (urbanismo) to confirm setbacks and procedures for your specific parcel. If you are building on rural land, consult our comprehensive guide on regulations for installing a log cabin on suelo rústico.
Under Spain’s Building Act (LOE), single-storey outbuildings of minor structural complexity that are not intended for residential or public use do not require a formal architectural project. Spain’s Technical Building Code (CTE) adds that the structure must not compromise personal safety. While a basic garden tool shed comfortably satisfies these exemptions, final discretion rests with your local town hall. If you plan to use the shed as habitable living space or a permanent home office, you should consult an architect or technical surveyor (aparejador).
Never set timber floor bearers directly on topsoil or bare ground. Quality shed manufacturers recommend keeping the timber framework at least 50 mm above ground level to prevent moisture uptake, using pressure-treated timber for all floor joists. You have three primary foundation methods:
For a 3 × 3 m shed, a gravel pad should measure roughly 3.6 × 3.6 m. At a depth of 12 cm, this will require approximately 1.6 m³ of crushed stone. To compare base types in detail, see our guides on shed bases and how to prepare the ground for a garden shed.
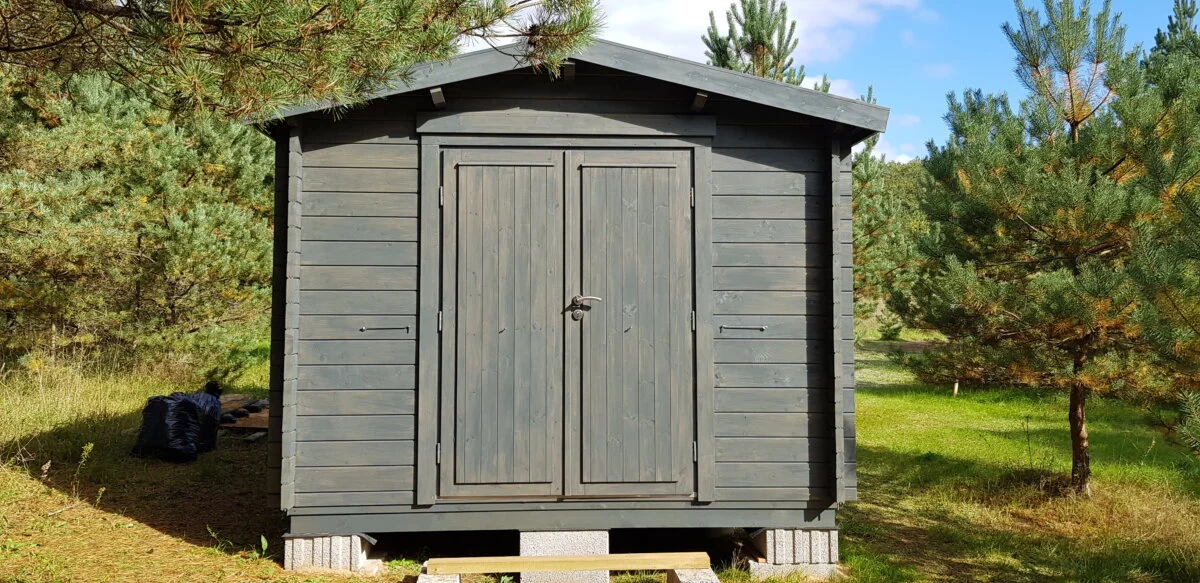
Once your build site is cleared and measured, sketch your design to scale. You do not need architectural software—a clean drawing on grid paper works perfectly. Map out the framing first, followed by wall cladding, roof rafters, and door placement. Note the clear dimensions of every wall panel, beam heights, door rough openings, and the direction and angle of the roof fall.
The top wall plate marks the high point of your roofline. Once you settle on your roof slope, calculate the height of the opposite wall plate, which will carry the lower end of the rafters and share the structural load. Anchor all corners and uprights using heavy-duty galvanized angle brackets, then add intermediate studs and bracing.
The required roof pitch depends on your chosen roof covering. Asphalt shingles generally require a minimum pitch of 17% to 20% (roughly 10° to 11.5°); aiming for at least 20% ensures rainwater drains cleanly without backing up under laps. Corrugated metal roofing sheets can be installed on slopes as shallow as 5% to 7%, depending on the profile. For a pent shed with a 3-metre span, a 20% pitch translates to a 60 cm height difference between the front and rear walls.
Measure each framing bay carefully, mark your boards using a square, and cut them to length. Fix the boards horizontally or vertically, checking constantly with a spirit level to ensure every run stays plumb and true. Use exterior-grade tongue-and-groove cladding with a minimum thickness of 20 mm; opt for heavier boards if your stud centres exceed 600 mm.
Timber naturally expands across the grain in humid weather and shrinks in dry heat. To prevent buckling, select cladding profiles with face widths of 125 mm or less, and leave an expansion gap of roughly 2 mm within each tongue-and-groove joint. Nailing boards together too tightly will cause the cladding to cup or push off the frame when the wet season arrives. For more structural guidelines, see our guide on choosing the right wall thickness for a garden shed.
Cut your rafters to size, birdsmouth them over the wall plates if necessary, and fasten the roof sarking or tongue-and-groove roof boards across the timbers. Leave the final board at the eaves slightly oversized and trim it flush once fitted, ensuring a clean edge without irregular overhangs.
Assemble your door frames on a flat surface or use pre-hung utility doors, then anchor the frames squarely into the rough openings. Fix matching cladding across the door faces to integrate them visually with the surrounding walls. Check the hinges and jambs with a spirit level to confirm the door hangs square before driving the final structural fixings.
With the door aligned in its frame, mount heavy-duty strap or tee hinges to the timber framing members rather than just the cladding boards. Once the doors swing smoothly without binding, install one or two heavy-duty padbolts or barrel bolts on the outside face to keep the unit wind-tight and secure.
Fit drip-edge trims and lay your asphalt shingles starting from the lowest edge, overlapping courses strictly to the manufacturer’s specifications. Next, fit exterior timber fascia boards and corner battens around the eaves and corners to shield end-grain timber from driving rain, backing them with exterior-grade neutral-cure silicone. On the inside, seal framing perimeter gaps with expanding polyurethane foam.
Only use expanding foam around static, rigid junctions. Where structural timbers meet members that expand and contract seasonally, use a flexible exterior mastic sealant instead; cured expanding foam lacks the elasticity required to accommodate shifting wood and will eventually tear away. To prevent ground erosion and wall splashing, read our step-by-step guide on how to install shed guttering.
As soon as assembly is complete, coat all exterior timber in a high-grade preservative to guard against rot, mildew, and wood-boring insects. The European timber durability standard (UNE-EN 335) distinguishes between Use Class 3 (exterior timber above ground, exposed to weather) and Use Class 4 (timber in direct contact with soil or fresh water). All ground-contact bearers and subfloor runners must meet Use Class 4 pressure-treatment specifications.
For exposed wall cladding, apply two to three generous coats of a microporous, breathable exterior wood stain (lasur). Unlike film-forming varnishes, a microporous finish allows moisture vapour to escape from within the timber without blistering or peeling. Ensure the timber’s moisture content is below 20% before application, as recommended by manufacturers such as Xylazel. Inspect the timber every two to three years, applying a maintenance coat whenever the colour fades or rainwater stops beading on the surface. For detailed advice, see our guide to the best wood finishes for garden buildings.
The three most frequent errors in DIY shed builds are:
Building a shed entirely from scratch is a rewarding project if you need a modest tool store and already possess good woodworking tools and framing know-how. However, if you need a larger outbuilding, heavy thermal insulation, or double-glazed windows, a precision-engineered shed kit is far more cost-effective. Factory-milled tongue-and-groove log systems provide tighter weatherproofing, cut construction time down to a single weekend, and eliminate framing guesswork. If you plan to convert your shed into a year-round garden studio or workshop, read our guide on how to insulate a shed roof and floor.
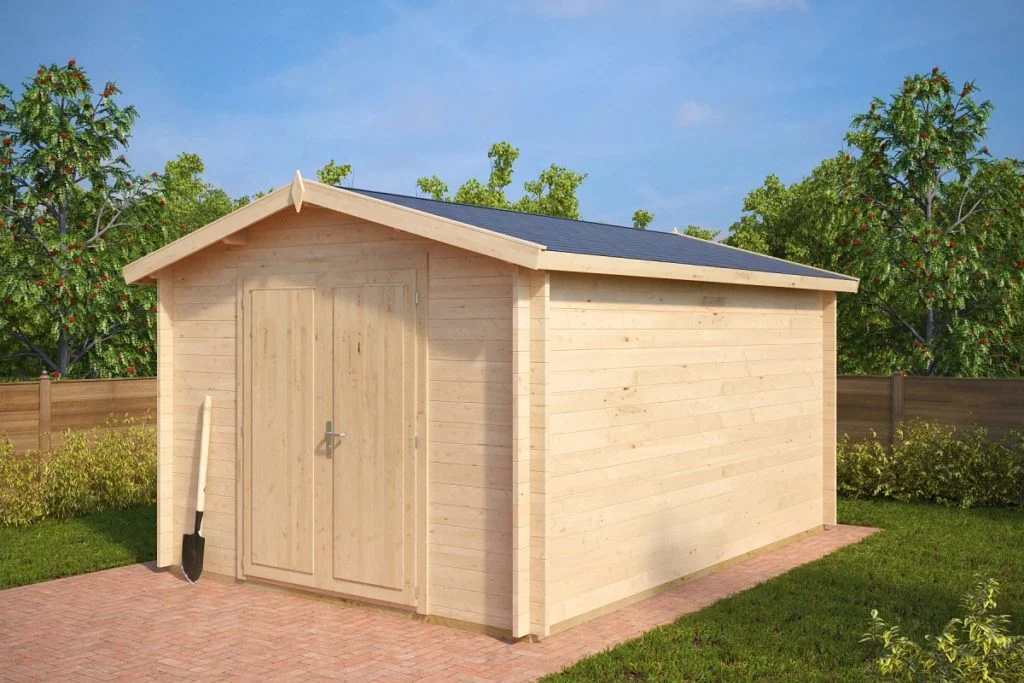
Our garden sheds feature precision double tongue-and-groove interlocking logs, pressure-treated foundation bearers, and factory-milled joints that snap together cleanly. Assemble the kit yourself over a weekend or have our professional installation team handle it for you.
Direct from the manufacturer, backed by a 5-year warranty with free mainland delivery.
It depends on your municipal council and regional zoning laws. In many cases, a simple prior notification (comunicación previa) or responsible declaration (declaración responsable) is all that is required for a small outbuilding, though some town halls require a formal minor works permit (licencia de obras menores). Always check with your local planning office with your intended dimensions and plot plan before building.
For asphalt shingles, aim for a minimum pitch of 20% (approx. 11°) to ensure rainwater sheds quickly and does not back up under the laps. For corrugated metal roofing sheets, a shallower pitch between 5% and 7% is typically acceptable, depending on the sheet profile.
Inspect the protective finish every two to three years. Reapply a fresh coat of microporous wood stain as soon as you notice colour fading or when rainwater stops beading on the surface.