Building a wooden garden shed from scratch comes down to six key stages: selecting a level site, checking local planning rules, drafting your plans, laying a stable and well-ventilated base, framing the walls and floor, and installing a weathertight roof with at least a 10° pitch. Finally, you will want to treat the timber within two to three weeks of assembly. While sourcing and cutting raw timber yourself offers complete design freedom, choosing a precision-machined kit allows two adults to assemble the building in just one to three days, with base preparation accounting for most of the preliminary work.
Whether you picture a dedicated art studio, a garden lounge, a children’s playroom, or simply practical outdoor storage, timber provides an adaptable, renewable, and aesthetically timeless foundation for your project.
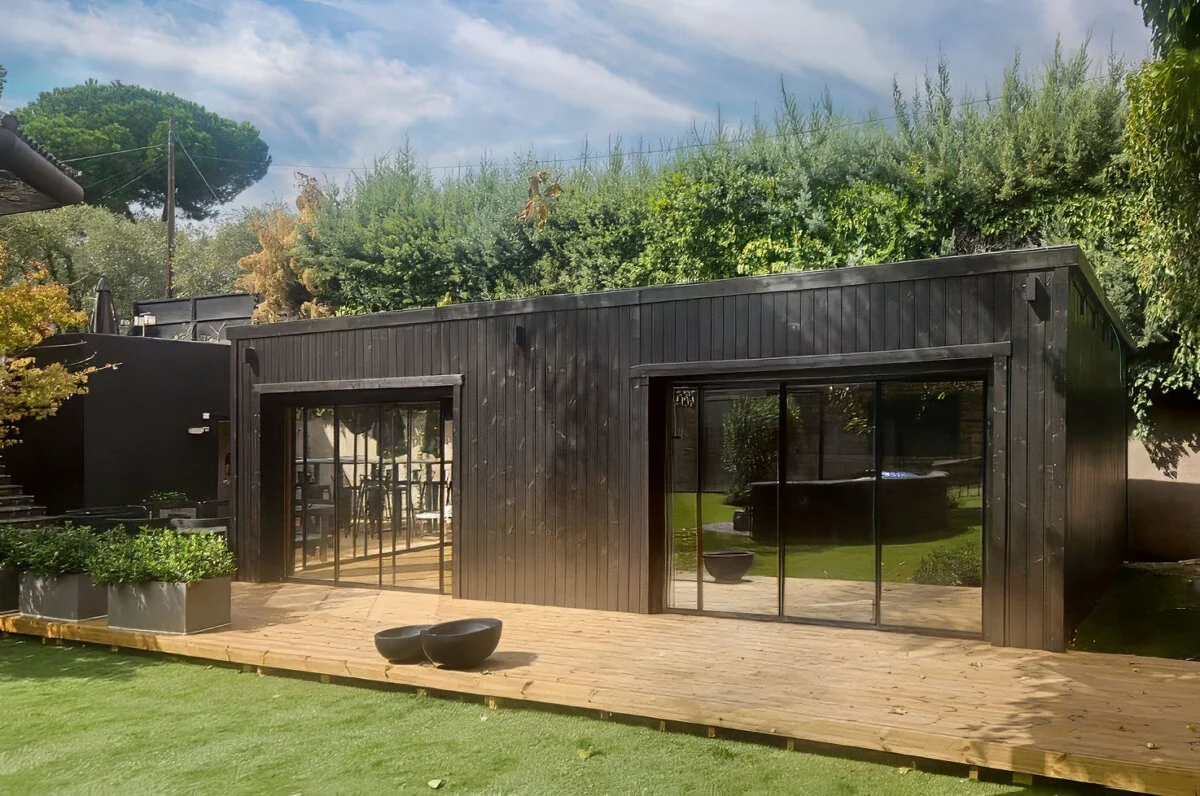
Begin by evaluating your prospective build site. Examine the soil conditions, ground stability, and slope to determine whether you can lay a direct slab or need an adjustable foundation system, such as concrete pier blocks or riser pedestals.
Always leave at least 50 cm (roughly 20 inches) of clear perimeter space around the shed. This working gap accommodates roof overhangs, ensures unobstructed airflow to prevent damp, and provides sufficient elbow room for initial assembly and future timber maintenance. Avoid low-lying, damp, or heavily shaded spots where moss, mildew, and rot take hold easily. If your plot is exposed to prevailing winds, plan for mechanical ground anchors.
Before ordering materials, verify your local planning requirements and permitted development limits, as building codes differ substantially between authorities. In Spain, for instance, the Regional Government of Andalusia typically requires an urban planning permit for detached outbuildings unless the project falls under a prior notification scheme (declaración responsable). In Murcia, minor works usually require a prior notice (comunicación previa), whereas the Municipality of Tudela mandates formal permits for tool sheds up to 25 m², paired with a mandatory 3-metre boundary setback. If you plan to build on rural or non-urban land, read our guides on building a wooden cabin on rustic land and the regulations for installing a wooden garden building.
A pre-cut kit arrives with all components precision-machined, numbered, and paired with step-by-step instructions—allowing you to start straight from the base. We manufacture all our buildings in-house and back them with a 5-year guarantee.
Direct manufacturer with over 20 years of experience and free delivery.
A garden building should be designed from the inside out. Sketch comprehensive blueprints detailing external footprints, subfloor framing, door and window placements, wall profiles, and roof style—whether flat, pent, or apex. If you require water or electricity, plan the ducting and pipe runs into the foundation schematics from day one. Your intended use directly dictates your structural specifications:
A dead-level, unyielding base is non-negotiable. Even a slight dip will prevent wall logs from interlocking square, leading to warped frames, drafts, and binding doors. To cast a dependable concrete slab:
Practical example: For a 3 × 3 m shed, adding a 5 cm perimeter allowance creates a 3.1 × 3.1 m slab. At a finished thickness of 10 cm (5 cm below ground level and 5 cm above), you will need 0.96 m³ of concrete; factoring in a standard 10% safety margin brings the required order to roughly 1.06 m³. The matching 3.2 × 3.2 m excavation with a 15 cm gravel bed requires about 1.5 m³ of crushed stone. For reference, Heidelberg Materials recommends a minimum concrete slab thickness of 75 mm over a well-compacted sub-base.
Always lay strips of heavy-duty bitumen damp-proof membrane (DPM) between the bare concrete and your foundation bearers. Elevating the treated bearers roughly 1 cm off the pad encourages cross-ventilation and eliminates capillary moisture transfer. Fasten the perimeter bearers to the concrete using heavy-duty angle brackets and masonry anchors. If you are building on a gradient, consult our resources on concrete pier pedestals, building a shed base on uneven ground, or our comprehensive guide to garden shed bases.
Common pitfall: Placing a timber shed directly on grass or topsoil. Decomposing organic matter traps ground moisture against the underside, accelerates rot, and shifts beneath the structure, inevitably racking the frame and jamming the joinery.
When using an engineered kit, every component arrives pre-cut with numbered drawings and full fixings, supported by technical assistance. When building from scratch, take the time to square, cut, plane, and clearly label every joist, stud, and wall board against your working drawings before assembly begins.
Work exclusively with kiln-dried timber. Under European Standard EN 14081-1, structural timber is certified as dry when its average moisture content is 20% or less, with no individual reading exceeding 24%. Wood remains a dynamic material: Swedish Wood data indicates that pine and spruce expand or contract by roughly 0.26% for every 1% shift in moisture content. Across a typical 2.2-metre wall, a seasonal 5% swing in ambient moisture can cause up to 3 cm of cumulative vertical movement. Always incorporate expansion gaps and sliding brackets around openings to accommodate this natural settling.
Treat all floorboards on both faces—paying special attention to the underside—with a wood preservative before installation, as these surfaces become inaccessible once laid. Assembly requires two adults, a handsaw, a cordless drill-driver, a spirit level, a rubber mallet, a measuring tape, and a step ladder. Square the foundation beams by measuring diagonally from corner to corner until both lengths match, then assemble the walls interlocking log by log. For detailed model diagrams, refer to our assembly instructions.
For internal living finishes, dry lining walls with plasterboard boosts acoustic dampening, insulation values, and fire safety. On the exterior, apply a breathable, UV-stable protective finish. When insulating with mineral or stone wool, remember that thermal insulation must always be paired with proper ventilation: trapped moisture leads directly to condensation, stagnant air, and mould growth.
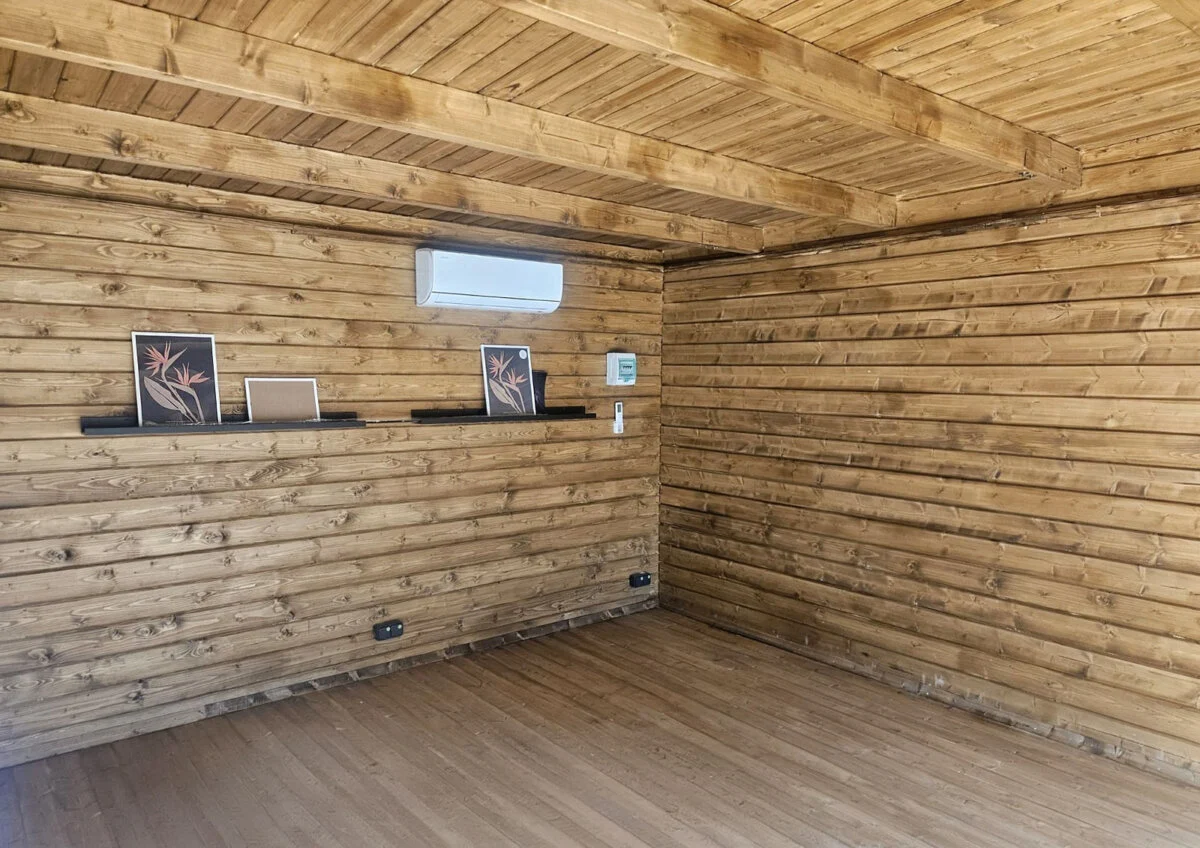
A durable roof relies on a rigid structural frame capable of bearing wind and snow loads. Build rafters and roof trusses using 47 × 75 mm or 47 × 100 mm structural timber, designing in a minimum pitch of 10° to prevent pooling water. On a building 3 metres deep, a 10° fall requires a front-to-back elevation difference of around 53 cm. Ensure roof eaves overhang the external walls by at least 20 cm to throw runoff well clear of the timbers.
Cover the roof deck with a high-grade waterproof membrane. Roll out bitumen roofing felt from the lowest edge upward, overlapping each tier and leaving a 1.5 to 2 cm overhang past the drip edge to guide water clear of the fascia boards. Traditional clay tiles and natural slate make attractive alternatives, but they require steeper roof angles: technical guidelines from Onduline specify a minimum pitch of 32% for curved clay tiles and 60% for slate. Complete the roof by fitting gutters and downpipes to channel runoff into a water butt or soakaway.
Treat all exposed internal and external woodwork with a high-grade exterior wood preservative or breathable stain within two to three weeks of assembly. Ensure door leaves and opening window sashes receive treatment on both faces and along all four edges. Under the EN 335 standard, exterior above-ground timber exposed to weathering falls under Use Class 3, divided into limited wetting (Class 3.1) and prolonged wetting (Class 3.2). For product recommendations, check our guide to the best wood treatments and finishes for garden sheds.
Hang the doors and mount the window units, making sure they sit plumb and swing without catching. If your building will serve as an office, fitness room, or garden retreat, install passive trickle vents or louvered grilles on opposing walls to maintain regular air exchange. For detailed passive and active setup advice, see our guide on how to ventilate a wooden garden shed.
Daily use calls for thicker walls, double glazing, and precision-engineered timber. Our large garden sheds include premium double-glazed doors and windows as standard.
Crafted from select Nordic spruce and backed by a 5-year guarantee.
Building completely from scratch suits experienced woodworkers who require unusual, non-standard dimensions and have the time to mill, treat, and moisture-test every individual piece of lumber. Conversely, an engineered kit eliminates guesswork: the foundation pad is your only structural preparation, the precision-cut interlocking timbers go together predictably, and every timber component is backed by a 5-year manufacturer warranty. If cost efficiency is your main concern, explore our guide on how to build a cheap garden shed step by step or browse our complete collection of wooden garden sheds.
It depends on your local municipality, the building’s floor area, and whether it sits on a permanent or demountable foundation. You may require a full planning permit, a responsible declaration, or a standard prior notice. Always verify your local planning regulations before purchasing materials.
For standard single-room models, two adults can comfortably finish assembly within 1 to 3 days. Larger, multi-room garden buildings may take up to 7 days. Remember to factor in an initial 3 to 4 days for a newly poured concrete base to cure.
For general tool storage or seasonal potting sheds, 44 mm walls are more than adequate. For a home office, hobby studio, or any space intended for regular year-round occupancy, choose 70 mm walls for superior insulation and structural strength.