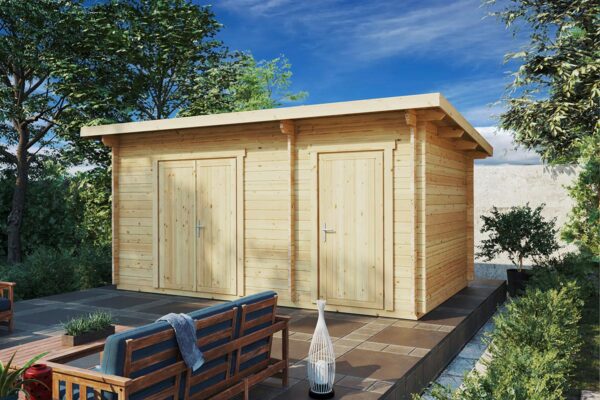
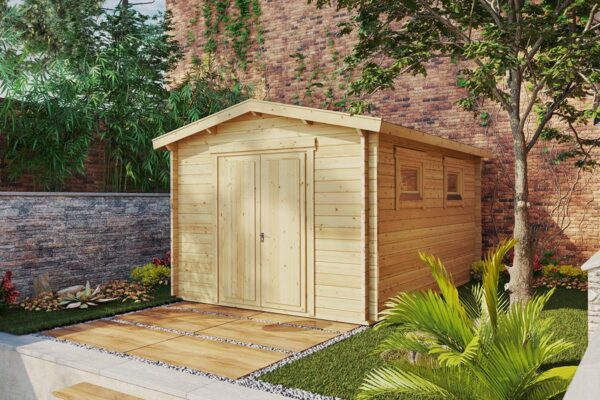
Proper ground preparation is the single most important step when installing a garden shed. The base acts as the backbone for the entire timber structure: it bears the total weight of the building, keeps doors and windows properly aligned, and prevents rising damp from seeping into the floor.
Most structural problems that emerge over time stem not from poor timber quality, but from uneven ground or an inadequate foundation. This guide explains how to assess your site, compare the best foundation options, and prepare the ground step-by-step for a stable, long-lasting build.
As a natural material, timber continuously expands and contracts in response to changes in temperature and humidity. Erecting a shed on an uneven surface causes structural loads to distribute unevenly across the building. Over time, tongue-and-groove wall logs warp, window frames pull out of square, and doors begin to stick.
A common mistake made by DIYers is slanting the foundation slightly to help rainwater drain away. A shed base must be completely flat and level. Any slope in the foundation compromises the entire assembly of the building. Rainwater management should always be handled by the roof pitch, gutters, and ground drainage around the perimeter—never by tilting the base.
Installing a timber shed requires a solid foundation and a resilient timber structure. Our Nordic spruce models combine superior durability with straightforward assembly for your project.
Direct from the manufacturer with over 20 years of experience.
Choosing the right foundation depends primarily on how you plan to use the shed, your soil type, and your budget. Before starting work, review the most popular types of bases for garden sheds to determine which option best fits your project.
| Base Type | Stability | DIY Difficulty | Moisture Drainage |
|---|---|---|---|
| Concrete slab | Very High | High | Medium (membrane required) |
| Paving slabs on gravel | Medium – High | Medium | Excellent |
| Concrete blocks / Adjustable pedestals | High | Low – Medium | Excellent (elevated) |
| Timber base frame kit | High | Low | Excellent |
A poured concrete slab is the most robust foundation available. It is recommended for heavy-duty workshops housing machinery, home gyms, or large timber buildings. To construct one properly, excavate an area extending about 100 mm beyond the shed footprint on all sides. Lay a compacted sub-base of aggregate or gravel at least 75 mm deep, followed by a concrete pour of at least 75 mm in thickness. While it involves higher material costs and curing time, it provides a perfectly flat, permanent base.
Ideal for small garden sheds or medium-sized structures. Remove topsoil to a depth of around 10 cm, lay a geotextile weed membrane, add a 2–4 mm layer of gravel or sharp sand, and bed down concrete paving slabs, levelling each slab individually. This is a cost-effective solution that provides excellent water drainage.
If you are dealing with uneven ground or a steep slope, laying a concrete slab requires moving massive amounts of earth. In these situations, heavy-duty concrete blocks or polypropylene adjustable pedestals are an ideal alternative. They allow precise height adjustments of up to 20 cm, support loads of over a ton per support point, and create an underfloor air gap that isolates the timber from direct ground moisture.
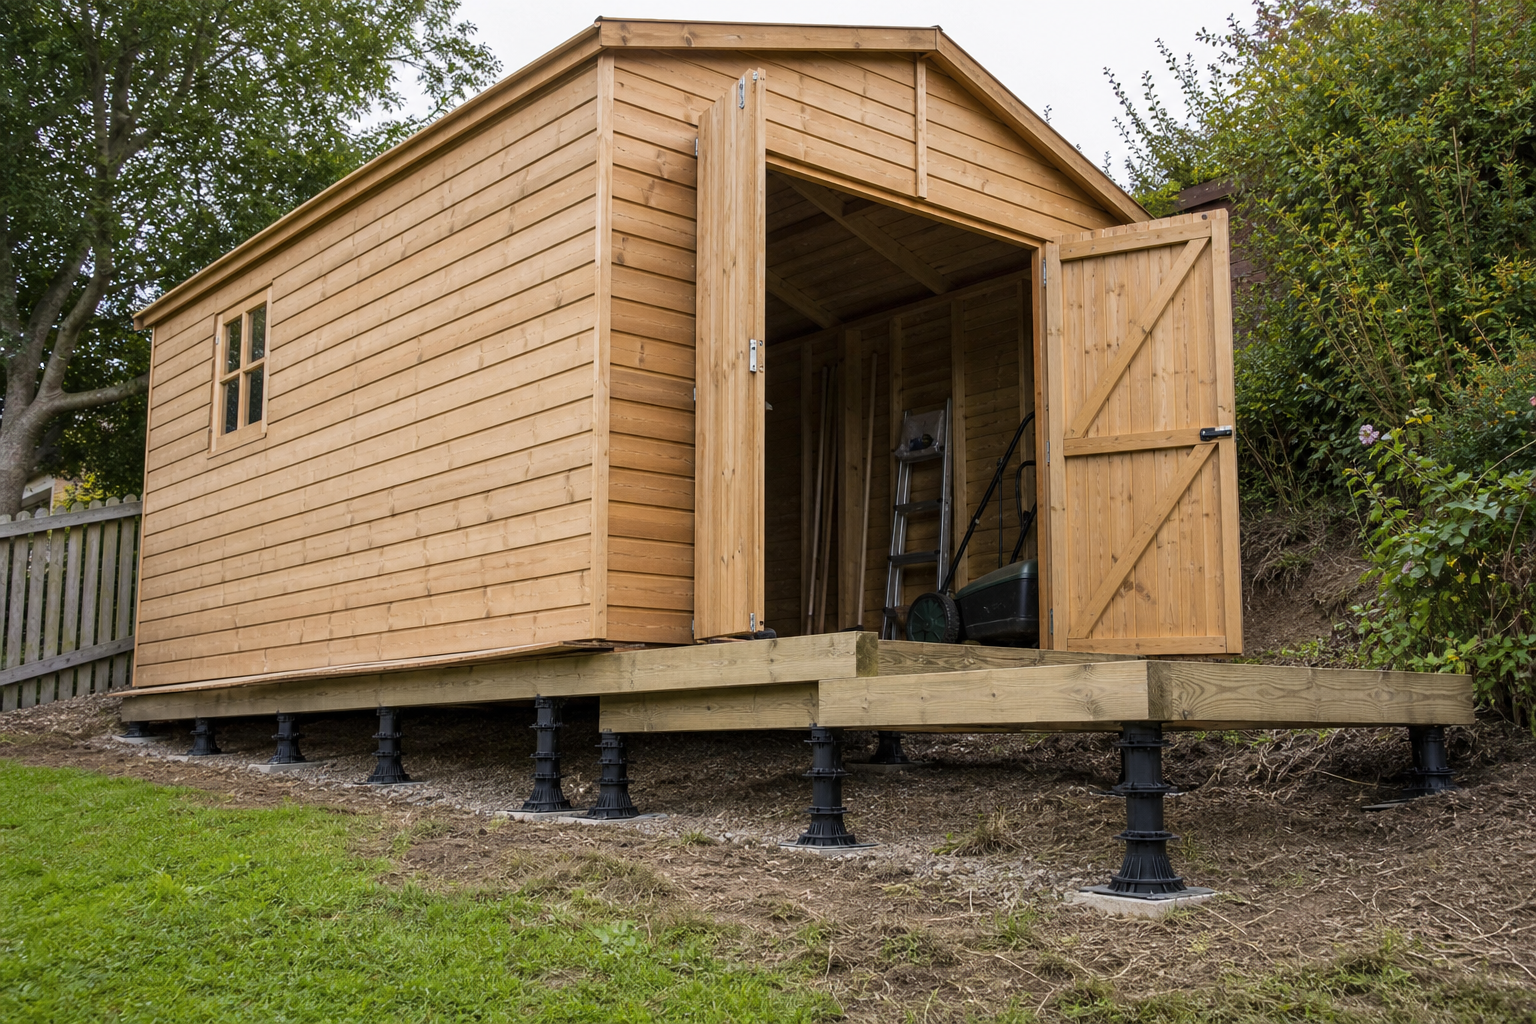
These modular systems consist of pressure-treated timber bearers supported by metal brackets or ground anchor screws. They allow you to level out sloping ground without pouring concrete, dramatically reducing site preparation time.
Thorough ground preparation prevents future sinking caused by soil settlement. Follow these steps to ensure a professional, long-lasting finish.
Mark out the perimeter using wooden pegs and builder’s line. To guarantee true 90-degree corners, use the 3-4-5 triangle method: measure 3 metres along one side and 4 metres along the adjacent side; the diagonal distance between these two points must measure exactly 5 metres. Alternatively, check that both opposite diagonals of the rectangular footprint are equal in length.
Excavate topsoil and roots to a depth of 10 to 15 cm. Never build a shed directly on grass; decaying turf creates hollows beneath the base, causes uneven settling, and continuously transfers moisture into the timber floor.
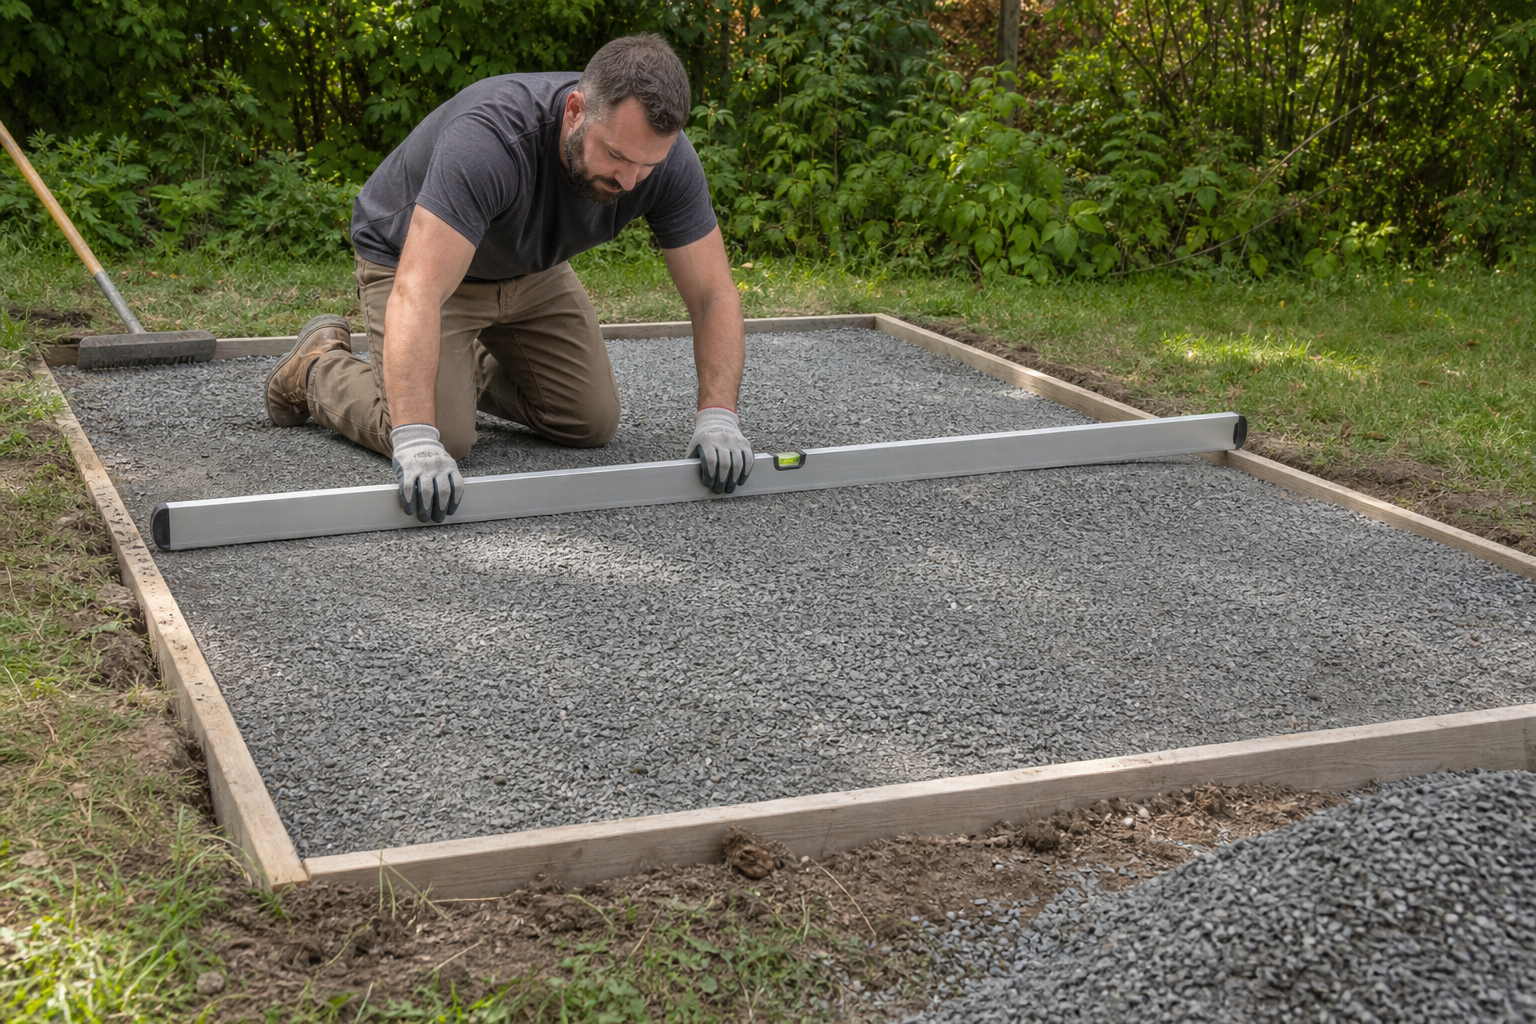
Line the bottom of the excavation with a permeable geotextile weed membrane. This fabric suppresses weed growth while letting rainwater drain away freely. Next, fill the area with gravel or crushed stone in 5 to 7 cm layers, compacting each layer thoroughly with a hand tamper or plate compactor. The surrounding ground should slope away gently at a 2% gradient to keep surface water clear of the base.
Place a long straight edge and a spirit level (or laser level) across the compacted surface, paving slabs, or frame rails. Check for level along all four sides and across both diagonals. Add or adjust material until the surface is completely level.
Position the shed base frame onto your prepared foundation. This grid of pressure-treated floor bearers supports the interior floorboards and serves as the mounting framework for the shed walls.
Rising damp—moisture drawing up from the soil into supporting timbers—is the primary threat to timber garden structures. Under European timber design standards (Eurocode 5), construction methods must prevent standing water and ensure continuous airflow around timber components near the ground.
Follow these key steps to protect against moisture:
In our complete catalogue of garden sheds, you will find models crafted from dense, slow-grown Nordic spruce. Built on a level, well-ventilated base, these structures will deliver decades of reliable performance with minimal maintenance.
Our specialists can help you select the ideal shed and base solution for your ground conditions. Explore timber buildings designed to resist moisture and stand the test of time.
Free delivery to mainland Spain and a 5-year manufacturer warranty.
No. Lawns retain moisture and settle unevenly under the weight of a timber shed. You should excavate 10–15 cm of topsoil, lay a geotextile weed membrane, and build a solid base using gravel, paving slabs, concrete blocks, or an elevated base frame kit.
Never. A shed foundation must be completely level to prevent wall logs from warping and doors from sticking. Water management should be handled strictly by roof pitch, gutters, and perimeter ground drainage.
Excavate the area and lay a compacted aggregate sub-base at least 75 mm thick, followed by a concrete pour of at least 75 mm thickness. Ensure the slab extends 100 mm beyond the shed footprint on all sides.