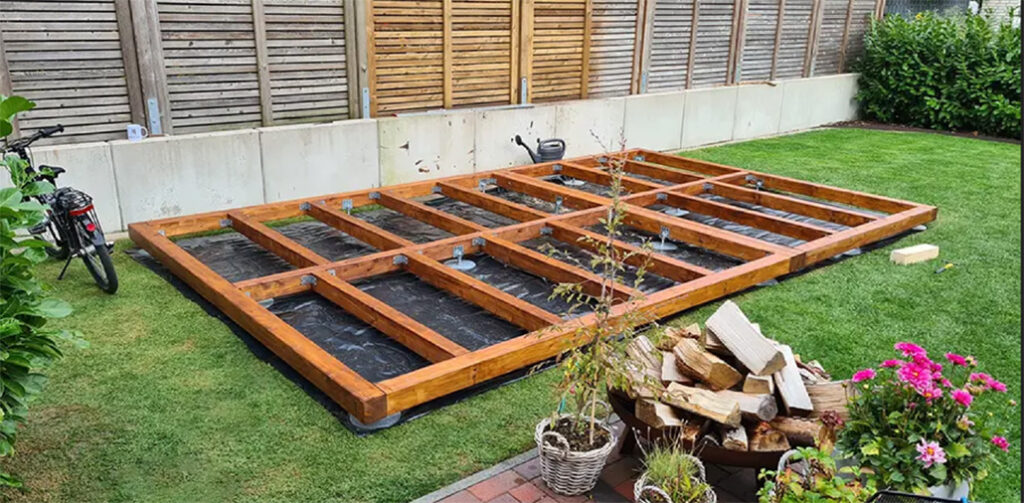
At first glance, placing a shed directly on grass seems perfectly reasonable. The ground looks level, the lawn looks harmless, and it feels like the kind of thing that should just work. But while grass is great for garden parties, kids’ football and lazy Sunday afternoons, it is about as far from a suitable building base as you can get.
Grass holds moisture, the ground beneath it softens after rain, and waterlogging is common in wetter months. A timber shed sitting directly on turf will slowly draw that moisture upward, causing the wood to swell, warp and eventually rot from the bottom up. Doors will start sticking, the structure will begin to lean, and before long you will have an uninvited colony of slugs, mould and general garden unpleasantness taking up residence underneath.
The good news is that installing a shed on a grassy garden is entirely achievable — it just needs to be done properly. This guide covers why grass alone is never enough, which base types work best, and how to prepare the ground so your shed stays solid for years to come.
Browse our range of timber garden sheds — manufactured directly in our own factory for quality you can see and touch.
5-star rating · Direct from the factory · 5-year warranty
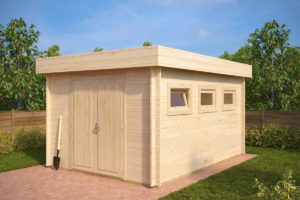
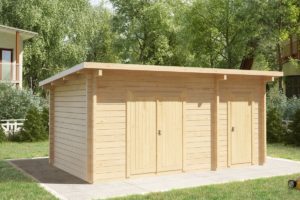
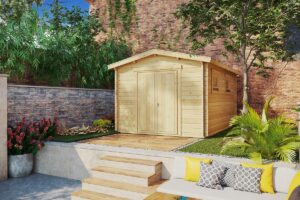
Placing a shed directly on grass is one of those things that seems fine until it very much isn’t. The problems tend to be slow and quiet at first — a slightly stiff door here, a damp smell there — and then suddenly you are dealing with a rotten floor, a leaning wall and a repair bill that costs more than the shed itself.
Here is why grass is never a suitable base for a shed:
If you are putting in the effort to build a proper base, it is worth pairing it with a shed built to last.
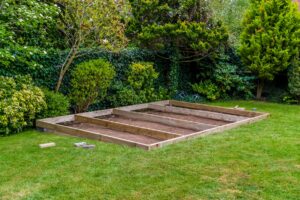
There is no shortcut here. If you want your shed to stay level, dry and structurally sound, the grass needs to come up and a proper base needs to go down. No product, mat or membrane can turn turf into a stable foundation.
The good news is that there are several solid base options depending on your budget, your garden conditions and how much work you want to take on. Here are the main ones worth considering.
A poured concrete slab is the gold standard for shed bases. It provides a completely flat, rigid surface that will not shift, sink or degrade over time. It is the best choice for larger or heavier sheds — workshops, garden offices or anything you plan to spend a lot of time in. It is also the most labour-intensive and expensive option upfront, but done correctly it will outlast everything sitting on top of it.
Paving slabs are a popular choice for good reason — they are affordable, widely available and far less work than pouring concrete. When properly laid on a compacted sub-base, they provide a firm, even surface that suits the majority of garden sheds.
The preparation is what matters most: the turf and topsoil need to come out, a sub-base needs to go in, and each slab needs to be individually levelled. Cut corners on any of those steps and the slabs will shift. Do it properly and you have a base that can last just as long as concrete.
Concrete blocks are a flexible solution when your garden is not completely flat. Because each block sits independently, you can adjust the height across the footprint to compensate for slopes or undulations in the ground. They are quick to install, cost-effective and raise the shed clear of surface moisture.
They should always be placed on compacted gravel rather than bare soil, and larger sheds will need more support points to prevent any flex in the floor frame. For smaller to mid-sized sheds on slightly uneven ground, they are an excellent option.
If your garden suffers from poor drainage or you are working with a limited budget and no experience laying hard landscaping, a gravel and plastic grid base is often the smartest choice. The gravel drains freely, the interlocking grid panels distribute the load and keep the surface stable, and the whole system avoids the heavy work involved with slabs or concrete. It is also one of the more forgiving options for a first-time installer.
A timber bearer frame lifts the shed floor off the ground, creating an air gap that helps keep the timber dry. It is a good option where you want a raised, breathable base without the permanence of concrete or slabs.
One thing to be clear on: a timber frame must always sit on top of a solid base — concrete, slabs, gravel or blocks. It should never rest directly on soil or turf. A wooden frame in direct ground contact will rot faster than any other base type, defeating the purpose entirely.
A solid base is half the job. The other half is choosing a shed designed to handle whatever the Spanish weather throws at it. Explore our full range of timber garden sheds, built to last in our own factory.
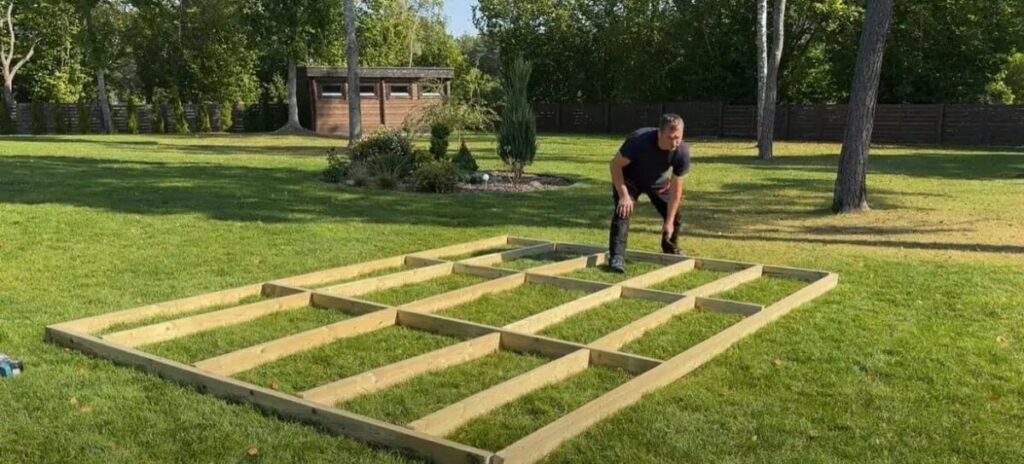
Follow these steps to give your shed the best possible start:
Mark the footprint of your shed and add an extra 5–10 cm on each side. Strip out all the turf, roots and topsoil within that area until you are down to firm subsoil. Do not leave any organic material in place — it will decompose and create voids beneath your base over time.
Dig down to approximately 100 mm across the whole area to make room for your sub-base layer. Rake the surface level and check for any soft spots or high points. Compact the soil firmly with a plate compactor or hand tamper before moving on.
A weed membrane stops regrowth from underneath and helps keep moisture under control. It also prevents your sub-base material from gradually working its way down into the soil, which would undermine the stability of the base over time.
Fill the excavated area with MOT Type 1 crushed stone, compact it thoroughly and finish with a thin layer of sharp sand to create a level surface. This gives you a firm, well-draining foundation for whatever base type you are installing on top.
Whether you are laying slabs, setting concrete blocks, installing grid panels or pouring concrete, take the time to get it level and square. Check both diagonals — if they measure the same, the base is correctly squared up. Rushing this stage is the single most common reason shed bases fail.
The base and the bearer frame are two separate things, though they are often confused. The base sits on the ground; the bearer frame sits on the base and supports the shed floor. Placing the shed directly onto the base without a bearer frame restricts airflow and can cause the same damp problems you were trying to avoid.
It is also worth considering fitting guttering to your shed to direct rainwater away from the base area.
Place the shed on the bearer frame, check it is sitting level and fix it down according to the manufacturer’s instructions.
Most shed base failures come down to the same handful of avoidable errors. Here is what to watch out for:
| Common mistake | What goes wrong | How to avoid it |
|---|---|---|
| Skipping drainage | Water pools under the shed, leading to rot, mould and a base that sinks unevenly. | Always install a compacted sub-base (MOT Type 1 + sharp sand) and use a raised base type such as blocks or a bearer frame. |
| Leaving the turf in place | Grass dies and decomposes into a soft, unstable layer that shifts under load. | Strip out all turf and topsoil before you start. Build on firm subsoil, not organic material. |
| Using the wrong materials | A base that cannot handle the weight of the shed will compress, crack or fail over time. | Use materials rated for the job. Decorative gravel and soft landscaping products are not sub-base materials. |
| Ignoring ground conditions | Clay expands when wet, sandy soil shifts, and sloped ground can cause the base to creep over time. | Choose a base type suited to your specific soil and drainage conditions — not just whatever is easiest. |
| Neglecting maintenance | Leaf litter and debris build up around the base, trapping moisture and encouraging rot and pests. | Keep the area around the base clear, consider a gravel perimeter and check the level once a year. |
| Cutting costs on the base | A cheap base almost always means an expensive repair further down the line. | The base is the most important part of the installation. It is not the place to save money. |
The single most important thing to take away from this guide is straightforward: a shed is only as good as what it sits on. Grass is not a foundation. It never will be, regardless of how level it looks or how long it has been there.
Putting in the work now — stripping the turf, compacting the sub-base, getting the levels right — means you will not be dealing with a tilting shed, a rotten floor or an unexpected wildlife sanctuary in a few years’ time. Get the base right and your shed will look after itself. That is the whole point: do it once, do it properly, and move on.
No. Grass is not a stable or suitable surface for a shed. It retains moisture, compresses unevenly under load and will cause the structure to shift and rot over time. A proper base is always needed.
It depends on your budget and ground conditions. Gravel with plastic grid panels tends to be the most practical all-round option. Concrete and paving slabs offer the most durability, concrete blocks work well on uneven ground, and a timber bearer frame is a good choice on flat, well-drained plots.
No. Slabs placed on turf will sink, shift and crack. You need to remove the grass and topsoil, lay a compacted sub-base and level each slab carefully before placing the shed on top.
Remove the turf, excavate down to firm subsoil, add a compacted sub-base and use concrete blocks or a timber frame with adjustable supports to correct the height difference across the footprint. You can also build up lower areas with compacted gravel.
Yes, always. Grass and topsoil are organic materials — they decompose, compress and shift. There is no base type that performs reliably when laid over turf.
Gravel with plastic grid panels is usually the most cost-effective option that still provides a durable, stable result. Concrete blocks are another budget-friendly choice, provided they are set on compacted gravel rather than bare soil.
No. Plastic grid panels need a layer of compacted gravel beneath them to work properly. Placed directly on turf, they will sink into the ground and the shed will lose its level over time.
Around 100 mm (10 cm) is the standard depth. This gives you enough room for a weed membrane, a layer of compacted MOT Type 1 and a thin finishing layer of sharp sand before the base itself goes down.