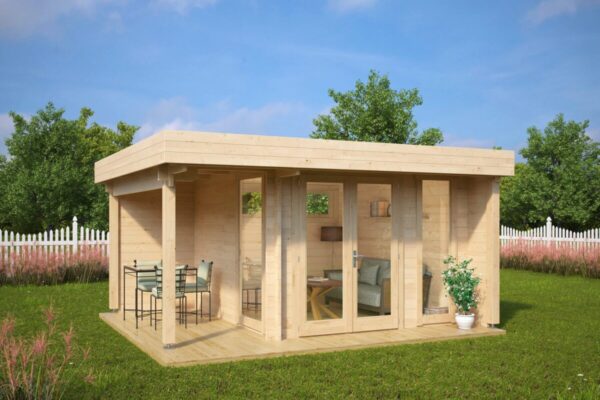
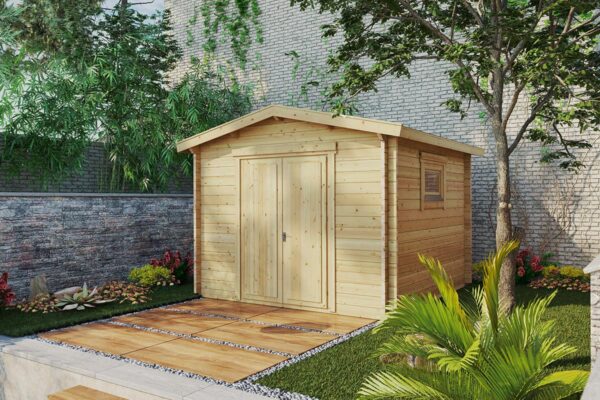
Step-by-Step Guide to Painting and Protecting Your Wooden Shed
La mayoría de las casetas y estructuras de jardín se entregan en madera natural sin tratar. Aplicar un tratamiento protector adecuado e iniciar los trabajos de pintura justo al finalizar el montaje resulta fundamental para garantizar la longevidad, la estabilidad estructural y el atractivo estético de la madera frente a las inclemencias del tiempo.
Por qué es crucial tratar la madera inmediatamente después del montaje
El abeto nórdico utilizado en la fabricación de construcciones de madera es un material natural altamente resistente, pero sensible al agua y a la radiación ultravioleta cuando carece de protección superficial. Si deja la estructura expuesta durante demasiado tiempo sin tratar, el sol grisa la madera, favorece la aparición de microfisuras y la humedad ambiental puede penetrar en los poros, provocando deformaciones en los tablones.
Se aconseja aplicar el protector o la pintura inmediatamente al concluir el ensamblaje y completar el proceso en las primeras cuatro semanas. De acuerdo con los estándares técnicos de construcción en madera, la madera destinada al exterior debe presentar una humedad superficial máxima del 16% al momento de imprimarse o tratarse. Tratar la caseta a tiempo evita costes futuros de lija y reparaciones complejas. Para asegurar una conservación integral de las piezas, consulte las recomendaciones de montaje y consejos de mantenimiento para casetas de madera.
Invertir en recubrimientos de calidad marca una diferencia abismal. Los protectores y lasures de gama alta protegen la madera durante 7–10 años sin agrietarse, mientras que las alternativas muy económicas exigen repintar cada 2–3 años, incrementando el gasto en material y el tiempo empleado en la mano de obra.
¿Busca una caseta de madera duradera para su jardín?
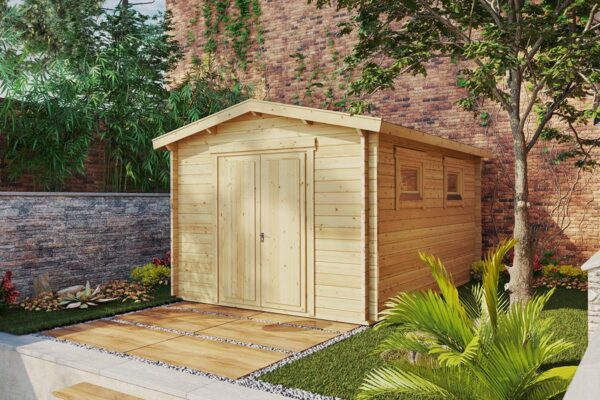
Diseñamos y fabricamos casetas con abeto nórdico seleccionado de alta resistencia, listas para montar e instalar en su parcela. Todos los modelos cuentan con 5 años de garantía directa de fábrica y transporte gratuito.
Antes de iniciar la tarea, reúna el equipo adecuado para lograr un acabado uniforme y proteger adecuadamente cada componente:
Brocha ancha de 80–100 mm para acelerar la aplicación sobre los paneles de paredes.
Brocha plana fina de 20–30 mm para marcos de ventanas, molduras, puertas y rincones estrechos.
Palo o espátula de madera/plástico para remover y homogeneizar la pintura periódicamente.
Cinta de carrocero para sellar el perímetro de los cristales y proteger herrajes o manillas.
Lija fina de grano 180–220 para eliminar pequeñas asperezas o fibras levantadas de la madera.
Escobilla suave o paño seco para eliminar el polvo antes de la aplicación.
Lasur, pintura o protector de madera de alta calidad.
Elección del recubrimiento: lasur, pintura o barniz
Elegir la solución correcta influye directamente en el mantenimiento de sus cobertizos de madera para jardín. Las opciones principales presentan ventajas específicas:
Lasur o protector poroso: Penetra profundamente en las fibras sin formar una película sellada. Permite que la madera transpire, regulando los cambios de humedad sin desconcharse ni agrietarse. Productos multifunción como Remmers HK Stain combinan imprimación y capa protectora contra hongos, moho e insectos.
Pintura para madera de exterior: Ofrece acabados opacos en múltiples colores y crea una capa protectora continua. Requiere aplicar una imprimación previa para garantizar la adherencia y evitar que los taninos de la madera manchen la pintura.
Barniz exterior: Forma un escudo transparente o satinado. Si bien protege eficazmente contra la lluvia, en exposiciones solares prolongadas puede llegar a cuartearse si no incluye filtros UV reforzados.
En cuanto al color, los tonos oscuros (como teca, nogal o palisandro) absorben mayor radiación ultravioleta, brindando una protección física ligeramente superior a la madera frente a los tonos completamente transparentes.
Preparación previa de las superficies
Una adecuada preparación de la base garantiza que el producto se adhiera con firmeza y extienda su vida útil:
Planifique los trabajos durante un periodo de clima seco y templado, con temperaturas entre 10 °C y 25 °C y sin previsión de lluvia durante al menos 24–48 horas.
Compruebe que las paredes y las tablas estén completamente secas y libres de suciedad, resina o polvo de obra.
Pase una lija suave en el sentido de la veta para abrir los poros y eliminar las asperezas superficiales.
Preste atención especial a la testa o madera de testa (los cortes transversales al final de las tablas), ya que absorbente extremo y debe quedar muy bien impregnada para frenar filtraciones.
Proteja los cristales de las ventanas con cinta de carrocero y limpie de nuevo el polvo resultante del lijado.
Paso a paso para pintar una caseta de madera
Siga este procedimiento detallado para lograr un resultado duradero sin marcas ni goterones.
Homogeneizar el producto: Abra la lata y remueva enérgicamente con el palo de madera durante al menos dos minutos. Continúe removiendo la mezcla cada 25–30 minutos durante el trabajo para impedir que los pigmentos densos se posen en el fondo del recipiente.
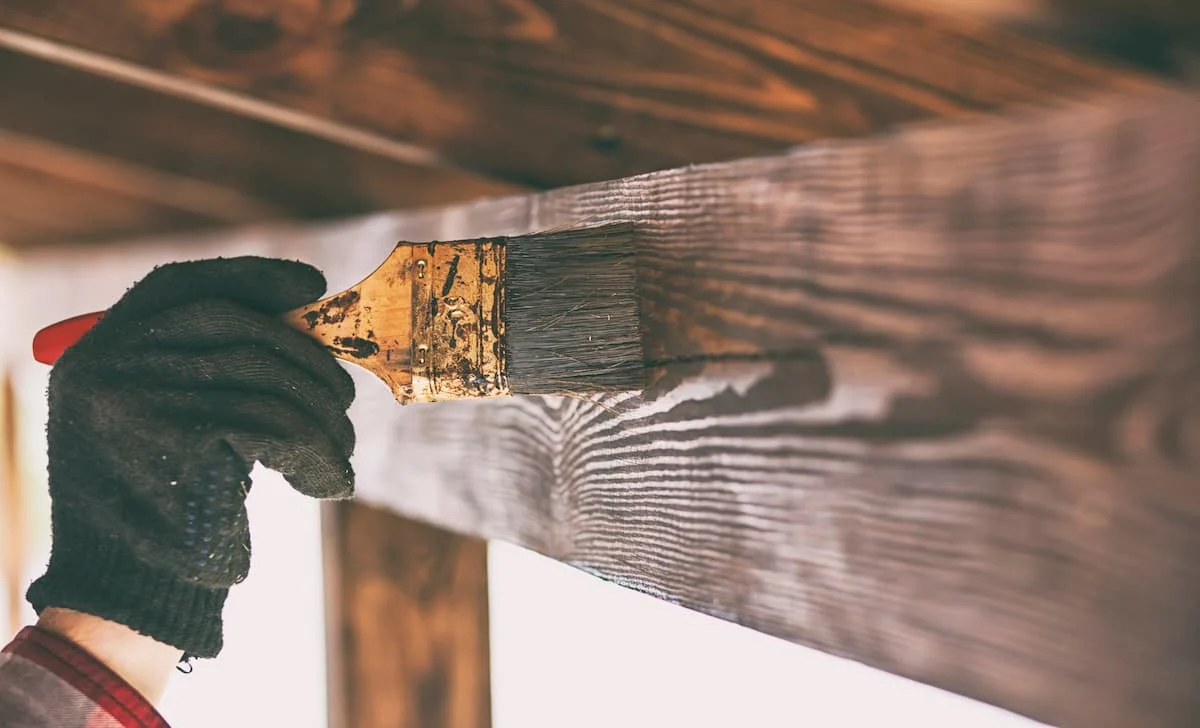
Pintado de las paredes exteriores: Utilice la brocha ancha de 80–100 mm. Trabaje siempre en el sentido de la veta de la madera, aplicando capas finas e interconectadas. No recargue en exceso la brocha para evitar chorreones que generen manchas oscuras indelebles tras el secado.
Aplicación en puertas y ventanas: Con la cinta de carrocero fijada en los bordes del cristal, aplique el protector sobre los perfiles de puertas y ventanas empleando la brocha fina de 20–30 mm. Retire la cinta antes de que el recubrimiento se seque completamente para prevenir la rotura del filme de pintura.
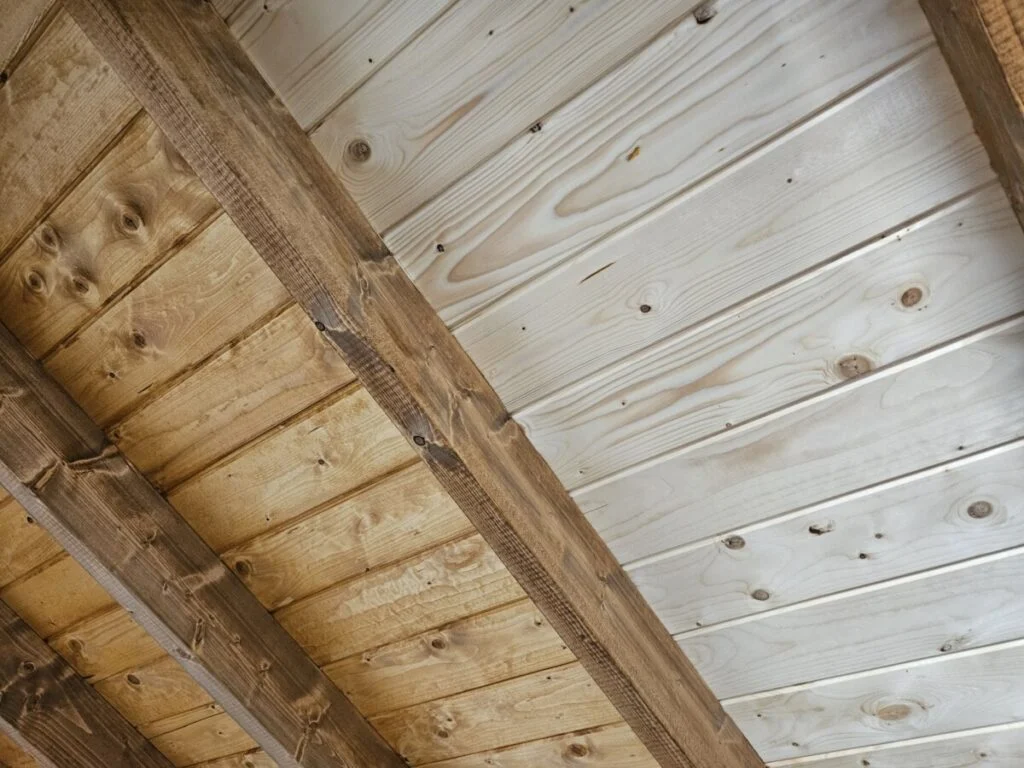
Pintado del interior, suelo y techo: Evite pisar el suelo de madera sin tratar con calzado sucio para no dejar marcas imborrables. Aplique el tratamiento comenzando por la esquina más alejada de la caseta y avanzando hacia la puerta de salida. Cuando el suelo esté seco, prosiga con las paredes interiores y los paneles del techo.
Para la mayoría de los lasures y pinturas de exterior se requiere aplicar dos manos completas, respetando los tiempos de secado entre capas indicados por el fabricante.
¿Planea instalar un nuevo espacio en su jardín?
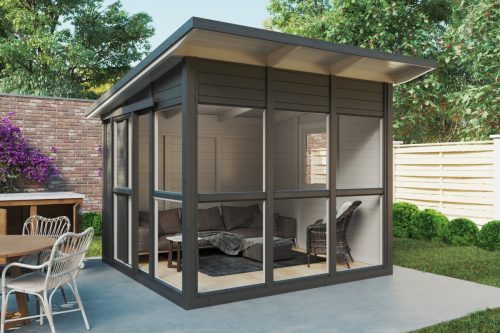
Descubra nuestra colección de casas, casetas y cobertizos de madera nórdica. Le asesoramos de forma personalizada para encontrar la estructura que mejor se adecúe a sus necesidades.
Mantenimiento e inspección periódica de la estructura
Mantener la madera en óptimas condiciones requiere revisiones periódicas sencillas:
Inspeccione la caseta al menos una vez al año, prestando atención a las uniones, las testas, los bordes inferiores de las paredes y las zonas expuestas al sur o al oeste.
Si observa la pérdida de repelencia al agua o decoloración localizada, repase esas áreas de forma puntual tras limpiar la superficie.
Mantenga limpios los canalones y evite que la vegetación o las ramas entren en contacto directo con las paredes para favorecer la ventilación natural.
Si le interesa dar un giro estético a su construcción combinando tonos para carpintería y fachada, explore diferentes ideas de color para casas de madera.
Preguntas frecuentes
¿Es necesario aplicar una imprimación antes de pintar la caseta?
Depende del producto utilizado. Ciertos lasures de alta calidad integran la imprimación y la protección activa contra hongos en su propia fórmula, por lo que se aplican directamente sobre la madera limpia. Para pinturas tradicionales u opacas, resulta imprescindible utilizar una imprimación previa que selle la madera y asegure la adherencia.
¿Cuánto tiempo puedo esperar para pintar una caseta recién instalada?
Debe pintar la caseta lo antes posible tras completar el ensamblaje, preferiblemente dentro de las primeras cuatro semanas. Dejar la madera a la intemperie durante más tiempo expone el abeto al sol y la humedad, lo que puede provocar grietas y oscurecimiento.
¿Por qué es preferible usar brocha en lugar de rodillo en casetas de madera?
La brocha permite empujar el producto protector hacia el interior de los poros, nudos e hendiduras de la madera tratada. El rodillo tiende a dejar una capa excesivamente superficial sobre maderas rugosas, reduciendo la penetración y la durabilidad de la protección.
Want to discuss over phone. Let us call back to you
If you need any additional info regarding any product, please fill in the below form and we will get back to you, usually the same or next working day.
"*" indicates required fields
Have any questions regarding some product?
If you need any additional info regarding any product, please send us your questions.
"*" indicates required fields
Your quotation for casetasdejardin24.es
When you submit this form you will receive a pdf containing details of this cabin model, product dimensions and prices including any options you have selected