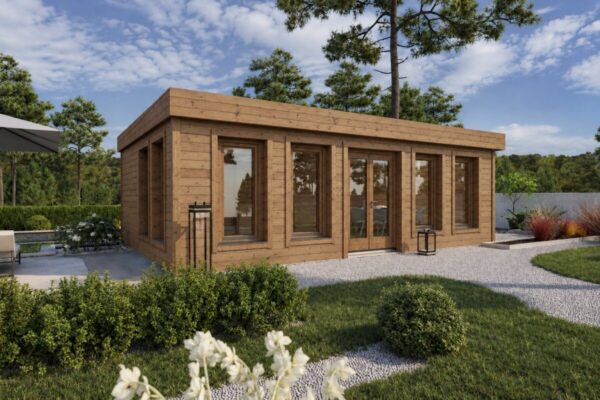
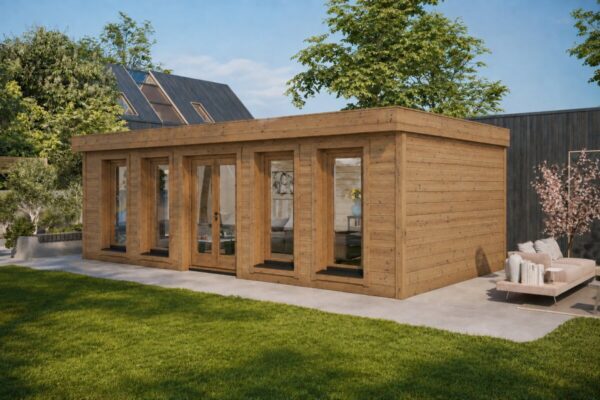
Building a home gym in a garden room comes down to four fundamental requirements: adequate floor space (12 to 15 m² for solo training, or at least 14 m² of usable room if you want a barbell and power rack), a subfloor engineered to support heavy weights and high impacts, thorough insulation to prevent summer overheating and winter freezing, and a certified, code-compliant electrical installation.
Follow these seven steps to get the setup right:
The World Health Organization (WHO) advises adults to get at least 150 minutes of moderate-intensity (or 75 minutes of vigorous) physical activity per week, alongside strength training targeting all major muscle groups twice weekly. When designing a garden gym, however, what matters most is the specific footprint of your movements. Here are the space benchmarks we use at Casetas de Jardín 24:
| Gym Size | Guideline Floor Area | What Fits Inside |
|---|---|---|
| Compact | 12–15 m² | Single user, one cardio machine, stretching mat area, and light dumbbells |
| Medium | 20–25 m² | One or two cardio machines, plus a dedicated free-weight or multi-gym station |
| Large | 35–45 m² | Multi-user setup, full cardio suite, comprehensive free-weight stations, and open floor space |
If your training involves an Olympic barbell, calculate space by movement footprint rather than the physical size of the equipment alone:
Ceiling height is the single most overlooked constraint. You need an internal clearance of at least 2.4 m for a standard power rack, and ideally 2.7 m if you plan to do pull-ups or standing overhead presses. For pressing, measure your reach with an arm fully extended and add 10–15 cm of buffer; for pull-ups, allow roughly 40 cm between the bar and the ceiling so your head clears the roof comfortably.
A realistic space calculation: A power rack (4.8 m²), a flat bench with dumbbell space (3.0 m²), and a cardio machine (2.2 m²) add up to 10 m². Adding 30% for storage racks and circulation brings the bare minimum to roughly 13 m² of usable internal area. While a 14 m² cabin can accommodate this layout, it will feel tight. Stepping up to 16–21 m² provides a far more comfortable, functional training environment.
Watch out for two common oversights:
If your ideal layout requires more than 25 m², browse our selection of large garden rooms. Most models can be customised if you need bespoke ceiling heights or specific layouts.
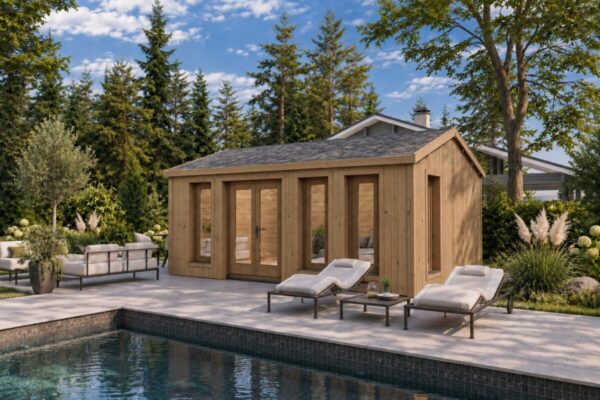
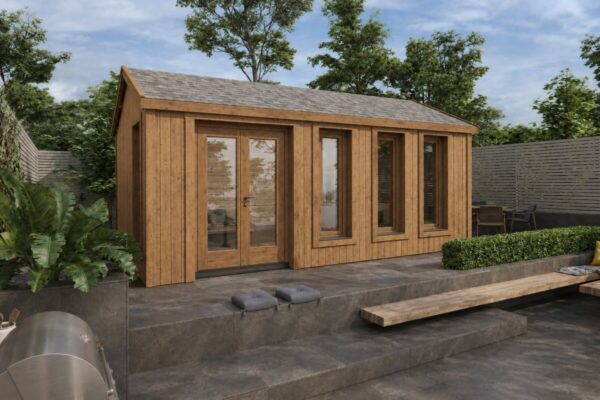
A garden gym equipped with a rack, bench, and cardio gear typically requires 13 to 21 m² of usable floor space, along with full insulation for year-round training. Our insulated thermally modified timber garden buildings come with factory-insulated walls, roof, and floor, plus double-glazed joinery.
🏠 Explore insulated garden rooms
Direct from the manufacturer, with professional assembly and a 5-year warranty.
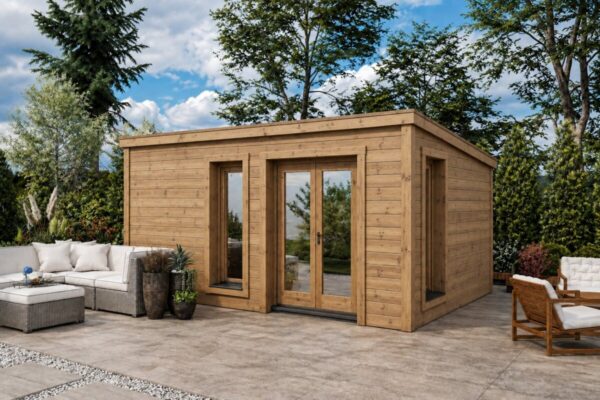
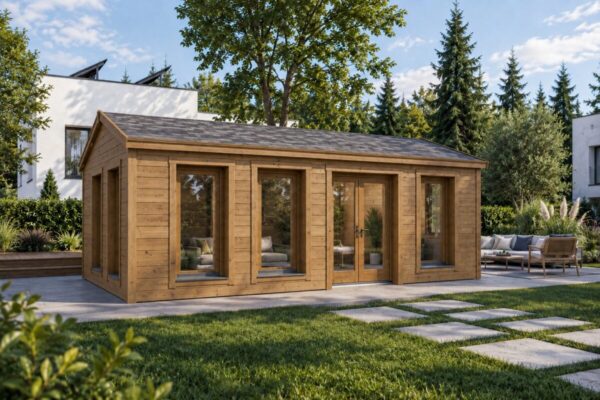
For a solo gym centered around a squat rack, the 14 m² Ryan cabin provides an efficient baseline. The 16 m² Linda offers extra breathing room, while the 21 m² Barcelona easily accommodates full cardio equipment alongside a dedicated mobility and stretching zone.
There is no universal national threshold that exempts garden outbuildings from local planning control—rules are determined by individual municipal councils (ayuntamientos). Some local zoning bylaws, such as in Guadalajara, classify minor ancillary outbuildings under precise limits: up to 25 m² of built area, single storey, a maximum height of 3 m, and strictly non-residential use. Other local authorities may require a prior notification (declaración responsable) or a minor works permit (licencia de obra menor), each with its own conditions.
Before ordering your building, consult your local planning office regarding maximum allowable footprint, building height, boundary set-backs, and the required administrative procedures. For more in-depth advice, check our regulatory guide to installing a timber cabin.
Every garden building requires a level, structurally sound foundation before delivery and assembly. Common options include adjustable pedestal risers, concrete pad footings on compacted gravel, ground screws, or a reinforced concrete slab. Adjustable pedestals have the distinct benefit of lifting the structure clear of the soil, ensuring continuous underfloor ventilation for the timber bearers. Learn more in our timber building foundation guide.
Once your sub-base is laid, the internal floor becomes your first line of defense. Our cabins feature solid tongue-and-groove floorboards in either 18 mm or 28 mm thicknesses. For our Hortaleza project in Madrid, we specified heavy-duty 28 mm boards to support weight equipment. Even so, bare wood should never serve as a workout surface, particularly where free weights are involved.
Always install specialist high-density rubber gym flooring over the timber:
If you plan to install heavy multi-station racks or a commercial-grade treadmill, confirm the floor’s maximum load-bearing capacity with the manufacturer beforehand.
An uninsulated timber cabin quickly turns into an oven in midsummer and an icebox in winter. Consistent year-round training requires a stable indoor climate, meaning robust thermal insulation should take priority over air conditioning.
Our fully insulated garden rooms incorporate 100 mm of mineral wool in the walls and 30 mm PIR Recticel insulation boards in the roof and floor, paired with double-glazed windows and doors. In our 9 × 5 m Hortaleza build (featuring 70 mm wall logs and three aluminium sliding doors), we insulated the roof and floor with PIR, and the walls with mineral wool and a breathable windbreak membrane. If you are retrofitting an existing building, insulate the roof first, followed by the floor, and finally the walls; see our step-by-step thermal insulation guide.
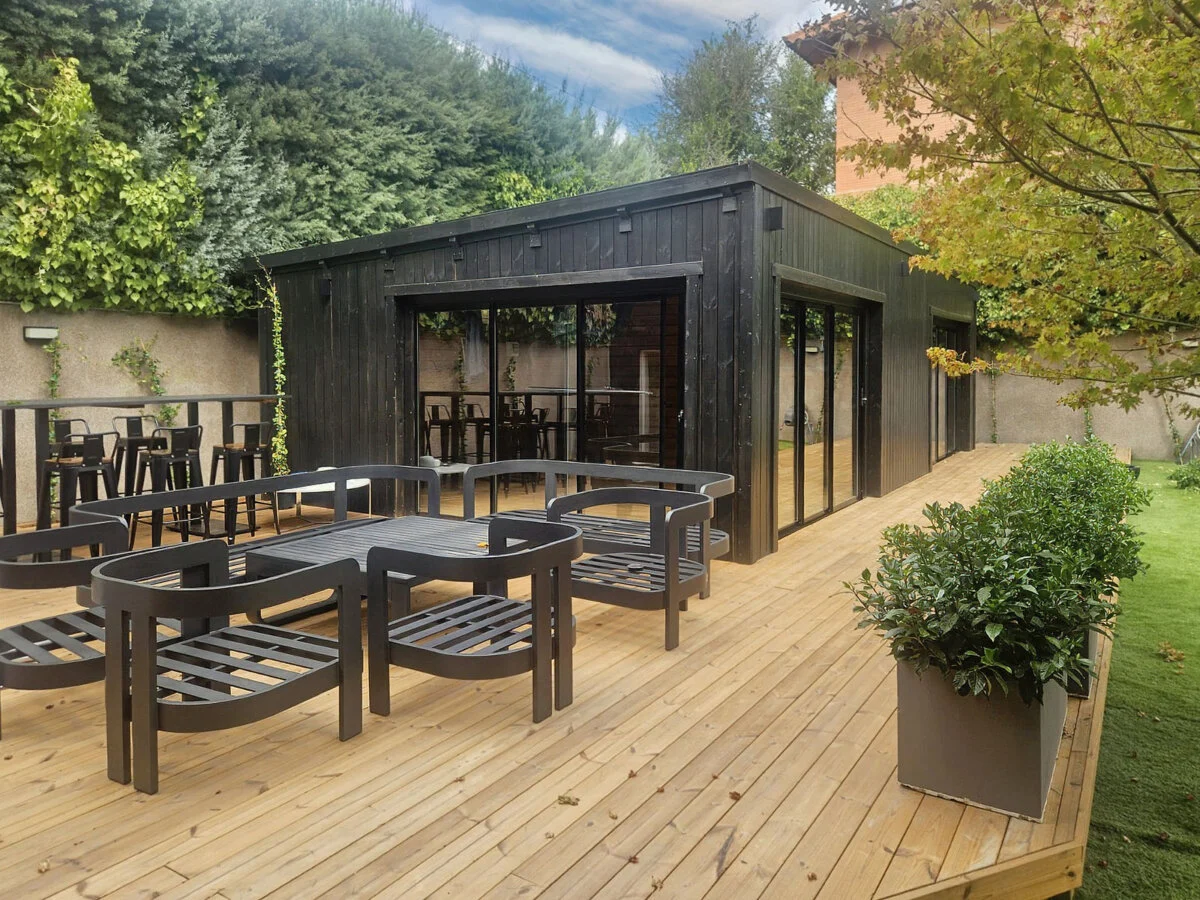
Target temperature and humidity levels: A technical review by REHVA, the European federation of HVAC associations, suggests heating fitness suites to 20.5 °C in winter and cooling to 25 °C in summer, maintaining relative humidity between 40% and 60%. Use this as a benchmark rather than a strict legal requirement: standard domestic comfort ratings under building codes (such as Spain’s RITE, specifying 23–25 °C and 45–60% RH in summer) are calculated for sedentary activity.
Ventilation: Intense workouts in a compact space rapidly drive up relative humidity and carbon dioxide levels. As a reference, commercial building standards often require minimum indoor air quality (category IDA 3) providing 8 l/s of fresh outside air per person (approx. 29 m³/h). In a garden room, achieving this is as simple as opening opposite windows during and after training. If you ever spot condensation settling on walls or ceilings, increase ventilation immediately to prevent moisture build-up.
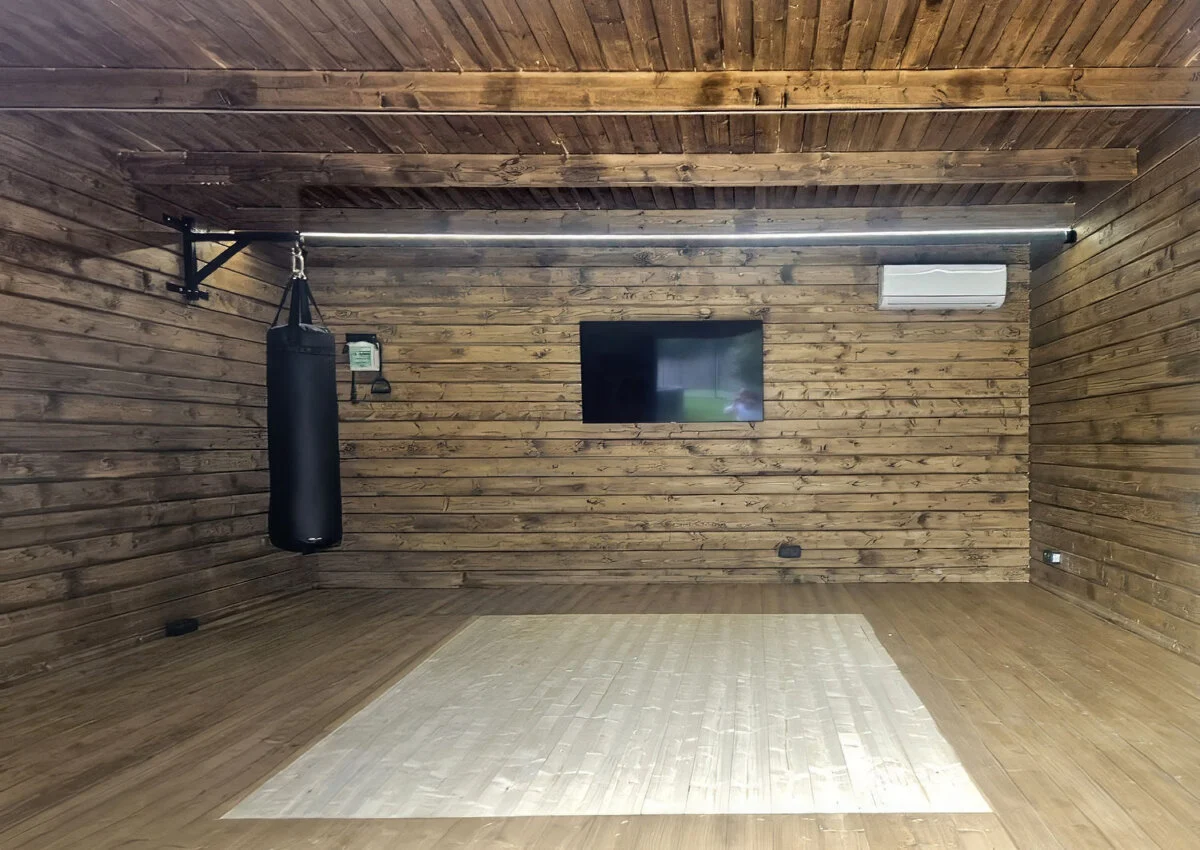
A functional gym needs task lighting, power sockets for cardio displays and screens, and almost always an active climate control unit. In the photos from our Hortaleza gym build, you can see a split-unit air conditioner, a wall-mounted TV, and multiple sockets positioned conveniently across the walls.
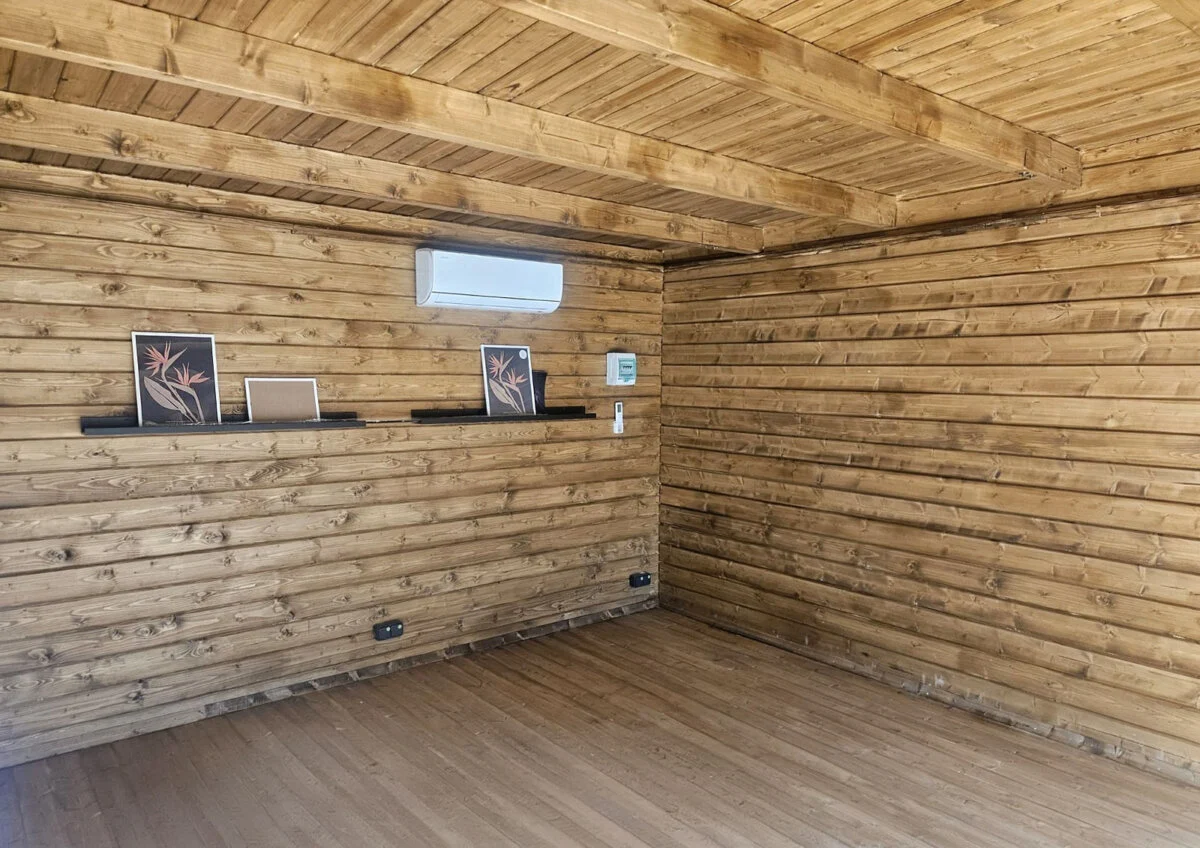
Here are the key electrical considerations, which should always be handled by a certified electrician:
For a deeper dive, read our guide to installing lighting and electricity in a garden room.
Our insulated buildings feature 100 mm of mineral wool in the walls and 30 mm PIR in the roof and floor, assembled on-site by our expert installation teams. You provide the foundation and an electrician handles the connection.
Free delivery and a 5-year warranty directly from the manufacturer.
For high-intensity or multi-person training spaces, models like Cabin F (26 m²), Cabin A (30 m²), and Cabin B (38 m²) sit comfortably in the mid-to-large category, offering ample room for strength stations, cardio machines, and open floor work.
The primary noise from a home gym rarely comes from your music—it comes from impact. Dropping weights transmits low-frequency shockwaves through the structural frame, and thin rubber sheeting will not stop it. Acoustic testing on gym floors shows that substantial rubber tile thickness is essential to dampen structure-borne noise, unless combined with an isolated floating subfloor, which provides the vast majority of acoustic decoupling.
To keep the peace:
Neighbours are usually the first to notice gym noise. Noise abatement regulations give local councils the power to enforce statutory limits. As a benchmark, regulations often target indoor residential thresholds around 40 dB during daytime and 30 dB at night in bedrooms (45 dB and 35 dB in living areas). Schedule your heavy sessions during daytime hours, and test how much sound travels to the property boundary.
With the building envelope and utilities sorted, you can focus on the interior layout:
A successful garden gym is defined long before the building arrives: calculate usable floor area around your equipment, secure sufficient ceiling height under the highest point, install a ventilated base, lay dense rubber protection, and invest in proper insulation for year-round training.
For one person with a single cardio machine, an exercise mat, and light dumbbells, 12–15 m² is sufficient. If you want a power rack and barbell, plan for a minimum of 13 m² of usable floor space and an internal ceiling clearance of at least 2.4 m (ideally 2.7 m for overhead presses or pull-ups).
That depends on your local municipality, as there is no uniform national exemption. Many local authorities set specific footprint, height, and boundary limits for outbuildings; others require a prior notification (declaración responsable) or a minor works permit. Always verify with your local planning department before purchasing.
Never drop weights directly onto the timber floorboards. Protect your floor with at least 20 mm high-density gym rubber tiles, verify their drop-load rating, and use a dedicated lifting platform or floating subfloor if you frequently dump heavy barbell loads.