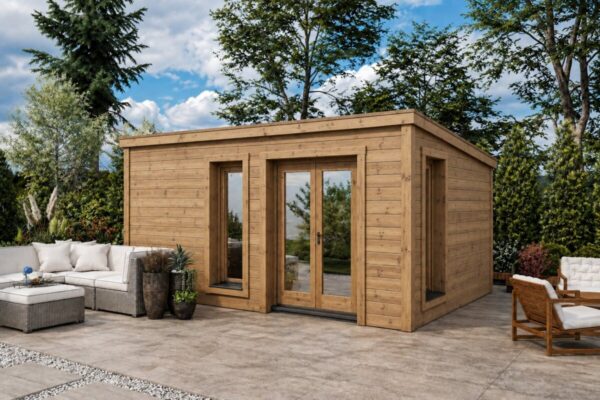
For a spruce garden shed, the gold standard is a pigmented, microporous wood stain applied within four weeks of assembly. Plan for two coats across both interior and exterior surfaces. This type of treatment penetrates deep into the timber grain, allows the wood to breathe, and can be recoated down the line without the chore of sanding back the old finish.
Even premium timber will quickly deteriorate without proper protection. Under the EN 350 standard, Norway spruce (Picea abies) carries a Class 4 natural durability rating against wood-decay fungi, classing it as only slightly durable. What is more, an outdoor shed sits in Use Class 3 under EN 335—an environment where timber moisture content frequently climbs above 20%. Softwoods in this class need proactive preservative treatment to survive the elements.
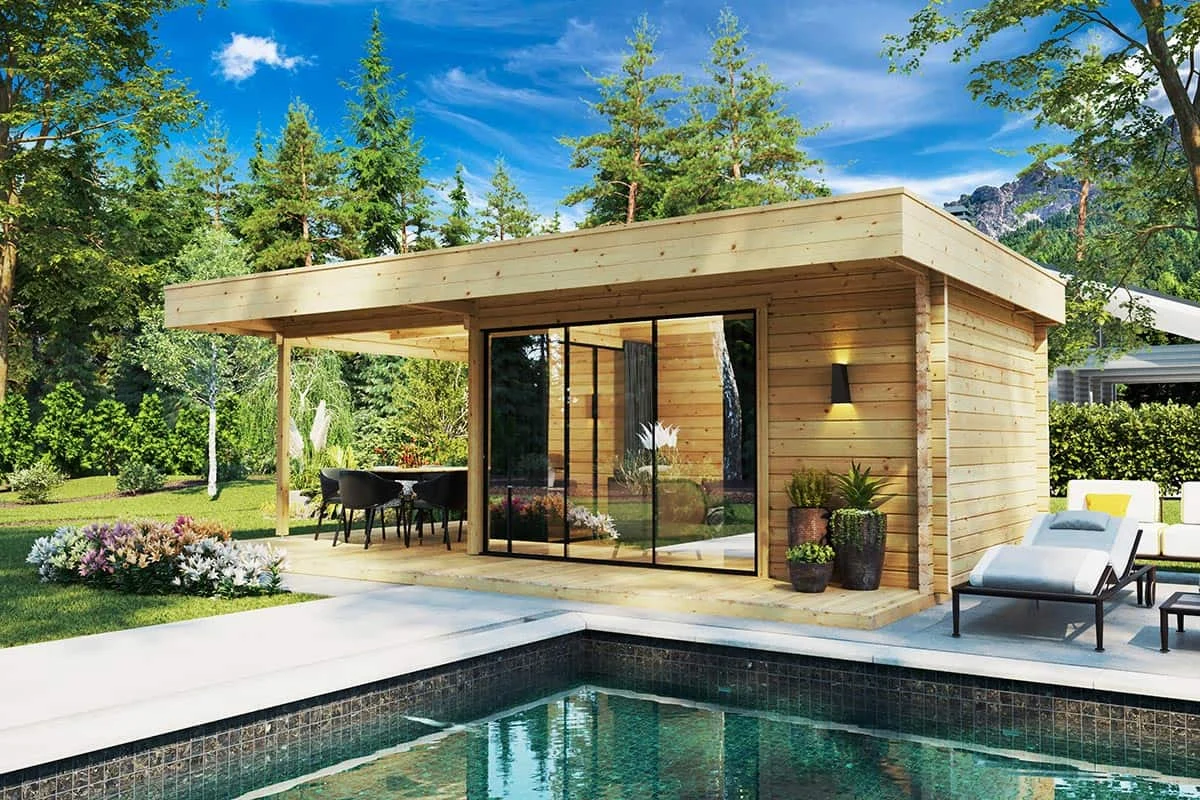
Leaving your building bare exposes it to several serious threats:
Our Nordic spruce garden buildings come backed by a 5-year warranty and include pressure-treated foundation beams. We will even calculate the exact volume of preservative needed for your specific model.
Built by craftsmen with over 20 years of manufacturing experience. Rated 5 stars on Trustpilot.
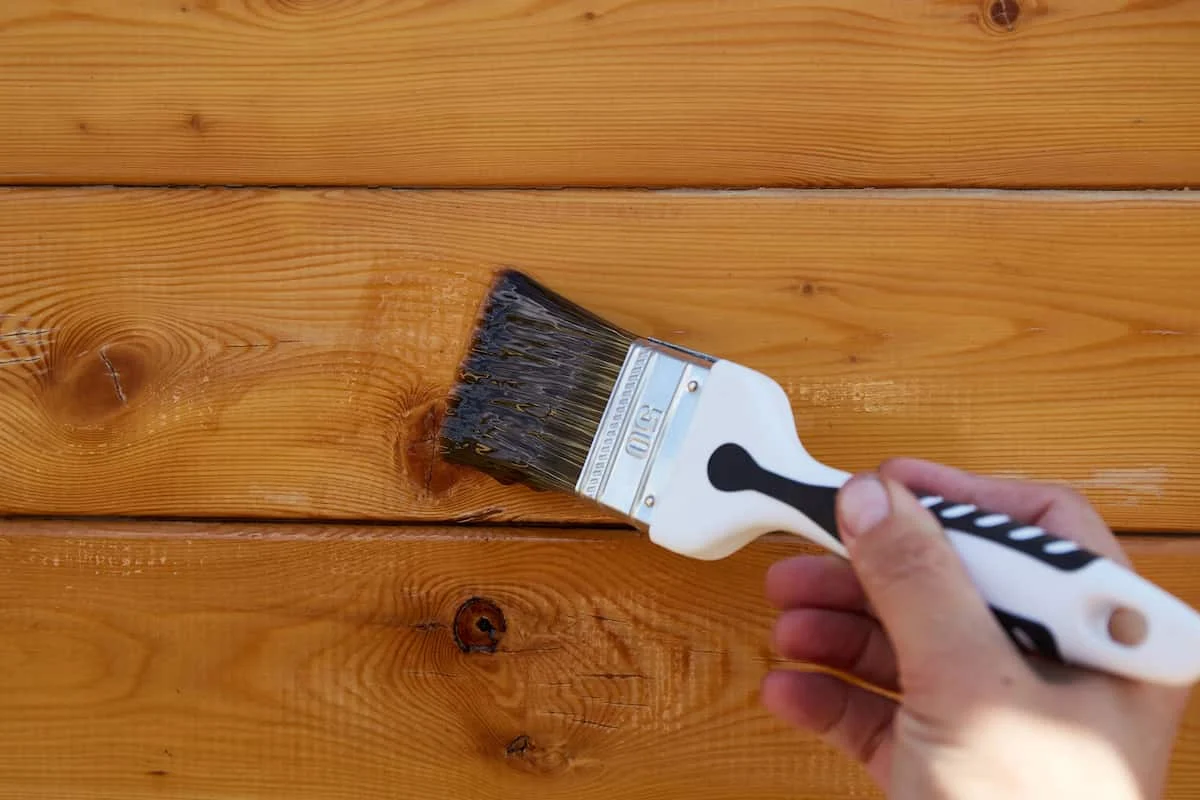
Unless you order a pre-treated design, standard garden sheds arrive as untreated timber, with the exception of the pressure-treated base beams and veranda decking. Never paint or stain wall logs before putting the shed together; wet coatings can swell the tongue-and-groove joints, making assembly frustrating or even impossible. Instead, brush on the first coat as soon as construction finishes in dry weather, then follow with a second coat a few days later. To keep your 5-year warranty intact, you must apply a deep-penetrating preservative followed by at least two topcoats of exterior finish within the first four weeks.
Make sure you coat every vulnerable surface—not just the primary facade:
For more assembly insights, take a look at our step-by-step guide to wooden shed assembly and maintenance.
Yes, treating the inside of your shed is just as important as protecting the outside. Even when completely shielded from rain, timber constantly adjusts its internal moisture levels to match ambient humidity. Using space heaters, boiling kettles, or simply storing damp garden kit creates condensation, leading to warped floorboards, water staining, and mould growth in unventilated corners. Keep in mind that timber treatments are no substitute for airflow; read our guide on how to ventilate a wooden garden shed to keep the indoor climate balanced.
No. Paint is a topcoat that forms a protective film and provides colour, but it does not substitute for a biocide. A dedicated preservative penetrates deep into the grain to actively defend the wood against rot-causing fungi and burrowing insects. If you plan to finish with an opaque exterior paint, choose a base preservative formulated without oils, waxes, or silicones; these additives repel topcoats, causing paint to blister and peel away. When in doubt, read the technical datasheet or consult our guide on painting and protecting garden sheds.
Maintenance schedules come down to formulation quality and sun exposure. South- and west-facing walls take the brunt of intense sun and driving rain, so they will invariably show wear faster than sheltered elevations.
Pigmented stains offer vastly superior UV defence compared to clear coats. For outdoor structures, clear finishes are best used for diluting darker tones rather than as standalone exterior protection.
Any treatment featuring fungicidal or insecticidal agents is classified as a Product Type 8 biocide under EU Regulation 528/2012 (BPR). Always review the active ingredients, observe recommended application rates, and confirm that the product is approved for domestic DIY use.
Thermally Modified Timber (ThermoWood). Thermal modification upgrades standard spruce to Durability Class 2 (EN 350). Even so, heat treatment does not stop timber from greying under ultraviolet light; without UV-filtering pigments, it will eventually weather to a soft silvery-grey. Our insulated ThermoWood garden sheds arrive pre-treated at the factory with high-grade Remmers protection.
The durability ratings below represent maximum performance under optimal conditions; real-world longevity depends on your local climate and how directly the building faces the sun.
| Product | Base Type | Approx. Price (5 L) | Recoat Window |
|---|---|---|---|
| XYLAZEL | Water-based | €122 | 8 years |
| LUXENS | Water-based | €70 | 8 years |
| Roxil | Water-based | €125 | 10 years |
| Remmers HK-Lasur | Low-solvent | €100 | 5–7 years (up to 10 under ideal conditions) |
Sample Coverage Calculation: A 3 × 3 m garden cabin with a 2 m wall height has roughly 21 m² of exterior wall area, plus an identical area inside, coming to 42 m² in total. Applying two coats at the manufacturer’s recommended rate of 100 ml/m² (based on Remmers technical specifications) requires 8.4 litres. Factor in an extra 20% to account for thirsty end grains and uneven absorption, and you will need around 10 litres—or two 5-litre tins (costing roughly €200 with Remmers).
Our thermally modified log cabins come pre-treated with factory-applied Remmers coatings, while our insulated garden rooms include professional on-site assembly and complete painting as standard.
🏠 View Insulated & ThermoWood Sheds
Backed by a 5-year warranty and free delivery.
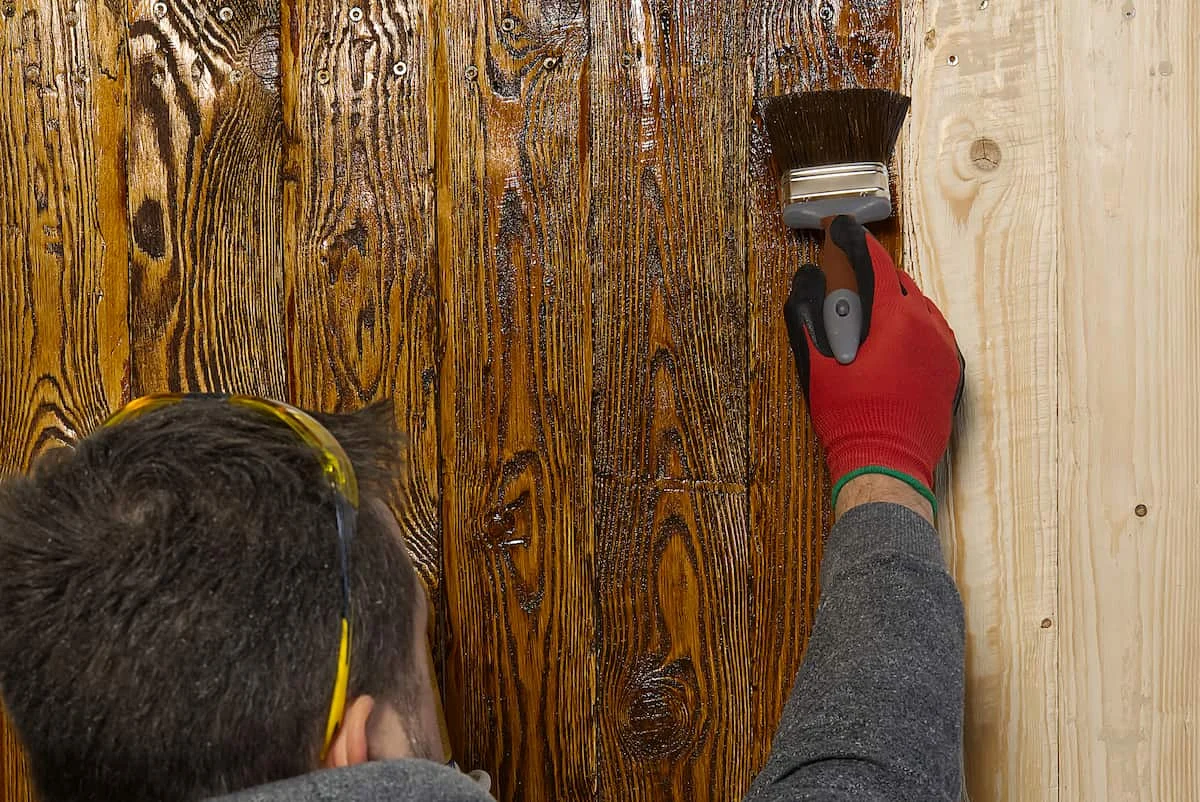
The single most expensive mistake shed owners make is treating only the outer face of the walls. Rain wicks effortlessly through exposed end grains, door and window frames, and the bottom runs of timber, setting off rot that quietly spreads behind an otherwise pristine finish. Another classic pitfall is coating timber that is still wet; trapped moisture prevents the treatment from bonding, resulting in premature peeling.
If your shed has previously been treated with an opaque paint or a film-building gloss varnish, a penetrating microporous stain will not take—you must strip or sand the old coating back to bare wood first. If the exterior has already weathered to a silver patina, clean and revive the timber with an oxalic-acid-based wood restorer before applying fresh stain. Finally, if the wood feels soft or crumbles under light pressure from an awl, dry or wet rot has taken hold; at that stage, damaged sections will need replacing. For detailed product recommendations, read our guide to the best varnishes for garden sheds and explore our complete log cabin maintenance guide.
Giving your shed two coats of a pigmented, microporous stain on thoroughly dry wood within four weeks of installation—inside and out—is the single best way to protect your garden building. Paired with good airflow, quality timber treatment ensures damp, mould, and wood-boring insects never gain a foothold.
Most treatments are touch-dry within 1 to 24 hours, depending on the product, temperature, and ambient humidity. Full chemical curing generally takes several days.
Yes, but only on clear, frost-free days with dry weather forecast, and provided both the ambient and timber temperatures sit within the manufacturer’s working range (typically at least 10°C).
You can use any high-grade exterior wood preservative and microporous stain, provided you apply at least two coats. We specifically recommend and supply Remmers HK-Lasur, alongside Koralan protective oils and exterior paints.