Proper ground preparation is the difference between a garden shed that lasts two years and one that stands proud for twenty—yet it remains the step most people rush. Getting it right is straightforward if you take it step by step: choose a high, dry spot, mark out the footprint, clear the turf and roots, excavate, level the site, compact a crushed stone sub-base, and lay down a weed membrane.
A garden shed needs firm, well-compacted ground. If the underlying soil is soft or loose, it will settle unevenly, causing the building to sink, lean, and warp. Over time, doors begin to stick, windows jam in their frames, and the floor develops a noticeable slope underfoot.
Water pooling beneath floorboards keeps structural timber chronically wet. According to the USDA Forest Service, wood-decay fungi cannot establish below a 20% moisture content, with 20% to 30% representing an uncertain risk threshold. Trapped damp also fosters mould and mildew, while freeze-thaw cycles in winter can heave and shift the entire structure. On top of that, damp, dark voids under a shed create an open invitation for pests like slugs, ants, woodlice, and rodents.
High-quality timber outbuildings can easily last for decades, but only when built on a solid, dry foundation. Proper site preparation dramatically reduces the threat of rot and structural movement. If you are investing the time to lay a rock-solid foundation, pair it with a shed engineered to make the most of it.
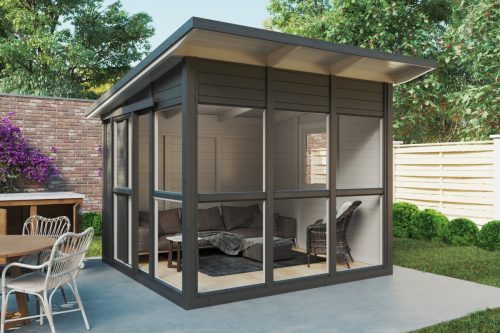
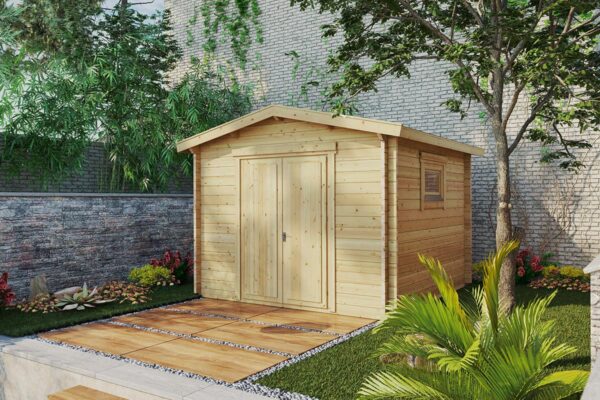
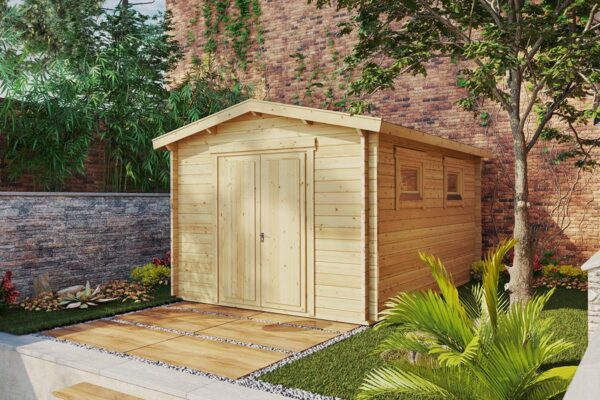
Our garden buildings are crafted from premium Nordic spruce and feature double-glazed windows as standard. As manufacturers, we provide exact base plans for every model so you can get your ground preparation right the first time.
Manufacturer with over 20 years of experience and a 5-year warranty.
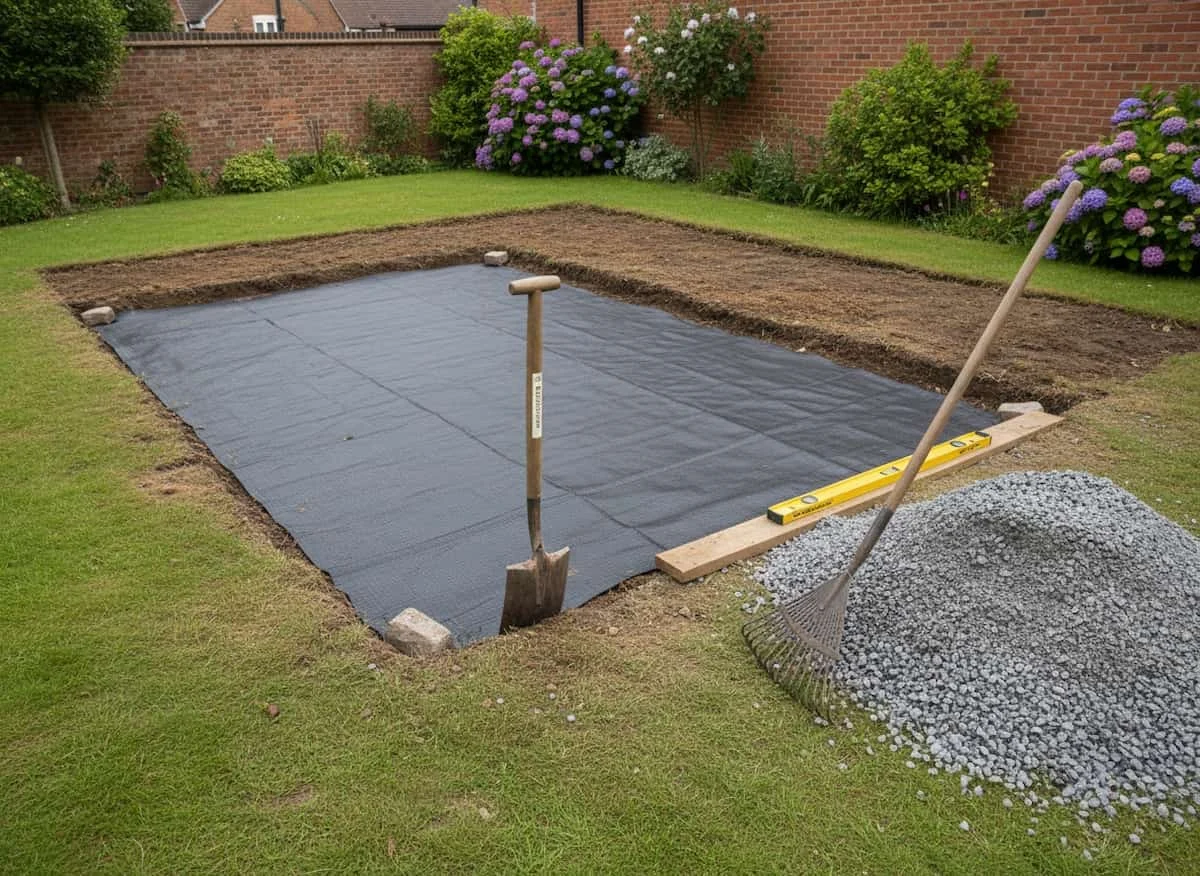
Pick the flattest available site in your garden, clear of overhanging branches, low hollows, and damp pockets. Ensure there is ample clearance around the perimeter to walk comfortably, open doors fully, and carry out periodic maintenance. Never build right up against boundary fences or garden walls.
Drive wooden stakes into the ground and run builder’s line to outline the perimeter, adding an extra 5 to 10 cm on every side. To ensure perfectly square 90-degree corners, apply the 3-4-5 rule: measure 3 m along one side and 4 m down the adjacent side; the diagonal between those two points should measure exactly 5 m. Once squared, measure both full diagonals across the rectangle—they should match down to the millimetre. If your shed includes a manufacturer’s base plan, adhere strictly to those dimensions.
Strip away all turf, surface weeds, and tree roots that might disrupt the sub-base over time. Clear an additional 30–40 cm beyond your marked perimeter to provide comfortable working space and accommodate perimeter drainage.
Dig out the turf and topsoil across the marked area to an even depth of 50 to 75 mm. This removes the soft organic layer that would otherwise decompose and cause settlement. If you plan to lay a full concrete slab or a heavy-duty sub-base, dig deeper—typically 10 to 15 cm.
Rake the exposed earth flat and check the grade in every direction using a long straightedge and a spirit level. Any dips or humps in the subgrade will transfer directly to the base and timber frame above. For timber garden buildings, keep total surface deviation within a strict tolerance of ±5 mm across the entire footprint.
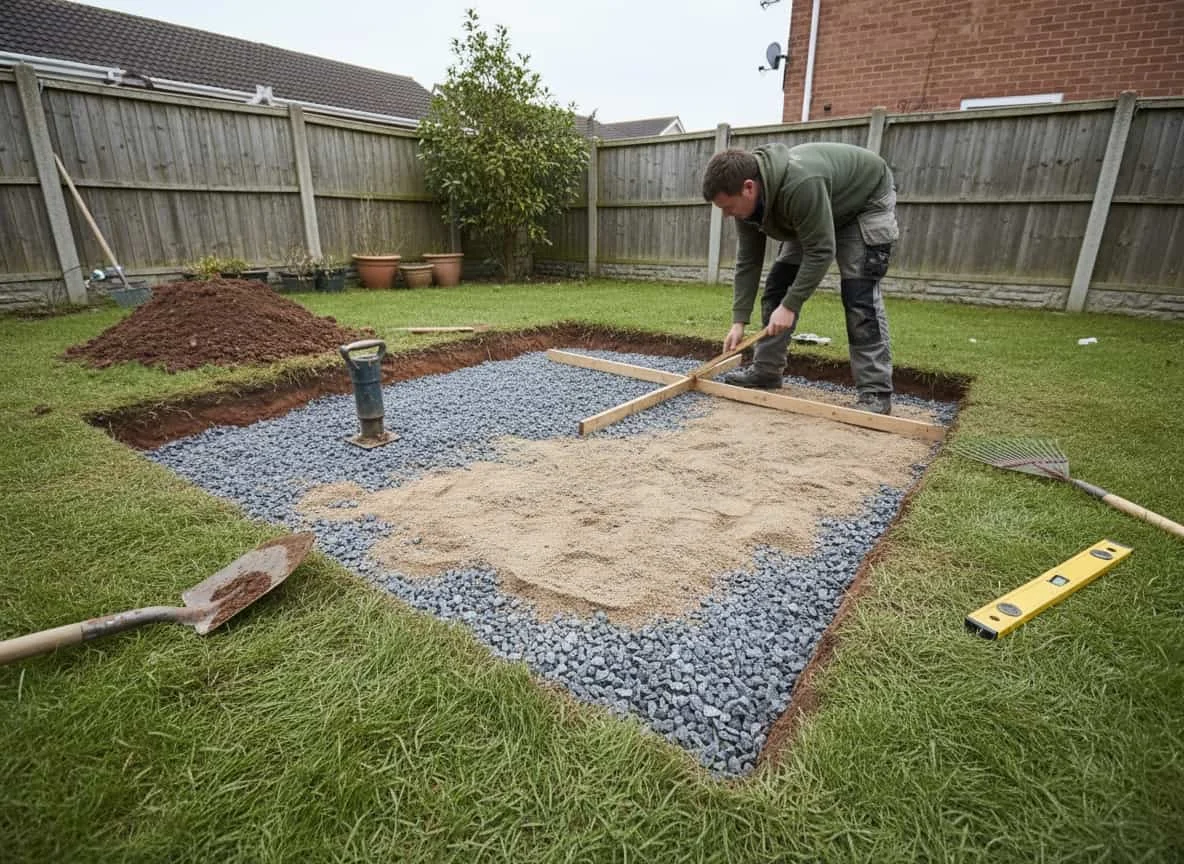
Fill the excavation with well-graded crushed stone aggregate (such as 0/20 mm or 0/25 mm crusher run / MOT Type 1) in 5 to 7 cm lifts, compacting each layer thoroughly before adding the next. Finish with a thin blinding layer of coarse sand to create an even, workable surface. If you intend to pour a concrete slab, industry standards generally recommend a 75–100 mm concrete pour over roughly 75 mm of compacted hardcore.
Work over the entire area with a heavy hand tamper or a hired vibrating plate compactor. The completed sub-base should feel rock-solid underfoot, with no loose patches or deflection when walked on.
Roll out a heavy-duty geotextile weed membrane over the compacted base. This suppresses weed growth beneath the shed while keeping your stone sub-base separate from the underlying soil. Ensure adjacent sheets overlap generously at the joints.
Allowing a 5 cm working margin on all sides, mark out a footprint measuring 3.1 × 3.1 m. Excavating to a depth of 10 cm generates roughly 0.96 m³ of spoil and will require a similar volume of compacted sub-base material. To protect against splashing rainwater and rising damp, ensure the finished base sits at least 15 cm above the surrounding ground level. For advice on finishing the foundation, explore our guide to building a garden shed base.
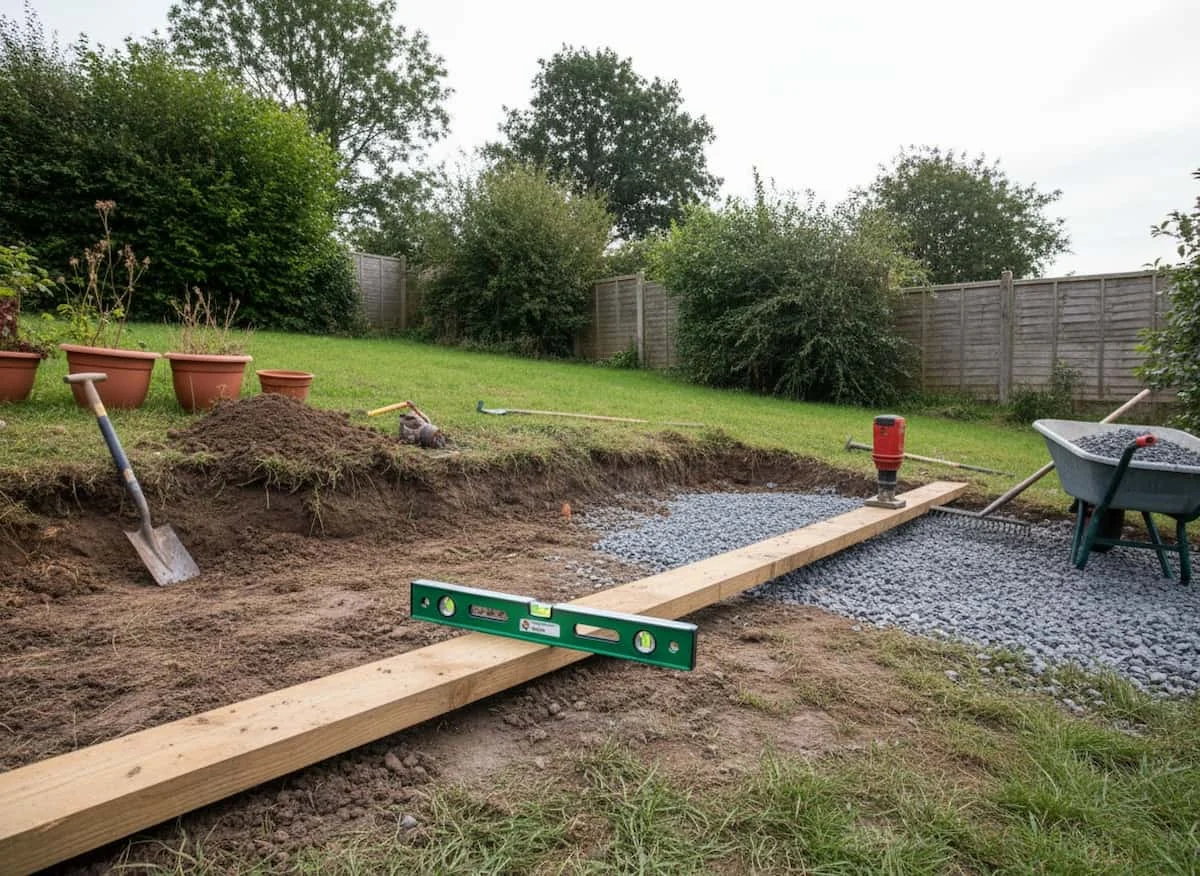
Rest a long, straight timber board across the slope, starting at the highest ground point. Place a spirit level on top, lift the downhill end until the bubble centres, and measure the distance between the bottom of the board and the ground. Across a 3-metre board, a 9 cm gap equates to a 3% slope, while a 15 cm gap represents a 5% slope.
On slopes exceeding 5%, an elevated foundation is almost always more practical and cost-effective than extensive earthworks. Consider using adjustable riser pedestals, ground screws, or a timber post-and-beam system. Adjustable pedestals can easily absorb ground variances of up to 20 cm. For full walkthroughs, consult our guides on building a shed base on uneven ground and laying a shed base over grass. Once you have resolved the grade, prepare the ground beneath using the standard aggregate method outlined above.
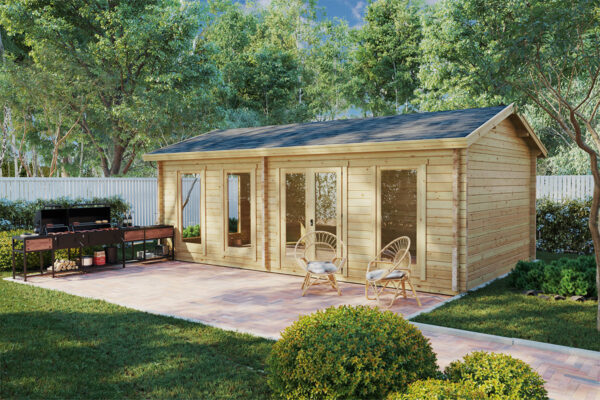
Log cabins with 70 mm wall thickness require a solid concrete slab or an engineered elevated foundation to bear their weight. If you are building a workshop, home office, or garden studio, explore our large log cabin models with double-glazed windows.
Free delivery and a 5-year warranty on all models.
Ground preparation might not be the most glamorous part of building a garden shed, but it is unequivocally the most critical. When the site is solid, flat, and well-drained, the shed goes together smoothly, lines up squarely, and stands strong for decades. If your garden has steep gradients or expansive clay, or if you are planning an exceptionally large building, speak to a local groundwork contractor or structural engineer before digging.
Yes, in almost every scenario. Installation teams expect a completely flat, clear, and prepared site ready for immediate construction. Their job is to erect the building itself; they do not clear turf, dig out soil, or resolve drainage issues unless dedicated groundwork was formally quoted and contracted in advance. Always clarify site requirements before delivery day.
No. Even when levelled, bare dirt remains soft and naturally pulls ground moisture up into structural timbers. A shed requires an engineered sub-base or foundation system to distribute the structural load and isolate timber bearers from damp soil.
Minimum boundary setbacks depend on local planning laws and municipal bylaws, so check with your local planning department first. In practical terms, leave a clearance of at least 50 to 100 cm between your shed and any fence or wall. This ensures healthy airflow, leaves room to apply timber treatments, and makes roof maintenance manageable.