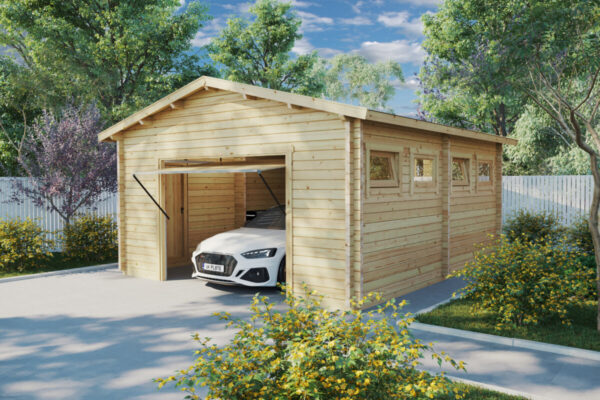
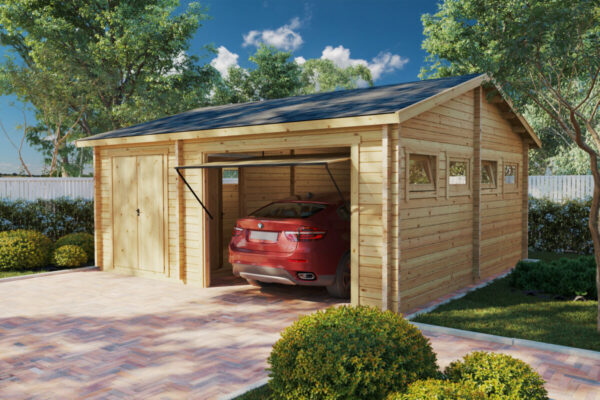
Uncontrolled rainwater runoff poses a major threat to the lifespan of any timber outbuilding. When rain cascades freely from the roofline, impact with the ground causes heavy splashback against the lowest wall courses, stripping away protective finishes and saturating the soil directly beside the foundation. Installing an effective gutter system is far more than a cosmetic upgrade—it is an essential defence against rising damp, rot, and long-term structural settling.

Reliable rainwater management comes down to choosing the right materials, properly sizing the gutter profiles, and applying fixings that accommodate the natural seasonal movement of timber. This technical guide outlines how to calculate catchment areas, install fascia brackets, and maintain a high-performing drainage system on your wooden garage.
During a heavy downpour, an average garage roof collects and discharges thousands of litres of water in a matter of hours. Without a dedicated perimeter drainage system, this runoff triggers both cosmetic and structural damage:
When planning to build a wooden garage on an isolated slab, routing water safely toward catch basins or soakaways ensures the framing stays sound for decades. Fortunately, most modern prefabricated wooden garages feature straight, plumb eaves designed to accept standard gutter hangers without requiring roof modifications.
Our prefabricated Nordic spruce garages feature walls up to 70 mm thick and are ready for direct gutter installation. Choose your ideal configuration with free mainland delivery and a five-year warranty.
Over 20 years of manufacturing experience with direct delivery and no middlemen.
The material you choose directly impacts mechanical durability, thermal expansion, and ongoing maintenance requirements. For timber outbuildings, two primary options dominate the market:
Polyvinyl chloride (PVC) is the most popular choice for timber outbuildings thanks to its lightweight construction, simple clip-together installation, and budget-friendly price point. It will not corrode in coastal air, withstands light impacts without denting, and cuts cleanly with a standard fine-toothed hand saw. Most PVC systems use push-fit joints with integral synthetic rubber (EPDM) gaskets, eliminating the need for adhesives, soldering, or specialised tooling.
The main consideration with PVC is thermal movement; plastic expands and contracts significantly between summer highs and winter lows. Quality fittings feature moulded temperature marks indicating precisely where to seat the gutter profile during assembly to prevent buckling or pulled seams. Choosing pre-matched PVC gutter kits guarantees full compatibility across your profiles, unions, outlets, and brackets.
Metal systems offer maximum structural rigidity under heavy snow and ice loads, paired with a classic aesthetic that suits timber architecture:
For practical guidance on working with lightweight timber roofs, read our walkthrough on how to install gutters on a shed.
Undersized gutters will spill over during intense rain events, defeating their purpose. Sizing your system requires matching profile diameter and downspout capacity to your roof’s actual catchment footprint.
Gutter sizing is based on horizontal plan area rather than the angled length of the rafters. To find the catchment area for a roof pitch, multiply the eaves length by the horizontal distance from the eaves to the ridge.
For standard single garages with roof planes up to 35–40 m², a 100 mm to 125 mm half-round profile paired with a standard downpipe provides ample capacity for typical storms. For double garages, extended spans, or regions with severe cloudbursts, step up to a 125–150 mm profile.
As a general rule, a single downspout should serve no more than 15 linear metres of gutter. On longer runs, fit a downspout at each end or place an outlet centrally to split the water flow.
Gutter brackets carry the combined weight of rushing water, wet leaves, and winter snow:
Because timber naturally expands and contracts with changes in atmospheric moisture, all mounting hardware must be corrosion-resistant (use A2 stainless steel or exterior-rated galvanised screws) and driven firmly into solid framing.
Water that pools in flat gutters accelerates seal degradation and collects rotting silt. Your gutters need a consistent fall toward the downspout outlet:
Fix brackets to the fascia board using your string line as a guide. Drive screws directly into solid timber, pre-drilling near edges to prevent splitting. If your building has open eaves lacking a plumb vertical fascia, use rafter-mounted top-fix brackets or bendable metal roof straps secured directly to the rafter tails before fitting the roof covering.
To stop water from curling around the roof edge and running down the fascia via surface tension, install a metal drip edge flashing. The lower flange or roofing underlayment should extend 20 to 30 mm into the gutter trough, directing runoff into the back third of the channel and clear of the timber.
Cut lengths square with a fine hacksaw, removing all burrs with a utility knife to prevent debris from catching. When assembling push-fit joints:
Link the gutter outlet to the downspout using offset bends to transition past the roof overhang back to the timber wall:
Explore our range of heavy-duty wooden garages featuring tongue-and-groove logs and designs prepared for exterior drainage. Customise dimensions to suit your space with competitive direct-from-factory prices.
Crafted from slow-grown Nordic spruce with an included five-year warranty.
Collecting water from the eaves is only the first step. If downspouts dump directly at the base of the walls, water will pool against the slab and undermine the footings.
Keep your foundation sound by applying these discharge practices:
Before packing away your tools, test the entire assembly.
Block the downspout outlet with a test plug or cloth and fill the gutter to the brim with a garden hose. Inspect every seam, union, and end cap for five minutes. If a joint weeps, adjust the gasket alignment or seal the seam with an exterior-grade MS polymer sealant.
To keep the system running efficiently:
A properly planned, well-fitted gutter system keeps structural timber dry, protects the slab from frost heave and erosion, and preserves your wooden garage for years to come.
While local building codes often exempt detached outbuildings from gutter requirements, they are structurally indispensable. Without them, rain splashes continuously against the bottom timber courses and erodes perimeter soil, sharply reducing the building’s working lifespan.
A fall of 20 to 30 mm per 10 linear metres is ideal. This slope moves water and light debris steadily toward the downspout without creating a noticeably crooked line along the roof edge.
Yes, provided the bracket spacing is adjusted. In regions subject to heavy snow and ice dams, reduce bracket intervals to 45 cm so the system can bear the extra mechanical weight without sagging or snapping.