Putting up a garden shed on a sloped or uneven plot takes a bit more thought than working on a flat lawn, but it’s far from impossible. The gradient, any dips, and surface irregularities all affect the long-term stability of the structure, its resistance to moisture, and something as seemingly small as whether the door will still open smoothly a couple of years from now.
This guide walks you through measuring your slope accurately, choosing the right base type for your specific gradient, and achieving a solid, perfectly level surface even on awkward plots.
Whether your garden has a gentle tilt or a more significant drop, you’ll find straightforward, actionable solutions here to keep your shed standing firm and protected from ground moisture for years to come.
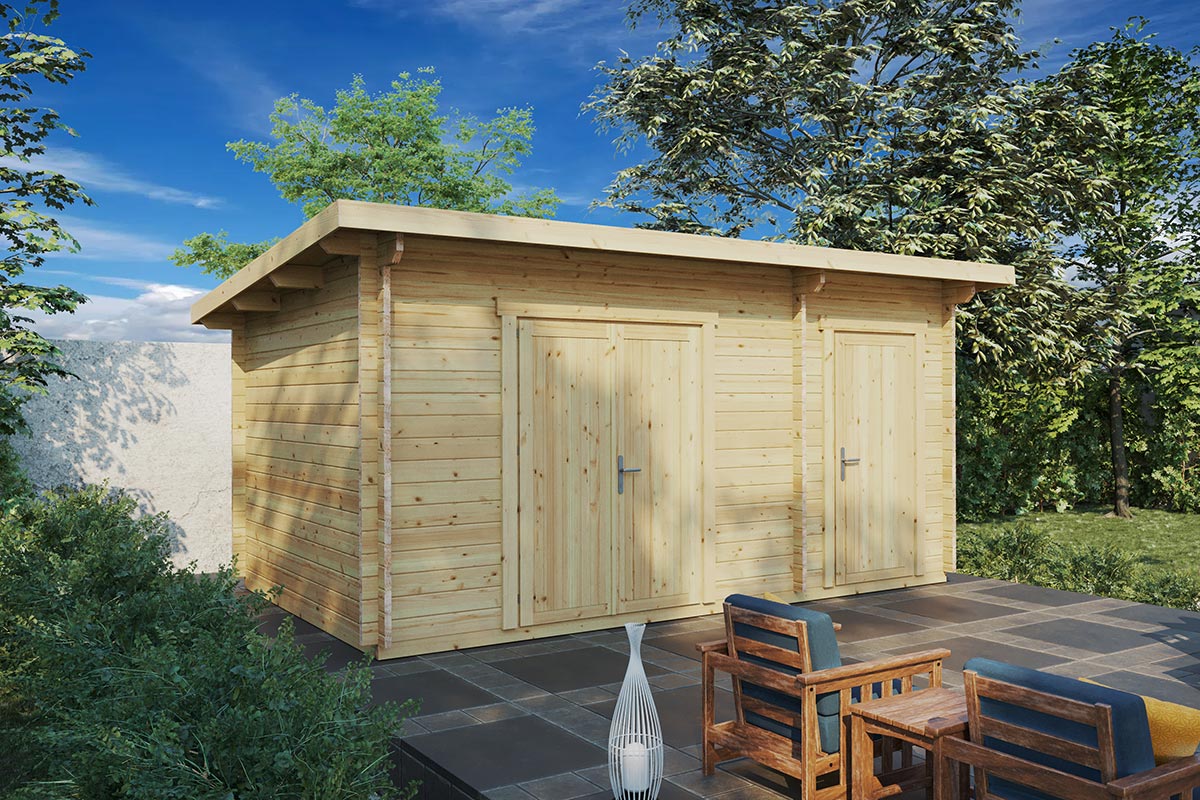
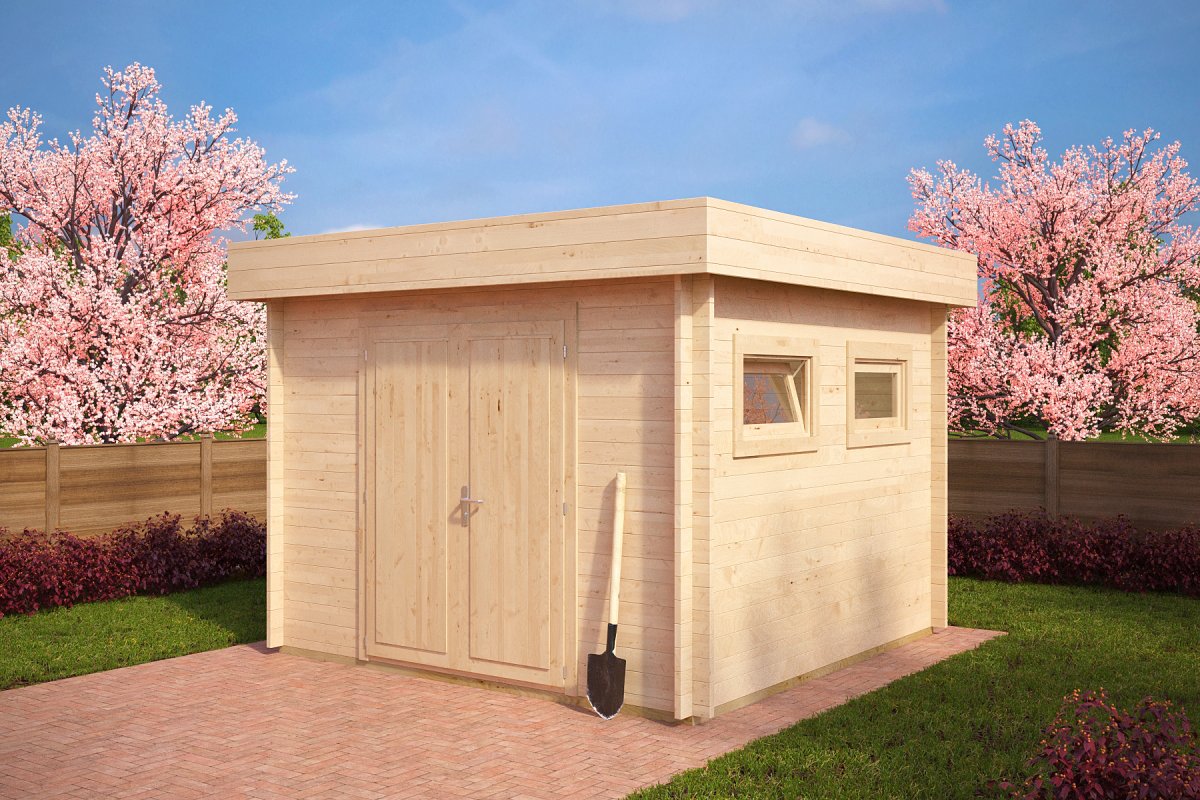
The right shed starts with quality construction.
Explore durable models, built with high-quality materials and designed to deliver a solid, reliable result for years to come.
5-star rating · Direct from the factory · 5-year guarantee
The long-term health of any shed rests entirely on its foundation. A level base might seem like a box to tick before the fun part, but it shapes everything that follows:
You don’t need specialist surveying kit to get a clear picture of how uneven your plot is. A long straight plank, a spirit level, and a couple of wooden stakes are all that’s required.
The length of the plank gives you the horizontal run.
The difference between these two measurements is the total fall across your shed footprint. The string length gives you the horizontal run. From there, calculate your slope percentage:
Slope (%) = (height difference ÷ horizontal run) × 100
A drop of just a few centimetres can usually be handled with basic levelling. Once the fall across the shed footprint exceeds roughly 10–15 cm, you’ll need a raised, adjustable, or stepped foundation to guarantee stability.
Building on a slope introduces a handful of extra variables. None of them are particularly complex to manage, but overlooking them can lead to movement, drainage issues, or a structure that never sits right. Here’s what to think through before you break ground:
Different soils behave very differently, particularly on a slope. Some drain freely, others stay waterlogged for days, and some shift as they dry out. Understanding what you’re building on helps you pick the right base system.
Some common soil types and what to watch for:
As a working rule: clay stays wet, so avoid direct ground contact. Sandy soils shift, so compact thoroughly or use grid stabilisers. Soft ground needs elevated supports.
On a slope, water follows gravity – including rainfall running off your roof. The main risk is water pooling on the uphill side of the shed. Make sure there’s a clear path for water to travel around the structure rather than beneath it.
A simple drainage channel along the uphill face, or a French drain if runoff is a recurring problem in your garden, will usually solve this. The principle is simple: water needs somewhere to go that isn’t under your shed.
Elevated or sloped positions are often more exposed to wind than sheltered flat ground. A shed on a slope is also more susceptible to wind uplift, since air can get underneath more easily. If your garden is exposed, factor in additional anchoring – metal brackets, tie-down straps, or ground screws can all help keep the structure secure during storms.
Levelling and building a stepped base typically generates a meaningful volume of excavated soil. Plan where it’ll go before you start digging. Some can be used to fill low spots elsewhere in the garden, but never mound it against the shed walls – retained soil traps moisture and accelerates timber rot.
Raising a base significantly – or creating a platform structure – may require prior notification or a building permit, depending on your location and whether the ground is classified as agricultural or residential. Always check with your local council or planning authority before starting work to avoid complications down the line.
Here’s how to match your foundation method to your site conditions:
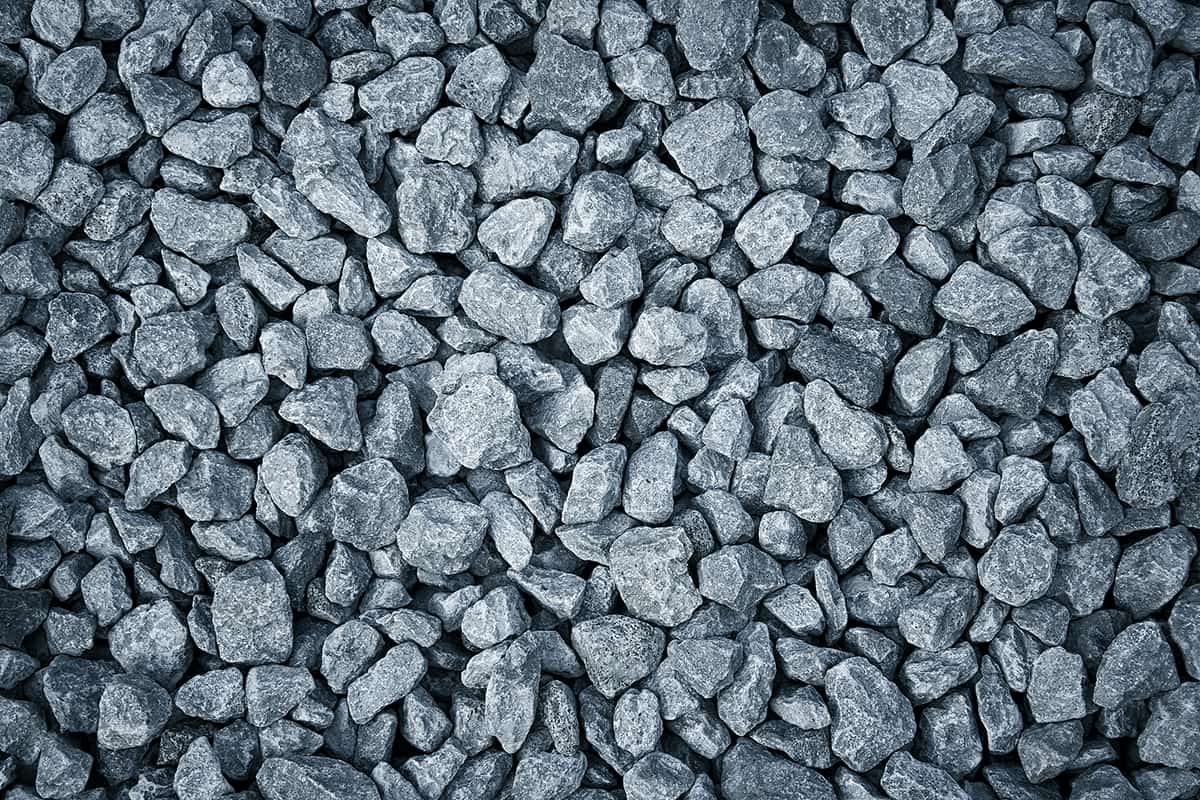
You don’t need anything complicated here. A gravel bed combined with interlocking plastic grid panels is typically the simplest and most reliable solution. The gravel provides excellent drainage, while the grids lock the surface together and prevent the shed from shifting or sinking.
This kind of base can be levelled by hand with a spade and rake – lowering the high spots, filling in the hollows, and working across the area until the surface reads flat.
Once the fall becomes more noticeable, you’ll need an adjustable base system to achieve a truly level top surface. Two solid options:
Timber frame on adjustable feet
Adjustable base supports act like independently controllable legs beneath a timber frame. Each one can be raised or lowered until every point of the frame reads level, regardless of what the ground underneath is doing.
Timber frame on concrete blocks
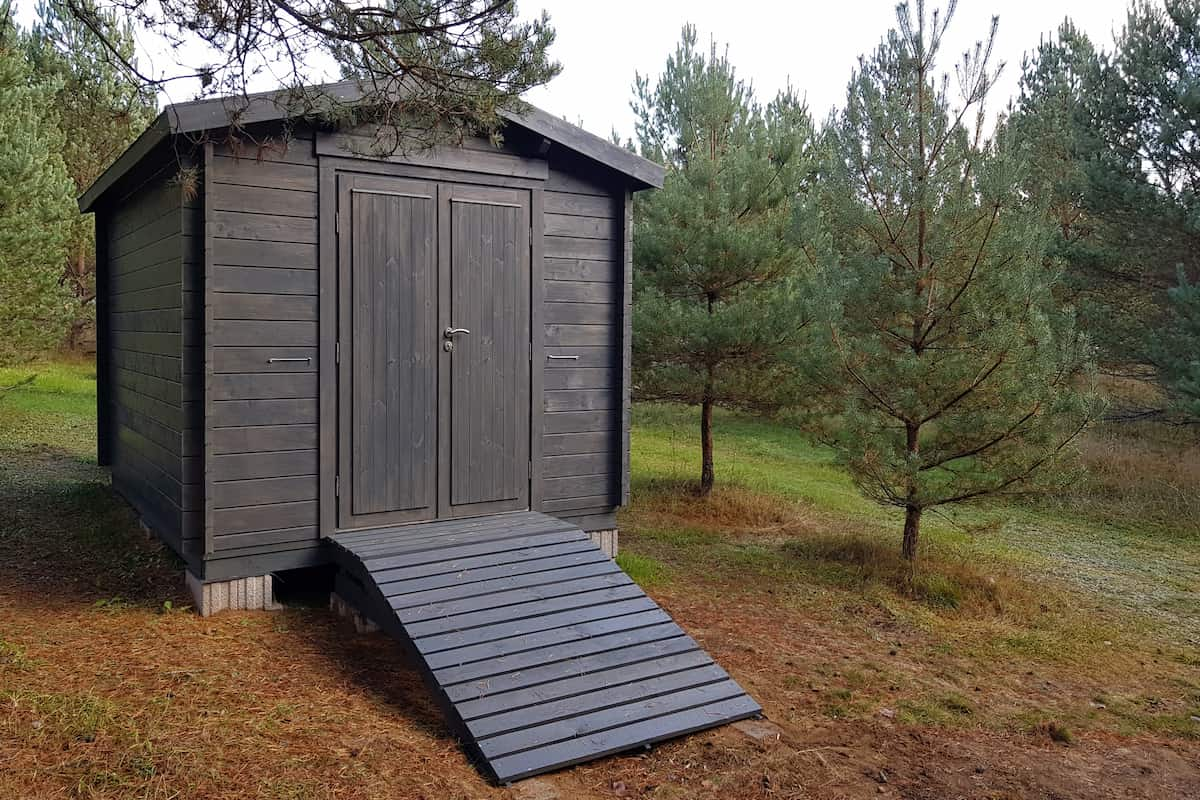
Concrete blocks offer a very robust footing and can be individually levelled by digging out or packing beneath each one. Once aligned, the timber frame sits on top. Both options lift the shed off the ground, improving ventilation and reducing the risk of moisture ingress.
For a pronounced incline, you need a solution capable of bridging a substantial height difference without the frame twisting or sagging. The main options are:
These create a raised deck-style platform that sits over the slope rather than trying to flatten it. Ground screws have become increasingly popular for this application – they require far less excavation than cast concrete piers, can be installed without concrete, and allow precise height adjustment.
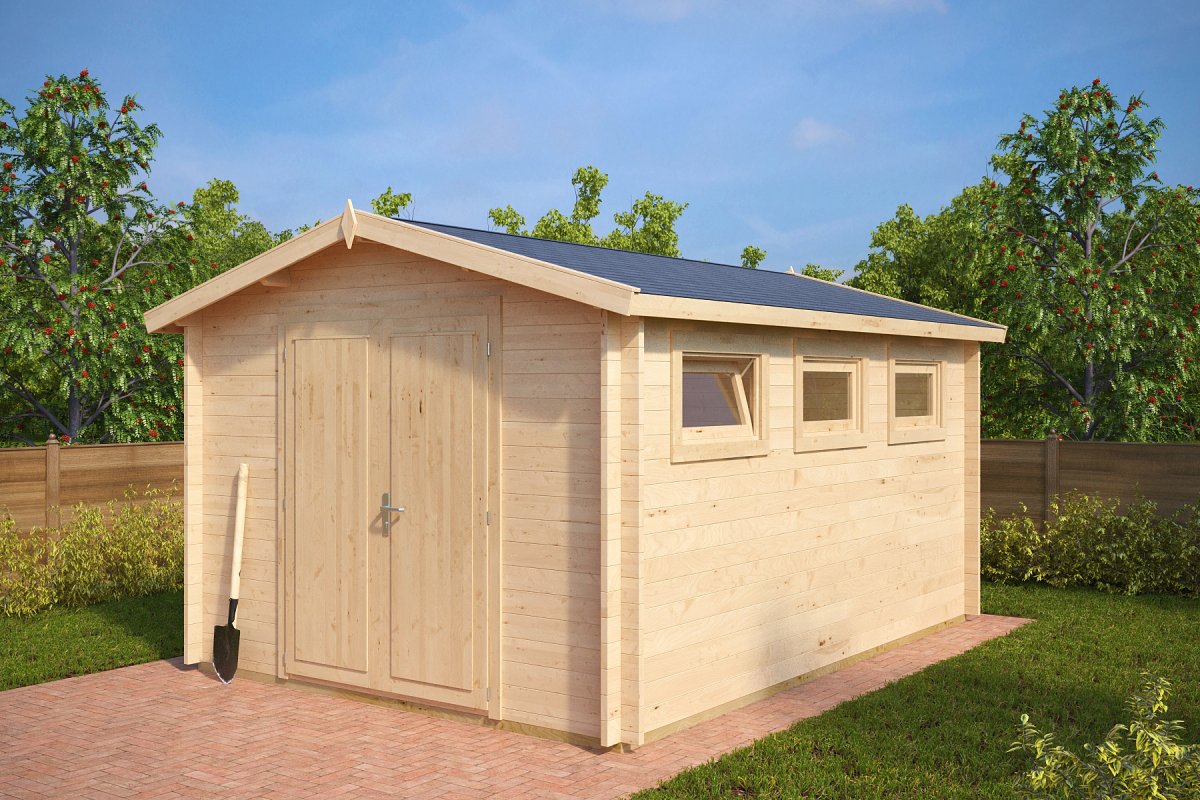
The right shed starts with quality construction.
Explore durable models, built with high-quality materials and designed to deliver a solid, reliable result for years to come.
5-star rating · Direct from the factory · 5-year guarantee
Before committing to any base type, get the ground as flat and stable as possible. Work through these stages in order:
Strip out turf, plants, loose stones, and any debris from the footprint. It’s worth clearing 30-40 cm beyond the shed’s planned perimeter to give yourself working room and to allow for perimeter drainage.
Use stakes and string to define the exact rectangle of your base. Check it’s square by measuring both diagonals – if they’re equal, the layout is true.
Move soil from the high areas down to the low ones until the surface is broadly level. Take your time here, this step lays the groundwork for everything above it. Lightly compact as you go rather than leaving loose fill. Learn more about how to prepare ground for a shed base here.
Lay a long straight plank across different parts of the area and check with your spirit level. Verify along the length, across the width, and on both diagonals. Every direction should read flat before you move on.
Once the ground is level, lay a permeable weed-suppressing membrane across the entire area. This prevents vegetation from pushing up through gravel or gaps over time.
With the ground properly prepared, you’re ready to build the foundation method that best suits your slope and soil type.
Each of the following methods suits a different combination of gradient, soil, and shed size. Choose the one that fits your situation. When in doubt, go one step more robust than you think you need or ask for advice.
Best for: Small to medium sheds on gently sloping ground with reasonably free-draining soil.
Strengths: Fast to install, excellent drainage, minimal excavation, cost-effective.
Watch out for: Avoid fine-particle gravel (dust or screenings) as it blocks drainage. Add edging boards or kerb restraints around the perimeter to prevent the gravel from migrating outward.
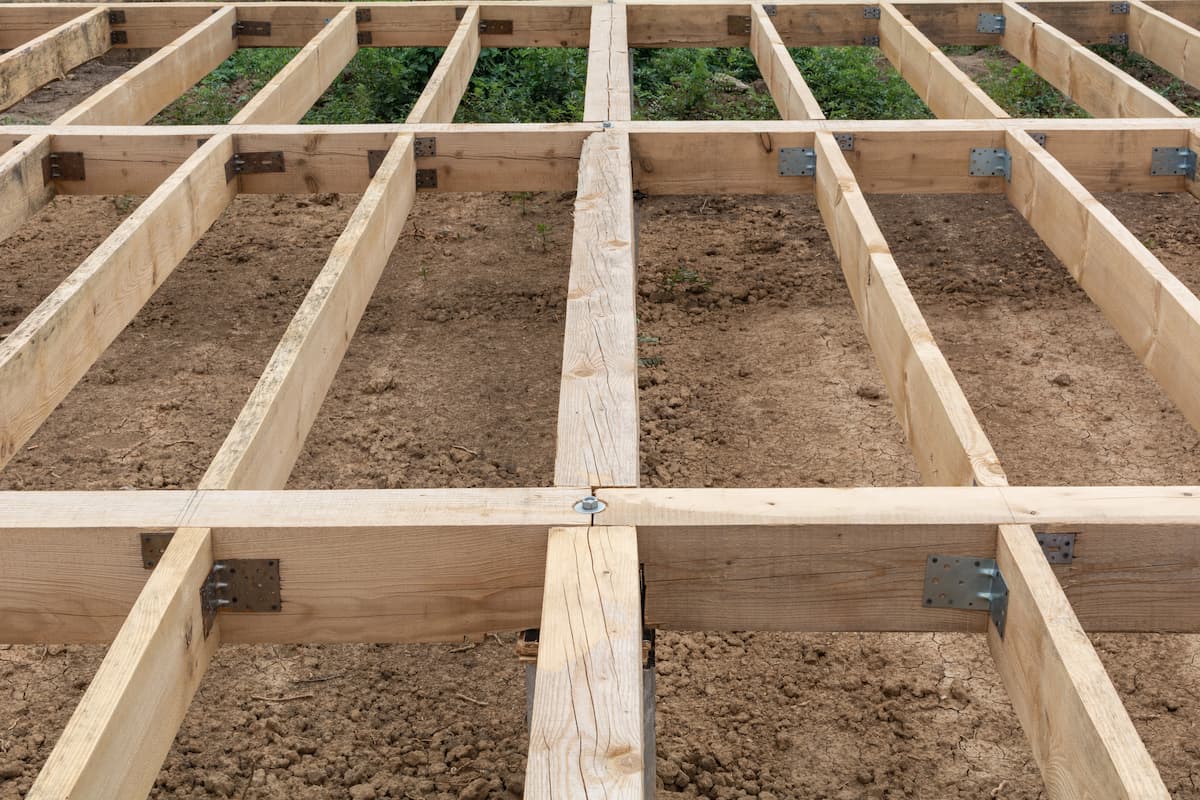
Note: It helps to distinguish between the ground-level foundation and the shed’s base frame. The foundation is the layer that contacts the ground; the base frame (also called the bearer frame) sits on top of it, elevating the shed floor and allowing air to circulate beneath.
Best for: Mid-size sheds on slopes of 3–8%, or irregular ground needing localised adjustments.
Strengths: Height is independently adjustable at every support point; minimal excavation; suited to ground with uneven pockets.
Watch out for: Use UC4-rated (ground-contact) treated timber throughout. Apply end-grain preservative to all cut surfaces. Add diagonal bracing beneath the frame to prevent racking.
Best for: Soft ground, moderate slopes, or where a more robust footing is wanted without pouring a full slab.
Strengths: Very solid and long-lasting; each block can be individually adjusted; good underfloor ventilation.
Watch out for: Every block must bear on well-compacted ground or gravel. A slight error at one block gets amplified across the whole frame.
Best for: Slopes of 8–15% or more, heavier sheds, or ground where cutting a full platform would cause erosion or instability.
Strengths: Highly capable in challenging conditions; minimal landscape disruption; can bridge large height differences cleanly.
Watch out for: Setting-out accuracy is critical – errors at this stage carry through the whole build. Concrete piers need adequate curing time. Ground screws need correct installation depth and must be plumb.
Mark every support location precisely using string lines and stakes.
For concrete piers:
For ground screws:
These aren’t afterthoughts – they’re the details that separate a base that lasts decades from one that causes problems within a few seasons.
Underground pipes, electrical cables, and drainage runs can sit surprisingly close to the surface, especially in older properties. Check property plans and, where there’s any doubt, use a cable avoidance tool or dig a hand-excavated test pit before committing to full excavation. A few minutes of checking can prevent a very expensive mistake.
If you’re using timber in any part of the base, the cut ends are the most vulnerable. End grain absorbs moisture faster than any other part of the board, which is how rot gets started. Apply timber preservative or end-grain sealer to every cut surface before assembly. It takes minutes and can add years to the life of the structure.
Sloping ground redirects water in ways a flat site doesn’t. Make sure rainfall is directed away from the shed rather than towards it – a slightly raised base with a gently graded perimeter usually handles this. Where water tends to collect nearby, a shallow French drain filled with gravel provides a reliable overflow channel.
The shed floor needs airflow underneath to stay dry. Don’t pile soil, gravel, or debris against the base boards – it blocks ventilation and holds moisture against the timber. This is particularly easy to overlook on sloped sites, where the temptation is to fill in the lower side. Keep a clear gap all the way around.
A shed on a gradient will shed its roof water predominantly onto the lower side, which can lead to localised erosion and persistent damp against the base. Simple roof guttering and a downpipe direct that water clear of the structure and protect both the base and the ground beneath it.
Sloped sites increase both wind loading and the risk of the structure gradually creeping downhill. Fix the shed to its base using metal brackets or skew-nailed connections at multiple points. On exposed plots, consider helical ground anchors. If you’re using posts or piers, diagonal bracing between them is essential – without it, a tall platform can rock in high winds or rack over time.
Building a shed base on uneven ground becomes much more manageable once you break the process into clear stages. Measure your slope carefully, match your base method to what the ground is actually doing, and put in the time to get everything truly level before you start building upwards.
Done right, a well-chosen foundation on a sloped plot will outlast many sheds built on flat ground with a rushed base. The extra planning pays for itself many times over.
Many popular shed base types can work here. It depends on how much fall there is across the footprint. For gentle slopes, a gravel bed with interlocking plastic grid panels works well and is easy to level. For moderate gradients, a timber bearer frame on adjustable feet or concrete blocks gives more control. For steep or difficult terrain, posts, concrete piers, or ground screws provide the most reliable long-term solution.
In some cases, yes – if the slope is mild, you can use gravel and grid panels with very little excavation. As the gradient increases, you’ll generally need to dig at least some anchor points or support pockets to ensure the base stays put.
Completely level. Even a small deviation – a couple of centimetres off – is enough to cause doors to bind, walls to rack, or the floor to develop weak spots over time. Check in all four directions (both axes and both diagonals) before you’re done.
Absolutely. Timber posts or adjustable supports set into stable ground are a well-established way to create a level platform on a slope. Each post must be properly anchored, truly plumb, and ideally connected with horizontal and diagonal bracing to prevent any movement.
As a general guideline, posts should reach at least 45–60 cm into firm ground. On soft soil or exposed windy sites, going deeper is worth the extra effort to prevent heave or lean over time.
Yes, especially on pronounced slopes or unstable soils. Ground screws (helical piles) can be installed quickly without concrete, allow fine height adjustment, and are surprisingly capable in terms of load-bearing. They’re increasingly used instead of concrete piers for exactly these reasons.
It works well on gentle slopes, particularly when combined with plastic grid panels or timber edging to contain it. On steeper ground, gravel alone won’t stay in place or provide adequate support – a structural system is needed.
It’s strongly advisable. A sloped site concentrates roof runoff on the lower side of the shed, and without guttering that water hits the base repeatedly. A simple gutter and downpipe channel it away cleanly and protect the foundation from long-term erosion and damp.