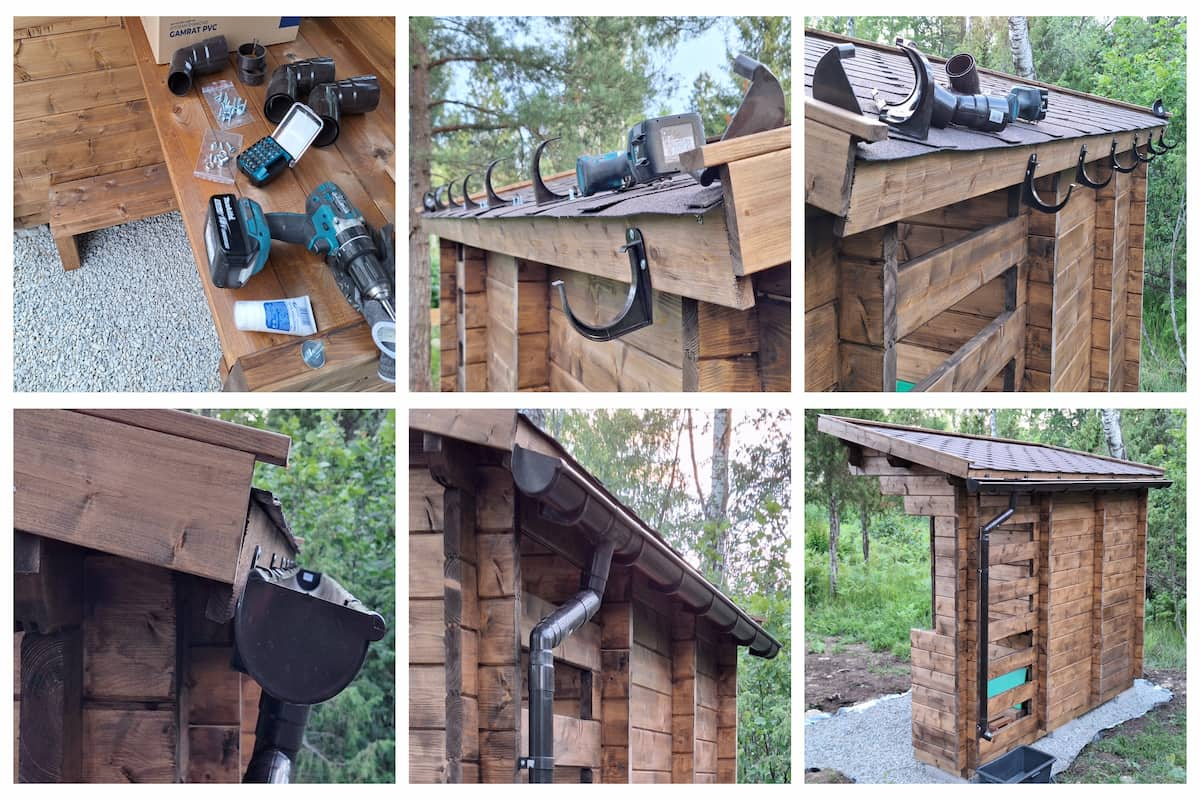
Are you considering installing guttering on a shed? That’s great! This is a key step in protecting your shed from rain and the rot excess water can cause. In the regions of Spain where rainfall can be heavy, it’s particularly important. Installing guttering on a shed is relatively easy, even without a lot of experience. In our experience it takes about 15 to 20 minutes to attach a gutter to a small shed, just as the one in the photos below.

Guttering is available in different materials and styles, so you’ll be sure to find a solution that works for you. Consider the pros and cons as well as your budget when making your choice.
The are two main types of guttering you can choose from are:
Metal gutters are more durable, but will also cost you quite a bit more. These gutters can be made from a variety of different metals such as copper, aluminium, steel and zinc. Let’s have a closer look.
Galvanised steel is an excellent option, but rather costly. With proper maintenance, galvanised steel gutters can last up to 50 years, which is quite impressive. It’s good to know that they are prone to rust and may come loose due to their heavy weight. The latter also makes them more challenging to install.
Zinc guttering is a popular and versatile choice. Zinc matches steel in durability, however, it is expensive.
Copper gutters are an aesthetically pleasing and durable option, very well suited for traditional buildings, but they are also the most expensive. As other heavy gutters, they can loosen over time.
Aluminum guttering is very common and can be found everywhere. Since aluminum doesn’t rust or lose thickness over time, this guttering can last up to 20 years. It’s also relatively easy to install thanks to the light weight.
Plastic gutters are a much more economical option, although not as durable as metal gutters. Plastic is susceptible to UV damage, so if your garden shed is in an area with a lot of sun exposure, the gutters may become brittle more quickly compared to those installed in shaded areas. Another advantage of PVC gutters is that they are lightweight and easy to install. For this reason, plastic gutters are a popular choice.
In our step-by-step guide, we will show you how to install plastic gutters. The product shown on the images is the PVC guttering system which is included with the sheds from Casetas de Jardin 24.
We’ll go ahead and explain in detail how to install gutters on a shed. First, we’ll list all the tools you may need and then follow with an explanation about each step. And at the end we’ll top it off with some helpful tips and advice.
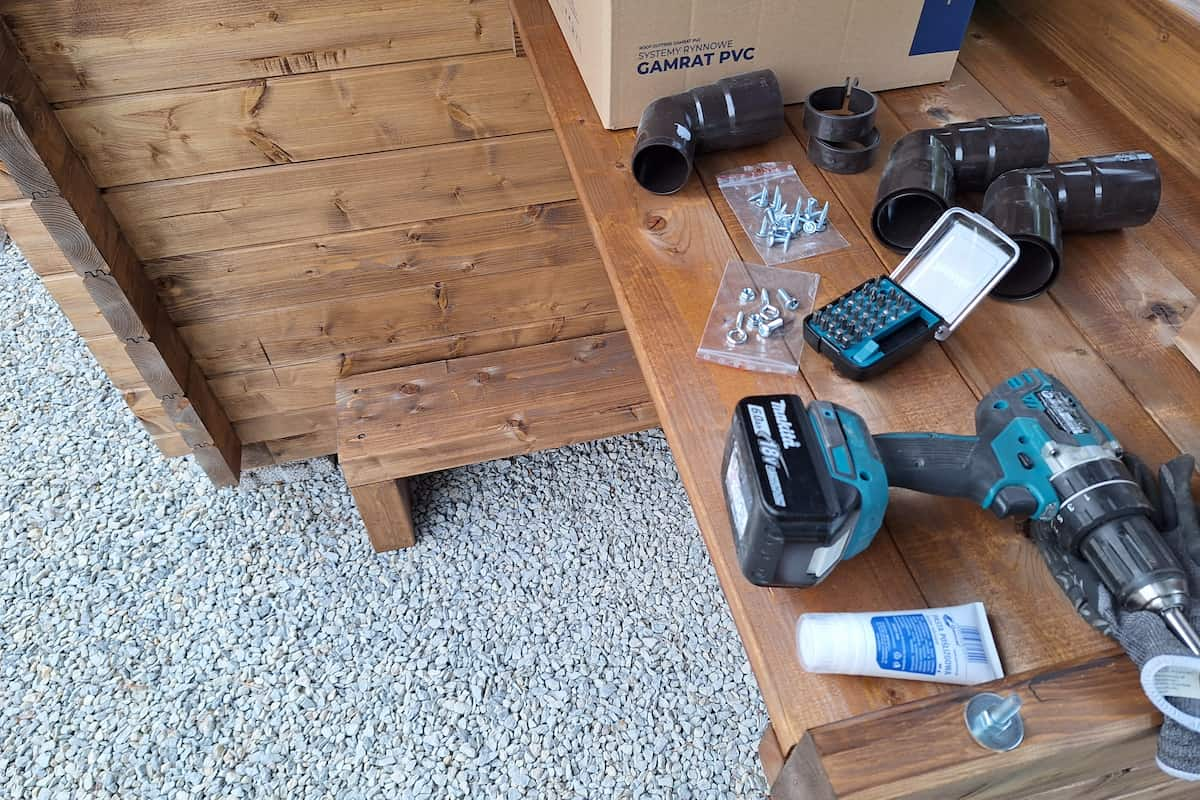
Tools and components you’ll need:

The first step is to gather your tools and lay out the guttering and all other components.
Decide on the location of the outlet
When choosing the location for the downspout of the gutter, choose an area where the land is sloped away from the shed. This way, the water will flow downhill and away from the shed. Otherwise, the water may gather under the shed and cause moisture damage from below. Take care to also avoid directing the water towards other nearby buildings.
You can also direct the downspout into an existing drain or rain barrel. Collecting rainwater is an excellent idea, as it can be used to water plants or lawns, wash your car or clean anything else outdoors.
Which direction will the water be flowing towards in the gutter? You’ll need to install the gutter tilted towards that direction. Plan a drop of about 3 cm for every 10 metres.
To position the gutter, you’ll need to mark the fascia board. This is a thin board on the lower outer edge of your roof, where the brackets will be attached to. When marking the position take into account the tilt and where the location of the outlet.
After you’ve found the position for your gutter, find and mark the position of the first bracket for the drop outlet on the fascia board. Do this by first measuring about 15 cm from the edge of the fascia board horizontally. Next find the position for the first bracket. Now you need to make two markings. First, a vertical mark to position the edge of the bracket. Use a level and a pencil to get a straight line. The second small horizontal mark is needed to connect a straight line to the other end of the fascia board with a chalk line or board later. Measure down from the top of the fascia board for this one, so you’ll be able to accurately mark the other side for the tilt.
Now, mark the position of the furthest bracket on the other side of the fascia board. Remember to calculate the necessary length for the tilt (about 3 cm per 10 m) – the second mark should be higher on the board compared to the first.
Once you’ve made the horizontal marks on both ends, connect them by using a pencil and a long ruler, board or chalk line.The horizontal line is your guide for placing the brackets.

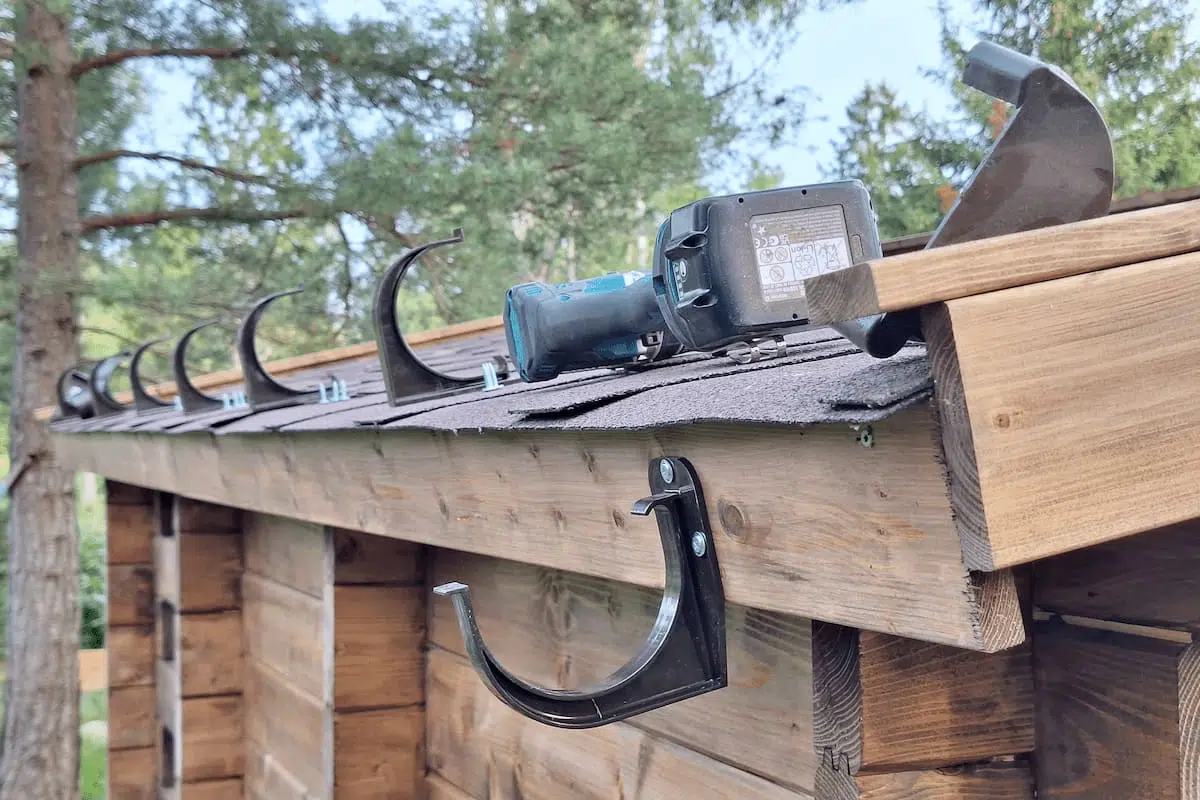
Attach the first two brackets on the side where your outlet will be located. Position them about 15 cm on either side of the outlet or according to the manufacturer’s instructions.
You can then install the bracket that will be located on the other end of the fascia board. Now attach the middle bracket and continue filling in the gaps. Leave about 60cm of space in between the brackets or as much as is recommended for your gutter system.
For PVC guttering used in the photo, it’s recommended to use three screws sized 4x35mm per bracket to attach them.
Measure and cut your gutter
First plan out the locations of the connectors and corners. Then measure your gutters and cut them to the necessary size using the hacksaw. Leave some extra length for connections.
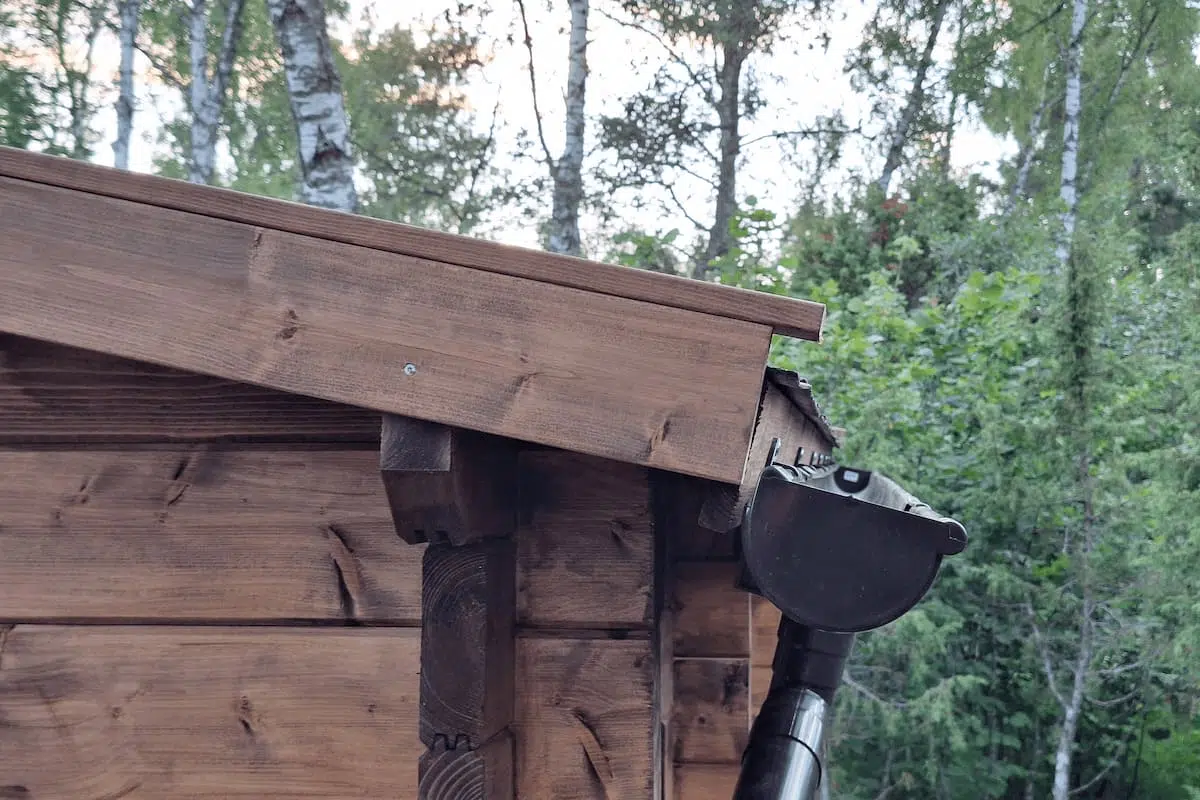
If you don’t have an outlet and instead need to cut a hole for the downspout, place the gutter in the brackets. Use the downspout to find the place where you need to cut a hole and mark the area. Then follow the manufacturer’s instructions and connect the pieces together.
Apply lubricant to all the parts – outlets, corners, joiners. Avoid the caps. The lubricant makes installation smoother so that nothing breaks or bends. Join all the pieces together and install the caps to the ends of the gutter.
Attach gutter to the brackets
It’s time to attach the gutter to the brackets. When you’re using the gutter system that comes with Casetas de Jardín 24 garden sheds, you’ll use the fold of the gutter’s front edge and place it on the front nibs of the hangers. Next you’ll need to push the gutter in the direction of the shed and it will snap into place on the rear hanger clip.

Now you can connect the downspout to the outlet. Secure it to the wall every couple of metres. Leave a little space for movement for the PVC gutters that come with (about 6 mm) when you’re joining sections.
The final step is to add an elbow as a downspout shoe. You’ll need to add a fixing band here, just below the joint of the connector. Optionally, you can also add some eaves strips to your fascia board for extra protection.
Once you’ve finished putting everything together it’s time to tidy up, kick back and relax. Grab a refreshing beverage and admire your handiwork!
Here are a few tips that make installing a gutter easier.
Maintain your gutters once or twice a year to ensure they function properly and last a long time. The best times for this are the end of Spring and Autumn. This task will not take long – have a quick inspection, clean out debris and fix leaks.
If you have any questions about our garden sheds and the guttering system we use, you can contact us by calling 951 876 699 or emailing info@casetasdejardin24.es