Preparing the ground is the stage most people want to rush through–but it is also the step that determines whether a garden shed lasts a few seasons or several decades. The good news is that ground preparation doesn’t need to be complicated, as long as it’s done correctly from the start.
In this guide, we explain why proper ground preparation matters, what to assess before you start digging, and how to prepare your garden step by step so your wooden shed sits on a stable, long-lasting base.
A shed is only as good as the surface it stands on. Poor preparation leads to movement, moisture issues, and premature wear. Here’s why this step is so important.
A shed needs firm, well-compacted ground to remain square and level over time. If the soil beneath it is soft or uneven, the structure will gradually shift as weather conditions change. This often results in doors that stop closing properly, windows that stick, and floors that feel uneven underfoot. Proper preparation keeps everything aligned from day one.
Poor drainage is one of the biggest threats to a wooden shed. When water collects beneath the floor, moisture lingers in the timber, encouraging mould and rot. In colder areas, trapped water can freeze and push parts of the structure out of position. Damp ground also attracts pests such as slugs, insects, and rodents. A well-prepared base allows water to drain away instead of sitting under the shed.
Wooden sheds are capable of lasting decades, but only if they are installed on a solid, dry foundation. Correct ground preparation significantly extends the life of the structure by reducing moisture exposure and preventing movement. A properly prepared base can easily add 10–20 years to a shed’s lifespan compared to one placed on poorly prepared ground.
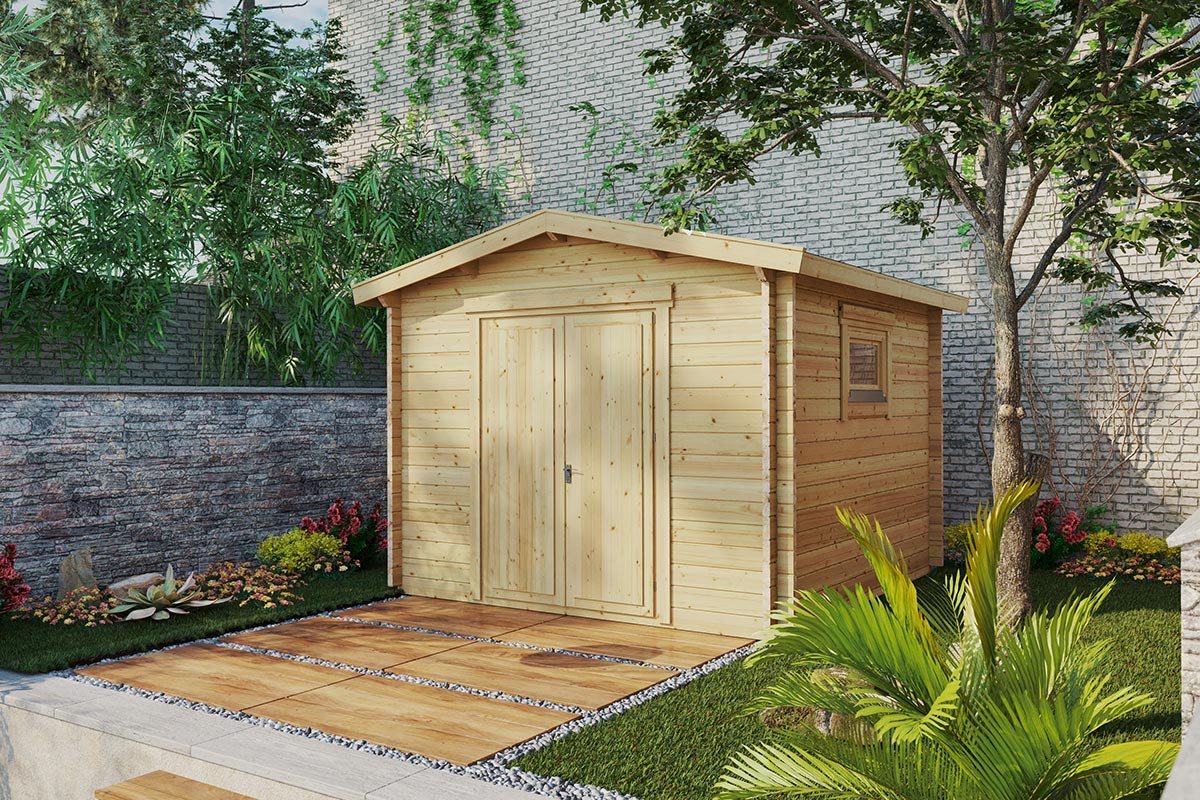
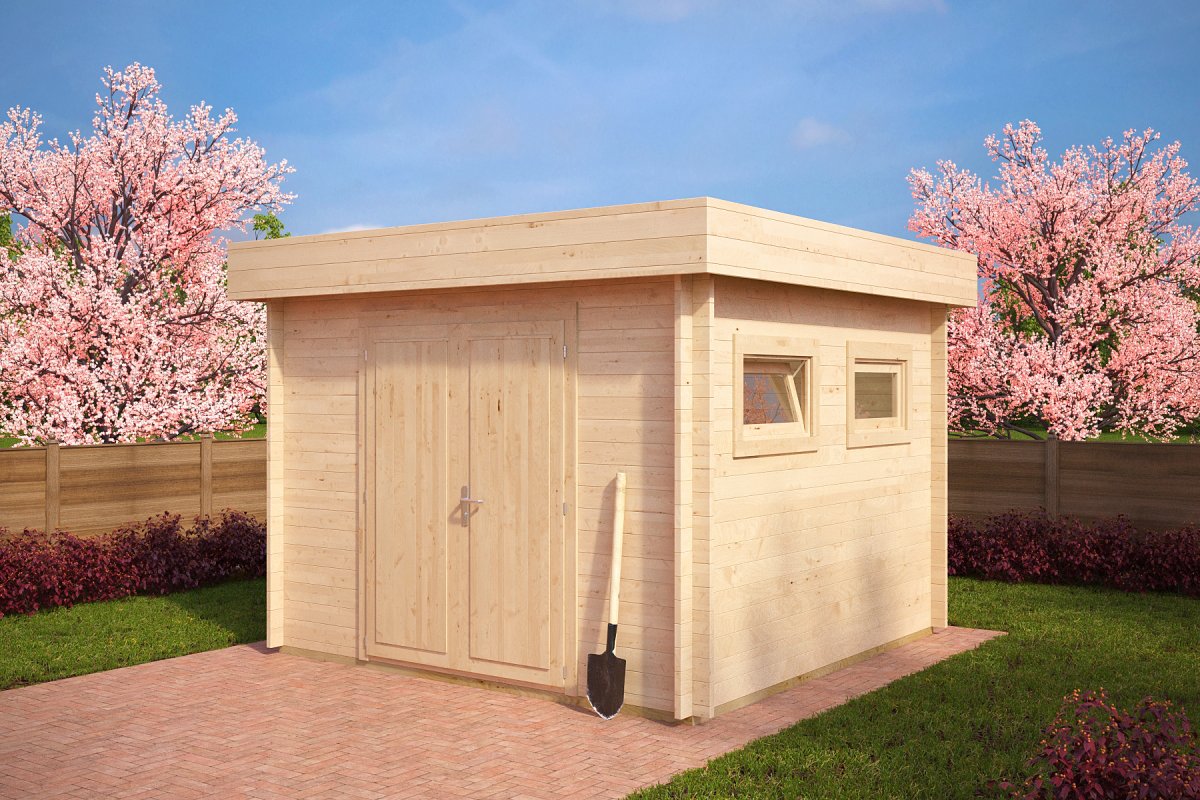
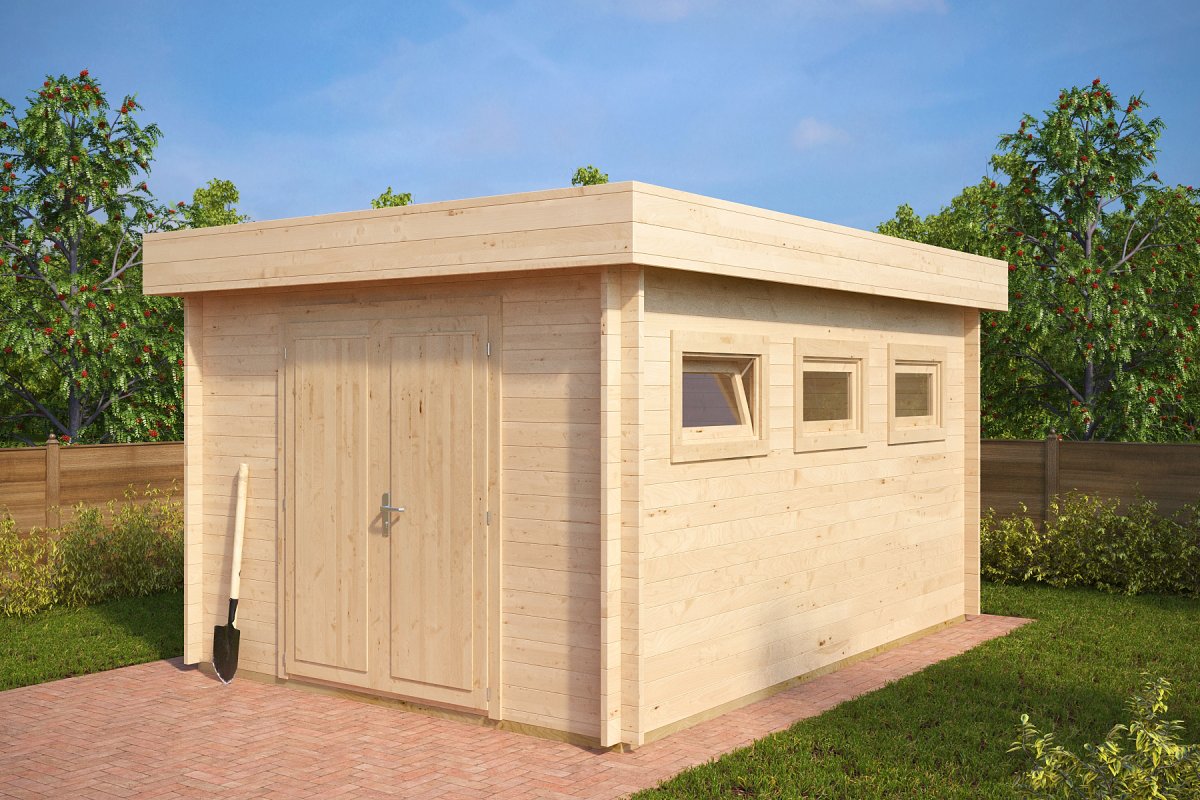
If you’re investing the time to prepare the ground properly, it makes sense to choose a shed that truly benefits from a solid foundation.
👉 Discover durable and reliable garden sheds
Before lifting a spade, it’s worth taking a step back to make sure the chosen location is suitable. A little planning here prevents problems later on.
Think about how you’ll use the shed day to day. Will you be moving bikes, lawn equipment, or bulky tools in and out? Ensure the approach is wide enough, practical, and free from awkward slopes that could become slippery in wet or icy conditions.
If you may want electricity, lighting, water, or even an internet connection in the future, it’s far easier to plan this before installing the base. Adding cables or pipes later is often disruptive and expensive.
In Spain, many garden sheds don’t require formal planning permission, but local regulations can limit size, height, placement, and distance from boundaries. Checking local rules in advance helps you avoid relocating the shed later.
Some parts of a garden drain quickly, while others remain wet long after rainfall. Installing a shed in a naturally damp area almost guarantees ongoing moisture problems. Choose a well-drained spot or plan additional drainage measures.
Clay soils expand and contract, sandy soils shift easily, and organic soils compress over time. Understanding what’s under your garden helps you choose the most appropriate base and avoid future movement.
Windy, coastal, or elevated locations require a more robust base and secure anchoring. In wetter regions, drainage becomes even more critical. Factoring in your local climate now prevents long-term issues.
While it may seem like a big task, ground preparation is quite manageable when tackled in the right order. Think of this stage as creating a clean, stable platform for whichever shed base you choose.
Confirm the final position in your garden. Look for the flattest area possible, away from overhanging branches, low points where water gathers, and tight corners near fences or walls. Make sure there’s space around the shed for access and maintenance.
Use stakes and string to mark the shed footprint, extending it by around 5–10 cm on all sides. This small allowance makes levelling easier and leaves room for edging, gravel, or drainage.
Remove grass, weeds, plants, and any roots that could cause unevenness over time. The aim is a completely clear area with no organic material left beneath the base.
Dig down approximately 50–75 mm (5–7.5 cm), removing turf and soft topsoil. This creates space for a stable sub-base and eliminates material that could decompose or compress later.
Rake the soil and check levels using a straight edge or long spirit level. Take your time here–any unevenness will be transferred to the base and the shed itself. Adjust and recheck until the surface is as level as possible.
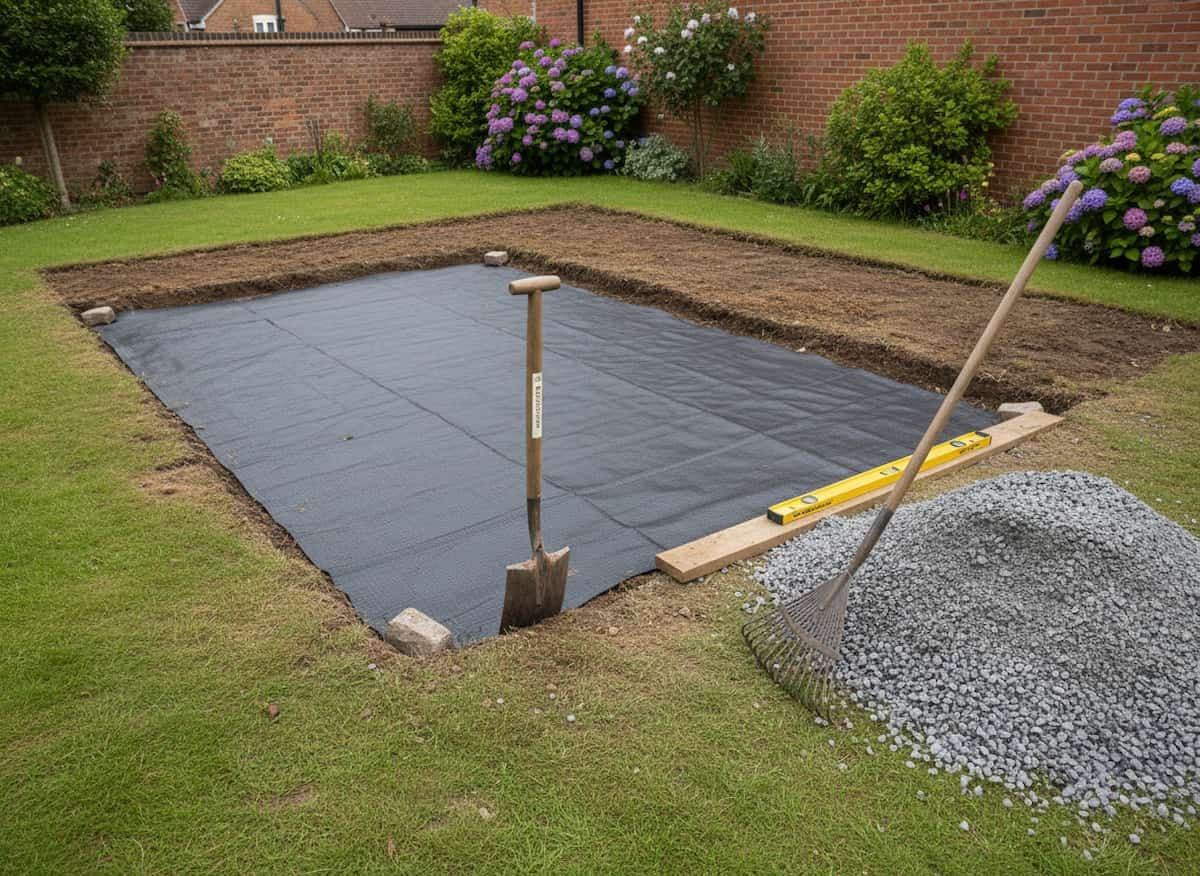
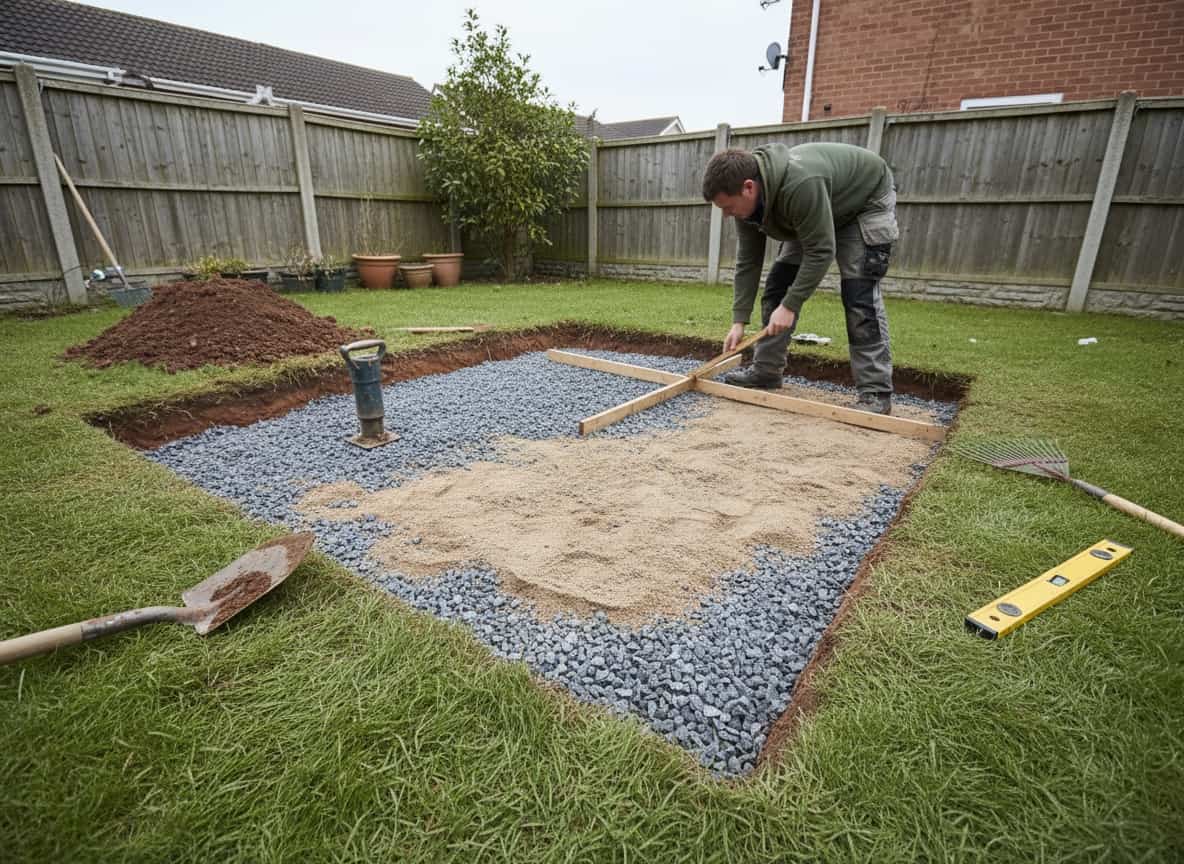
Fill the excavated area with compactable hardcore or crushed stone. Spread it evenly, then add a thin layer of coarse sand to achieve a smooth, level finish. This combination provides excellent drainage and long-term stability.
Use a hand tamper or vibrating plate to compact the sub-base firmly. This step is essential to prevent sinking or shifting once the shed is installed.
Once level and compacted, install a weed-control membrane. This helps prevent vegetation growth and keeps the sub-base separate from the natural soil below.
At this point, the ground is fully prepared for your chosen base system–whether concrete, paving slabs, gravel grids, blocks, or a timber frame.
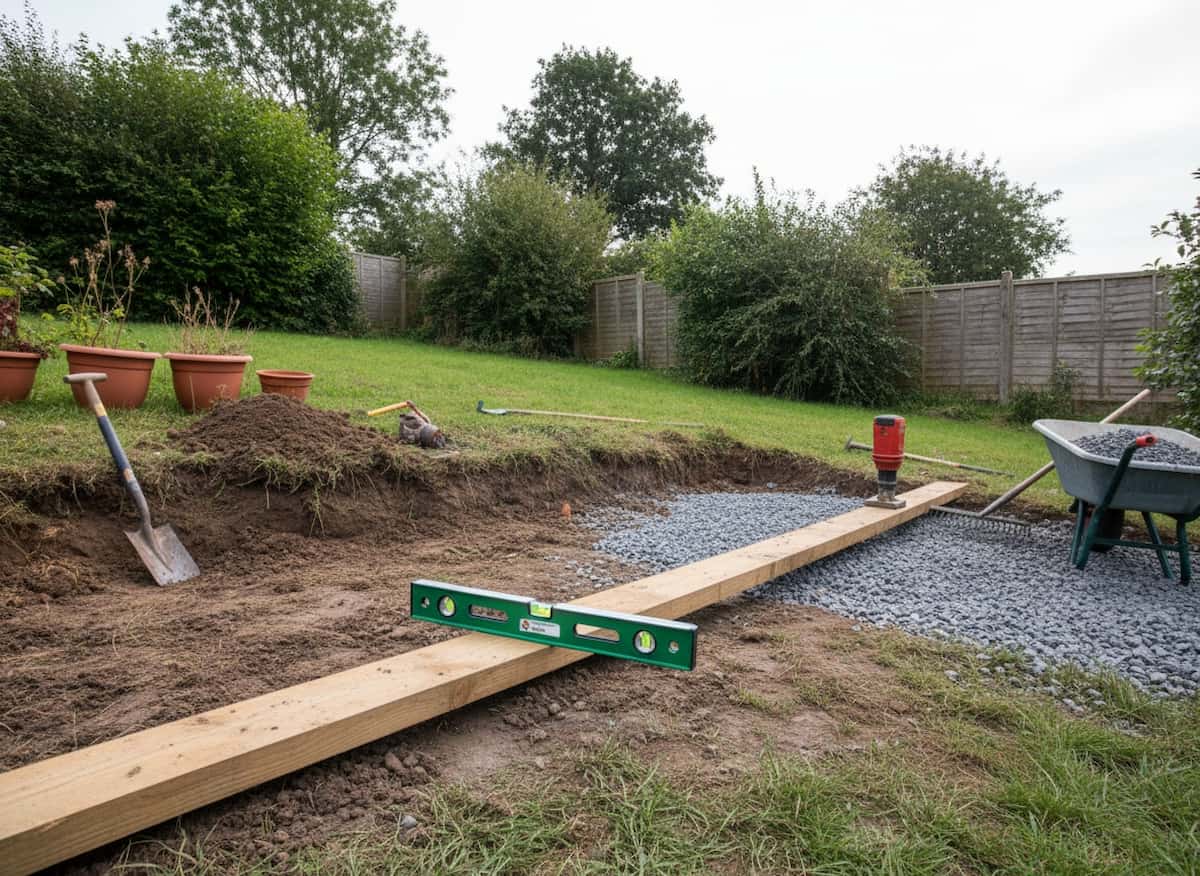
Sloped gardens are common, and most gentle gradients can be managed effectively once you understand the extent of the slope and choose the right approach.
Place a long straight board on the ground and use a spirit level to find the horizontal line. Measure the gap between the board and the ground at the lowest point to determine the height difference.
Once the slope is corrected, follow the same preparation steps as for flat ground.
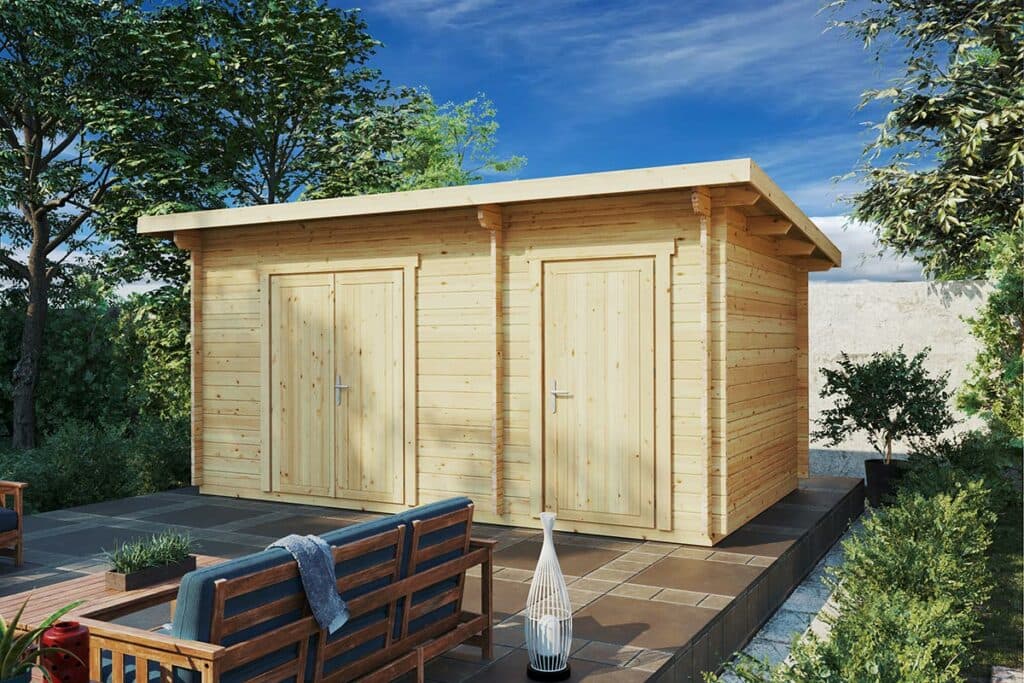
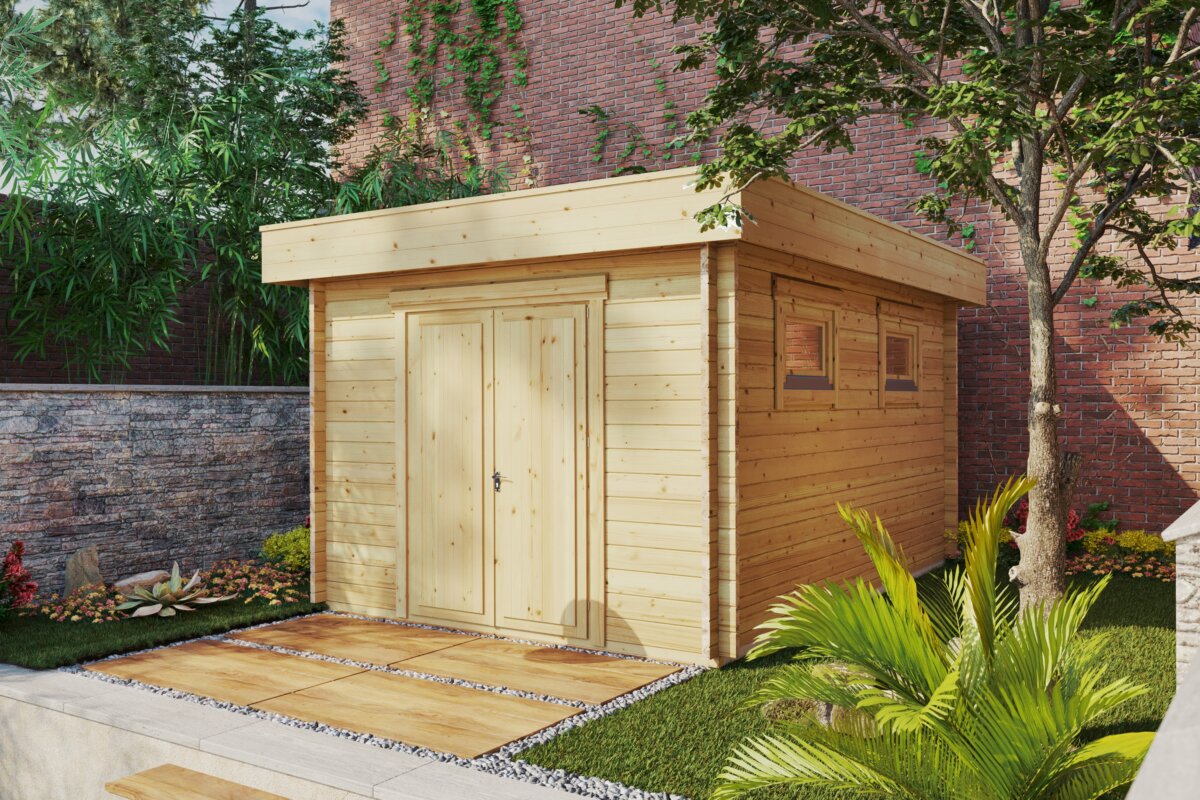
When both the ground and base are prepared correctly, choosing the right shed becomes critical to avoiding long-term issues.
👉 View available garden sheds now
Preparing the ground may not be the most exciting part of a shed project, but it is unquestionably the most important. Firm, level, well-drained ground ensures the shed sits correctly, stays dry, and lasts far longer. Spending extra time at this stage prevents years of problems such as damp floors, misaligned doors, and structural movement.
Usually not. Most installation services expect the site to be ready beforehand. Always confirm what is included.
Typically 50–75 mm, though larger or heavier sheds may require more.
Yes, but the slope must be corrected first so the base is completely level.
No. Bare soil retains moisture and shifts over time. A proper base is essential.
Rules vary by municipality, but leaving 50-100 cm is generally recommended for access, ventilation, and maintenance.
